Ink, stamp and emboss your way to gorgeous florals for your handmade cards. Add layers of vellum for unique and intricate designs that will take your florals to the next level!
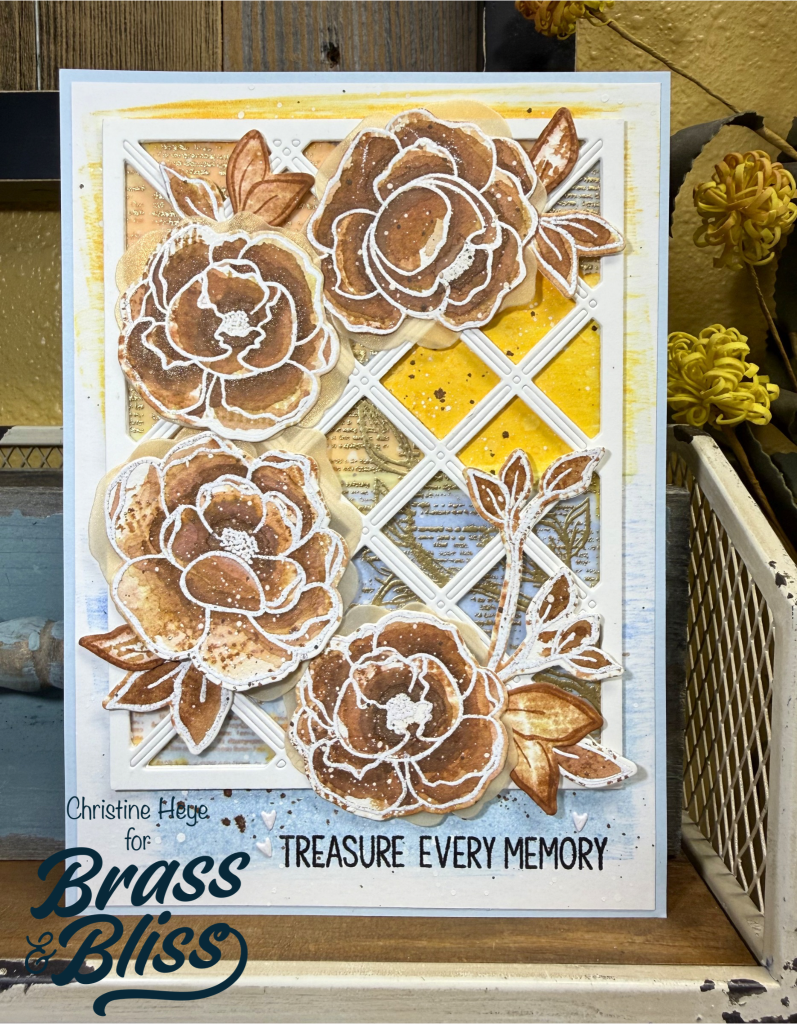
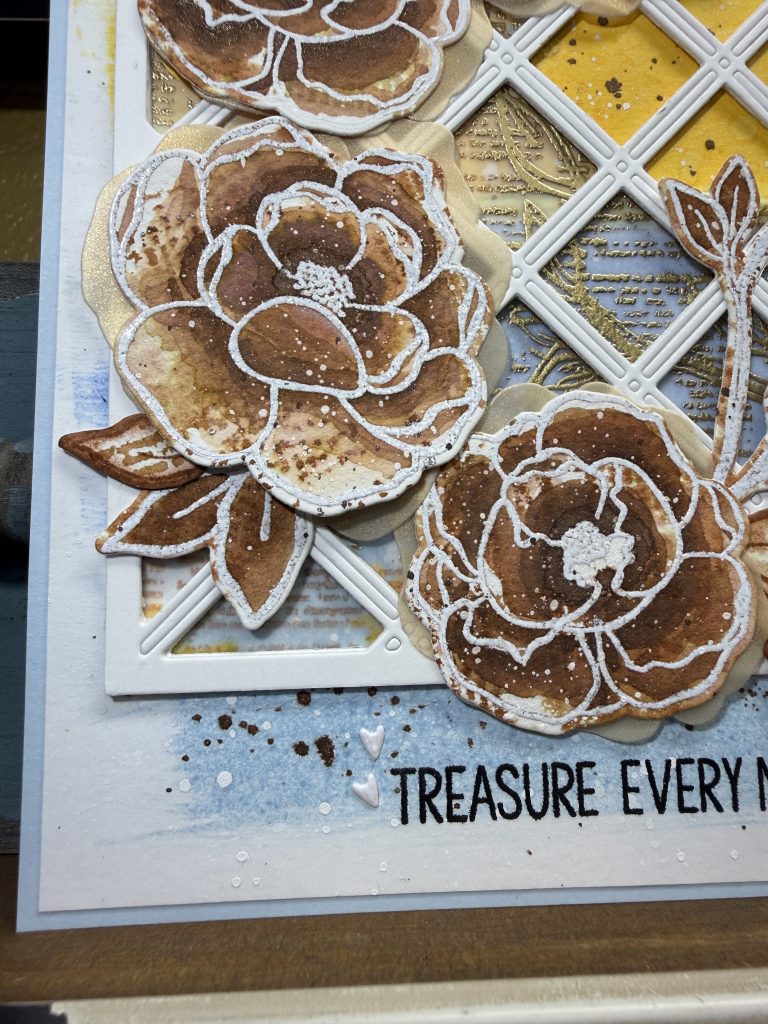
Today our designer, Christine has created this stunning floral card. This card features the Always Peony Stamp set & uses the coordinating dies in useful ways to add gold vellum layers to the florals & peeking openings. This adds depth and a richness to these deep toned, simple watercoloring blooms. Amazing what can be achieved with a few dye inks and a waterbrush! This is a clearance set with limited quantity, so jump in and grab them while they are still available. Even though this bloom is a perennial, this deal won’t last long and will be gone for good. Follow along to see the how easy some ink, embossing and layering can make you feel like an expert!

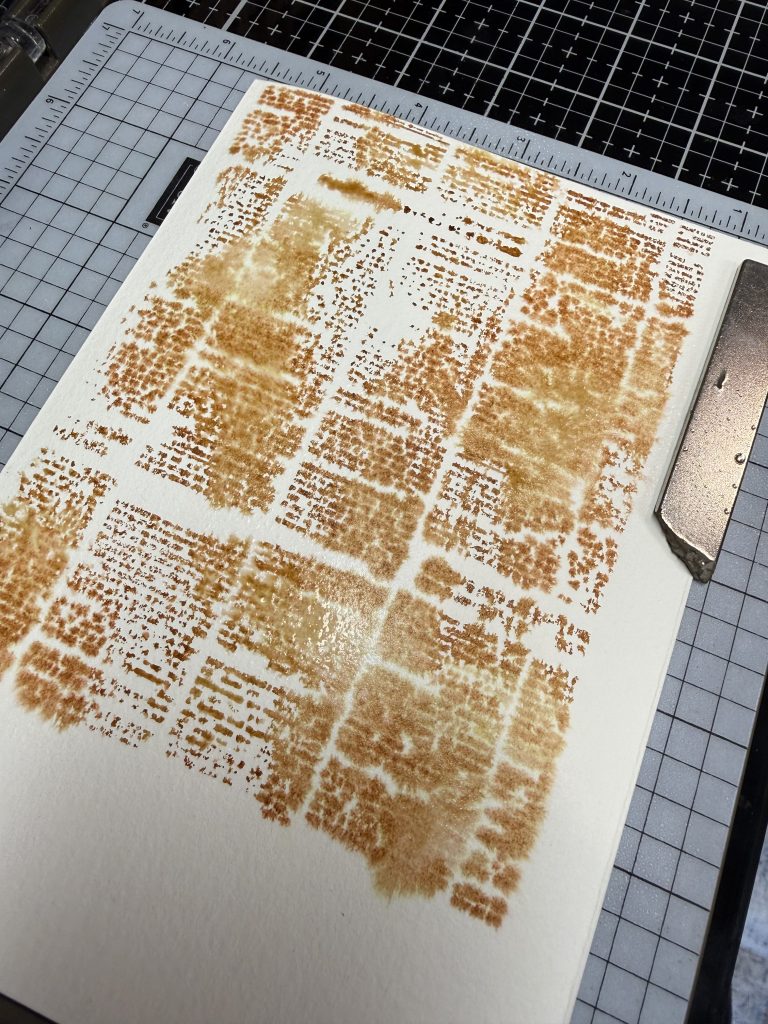
- Using Cinnamon, ink the News Paper Background stamp up, lightly. Mist the a piece of watercolor paper that has been cut to 5×7 and mist the stamp you have inked. I used a stamp positioner to stamp it onto the misted watercolor paper. Use a fairly soft touch. The goal is not a thorough stamping but a more random one, to add design and texture to the blooms. Heat set to dry. Using any scraps of this stamped piece- stamp the leaves again using Cinnamon ink- die cut out and ink the edges with same ink. These are not embossed and are meant to be different from the white embossed ones.
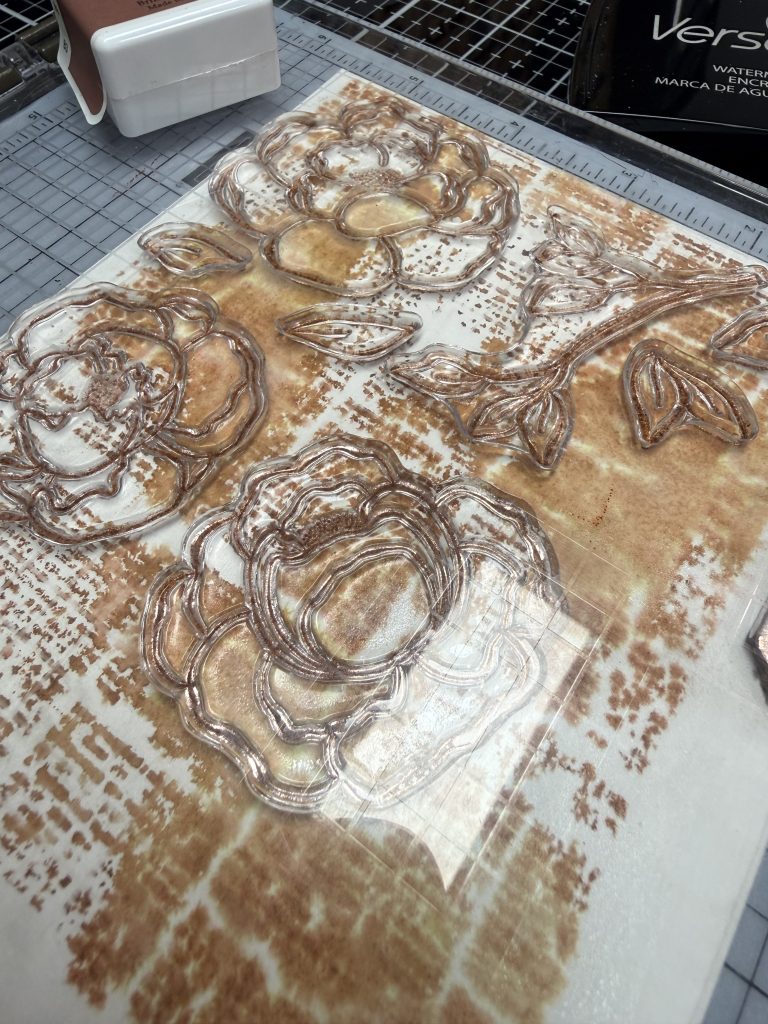
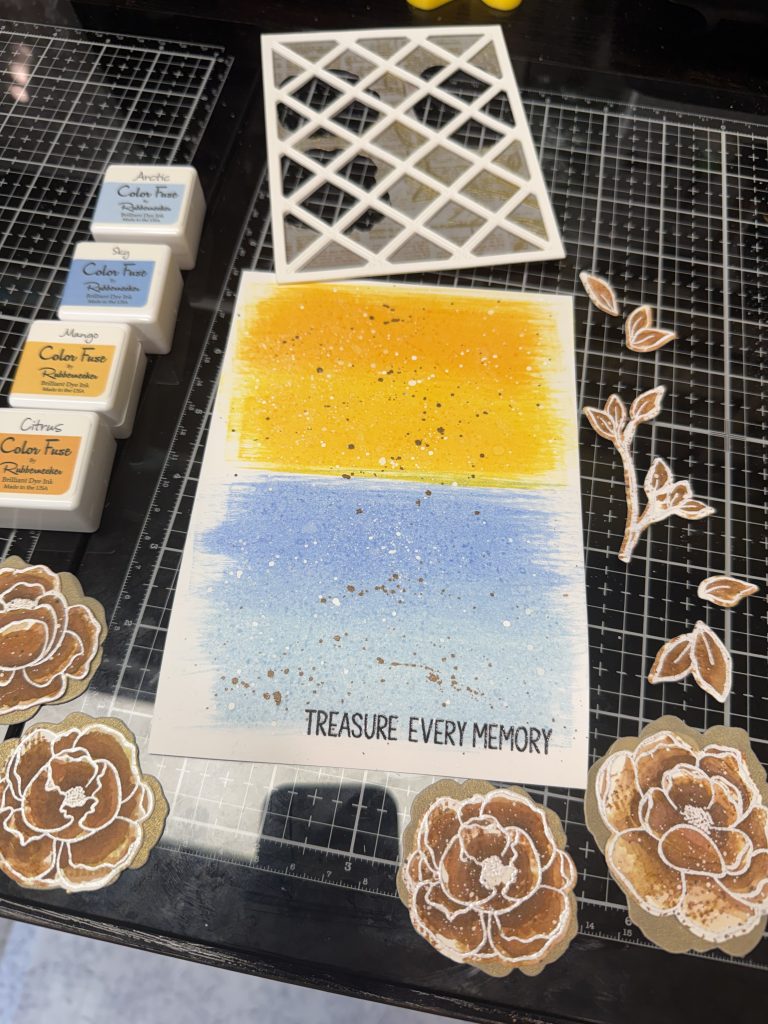
- Using the Always Peony set and Versamark ink stamp the 3 blooms (I did the smallest bloom 2X) and all of the leaves and stem onto the news paper watercolor paper piece. Cover with fine white embossing powder and heat set. Use the coordinating dies to cut out all. Using a waterbrush, Cinnamon ink, and Caramel ink- do a sloppy watercolor onto the blooms and foliage. I dried between layers, just a bit. The water brush and dye ink will do the work, for you. Just play with it. Adding rich color to the places you feel look nice. Set aside.
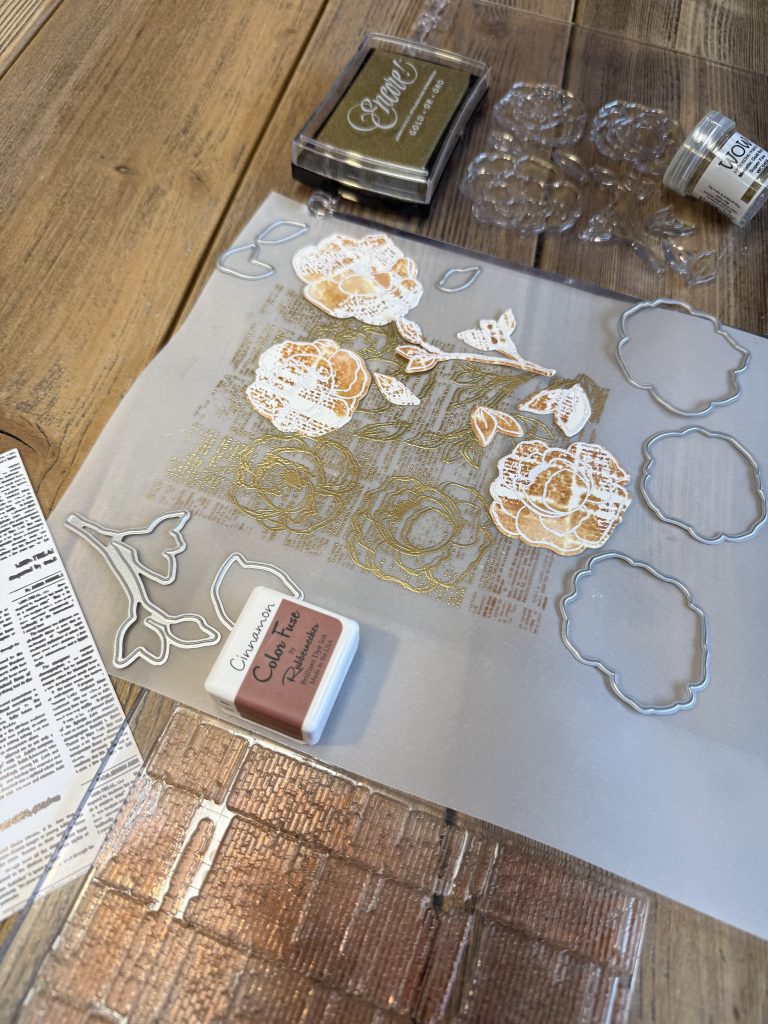
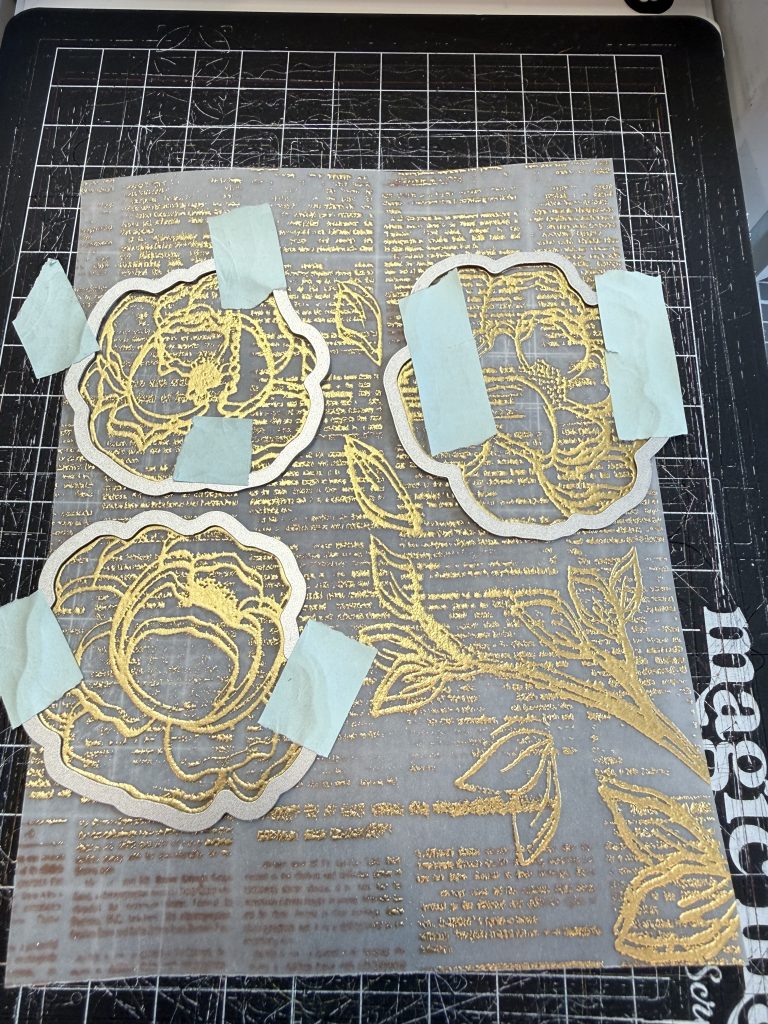
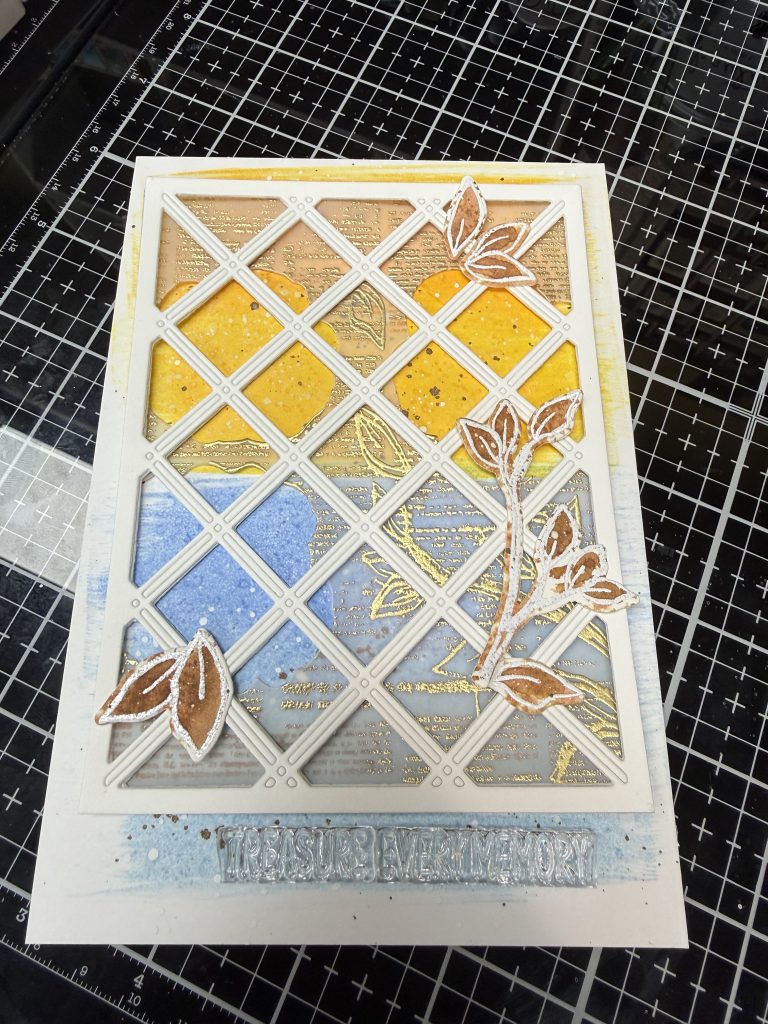
- Using Cinnamon ink again, ink up the News Paper background & stamp this time, onto vellum. Pour gold embossing powder over and Heat set. Ink the foliage from the Always Peony stamp set (I did the florals too, for a guide- but you can simply skip the florals and stamp just the stem and leaves that will show through the opening). Apply gold embossing powder and heat set. Taking the coordinating dies die cut from the vellum 3 of the blooms. This is going to give you placement for the watercolor blooms, and a window (refer to photos) to see the background.
- Using the same watercolor paper (cut to 4-3/4”X6-3/4”) Take Arctic, Sky, Mango and Citrus inks and swipe directly onto the paper. See photo. Splatter this piece with a brown liquid watercolor or the cinnamon ink on a glass mat with water AND your fav white acrylic paint. Also, splatter using same mediums the blooms & foliage.
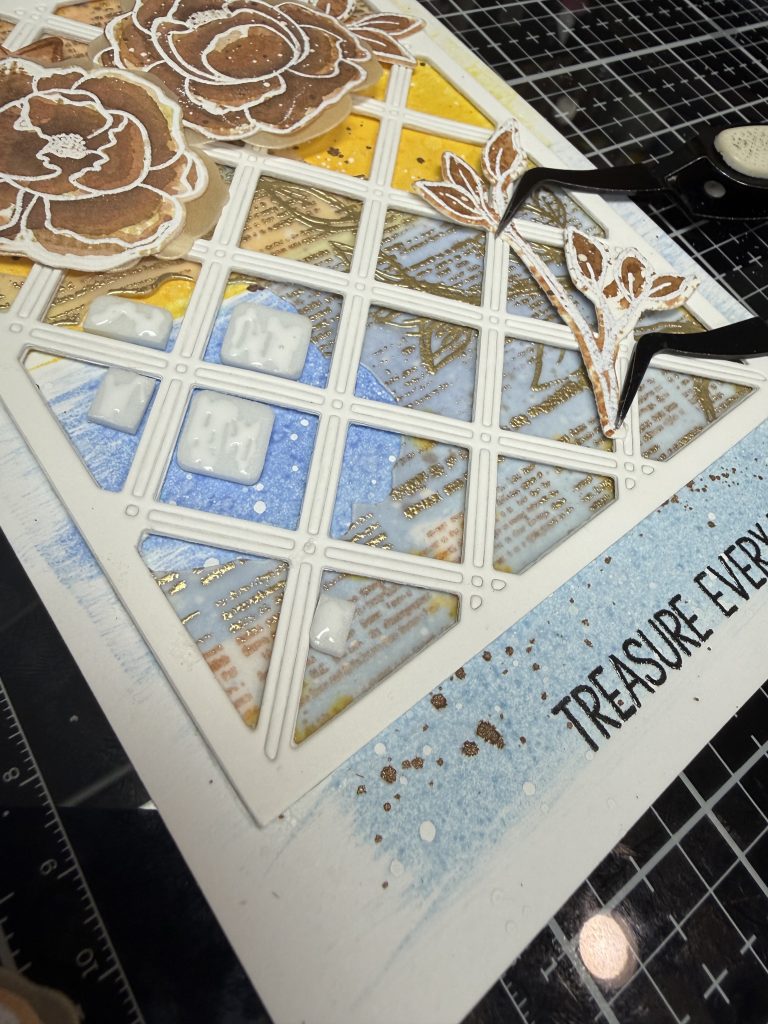
- Die cut 3X from a heavy weight white card stock the Crosshatch Cover Die. The cardstock should be thick enough to hold the tiny pieces in the cardstock. You certainly can remove them for a more lattice, open look. I left them in. Adhere all 3 together, for dimension. Place over top of the swiped yellow and blue watercolor paper with the Diecut vellum layer underneath to visually reference and begin to layout the foliage and blooms above. Plan your placement, if you will.
- Using the sentiment of choice from the Floral Memories stamp set, ink up and heat set using black ink. I chose to create my own sentiment using parts of the sentiment within the stamp set (see photos).
- From Gold Vellum, using the 3 different blooms coordinating dies cut out 3x each size, the blooms to create a shadow type background for each of the 4 blooms that will be on the card front. This step is very to liking; You will create the shadow by simply layering them under the watercolor bloom in layers with liquid glue.
- Assembly time: Using liquid glue layer your Crosshatch layer piece to the vellum embossed piece. Trim any excess off with fine scissors. I chose to have the “window” (cut out with the bloom coordinating dies/above step) to be on the top right, revealing the yellows, prominently. This way my stems were nicely visible and the News paper print was facing up, correctly too. Using liquid glue secure the vellum, crosshatch layer to the inked background piece. Now adding foam adhesive, only in the spaces, attach the blooms and leaves to desired locations on the card front. I was careful to place the brown (non embossed) leaves within each grouping of the white embossed ones. Add a few tiny hearts, if desired.
- Hope you play along and love the process as much as your finished piece! ;0)