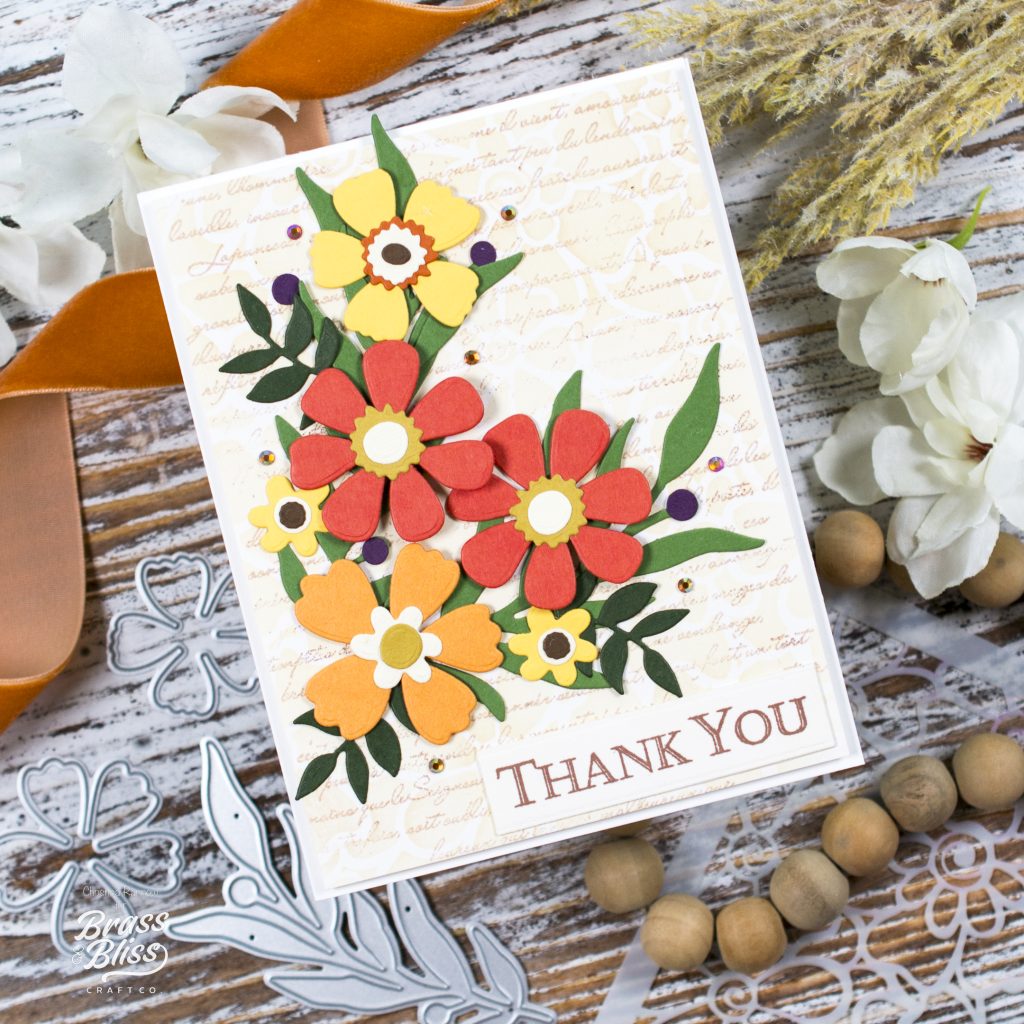
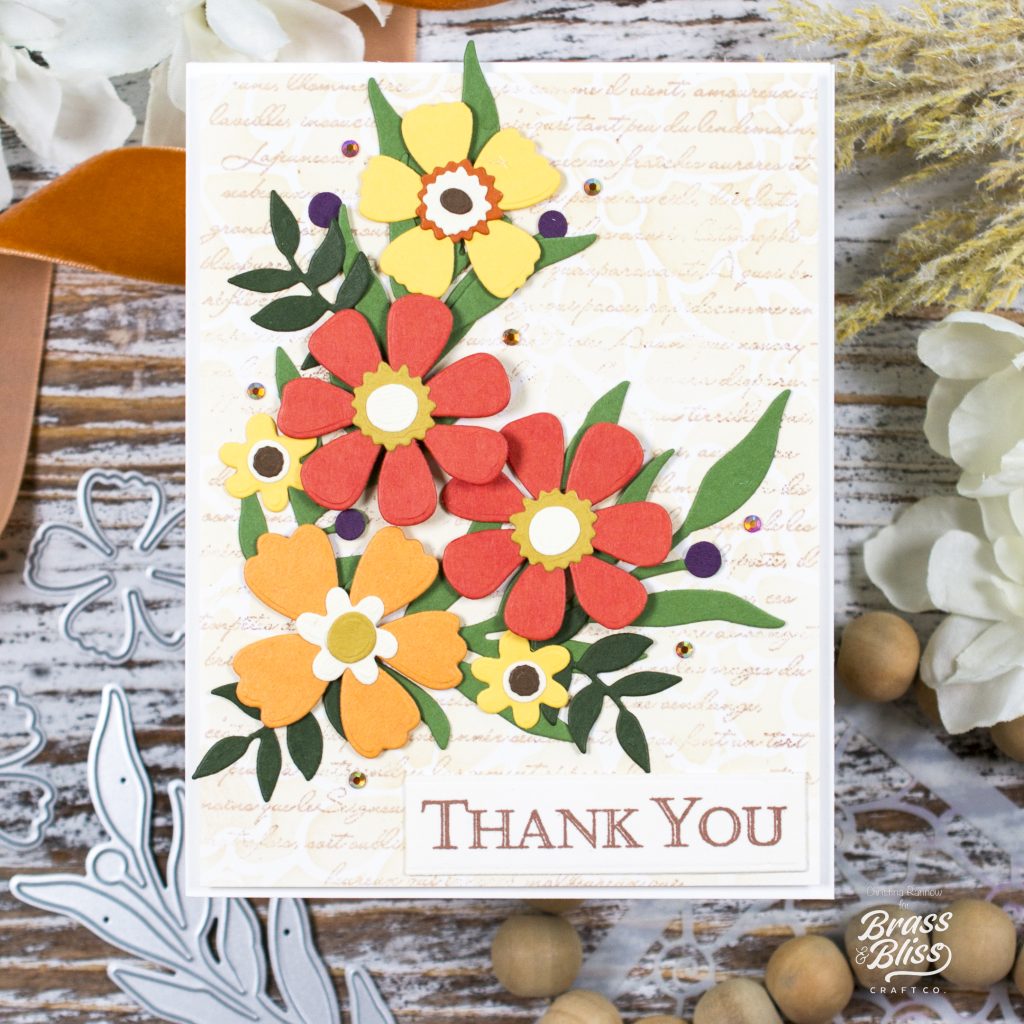
Create a stunning floral focal point for your Thank You card creations using your Spring Floral Dies.
Today’s stunning creation is from our designer, Christina, who created this classy ‘Thank You’ card using stencils, dies and background stamps. The subtle way she both stenciled and stamped the background, adds a huge impact to the overall look of the card. We are so in love with the colors she chose for this project as well. Even though we are in fall, we want to remind you to not be so quick to stash away those spring craft supplies, as you never know when a fresh ‘Thank You’ card project will be needed!
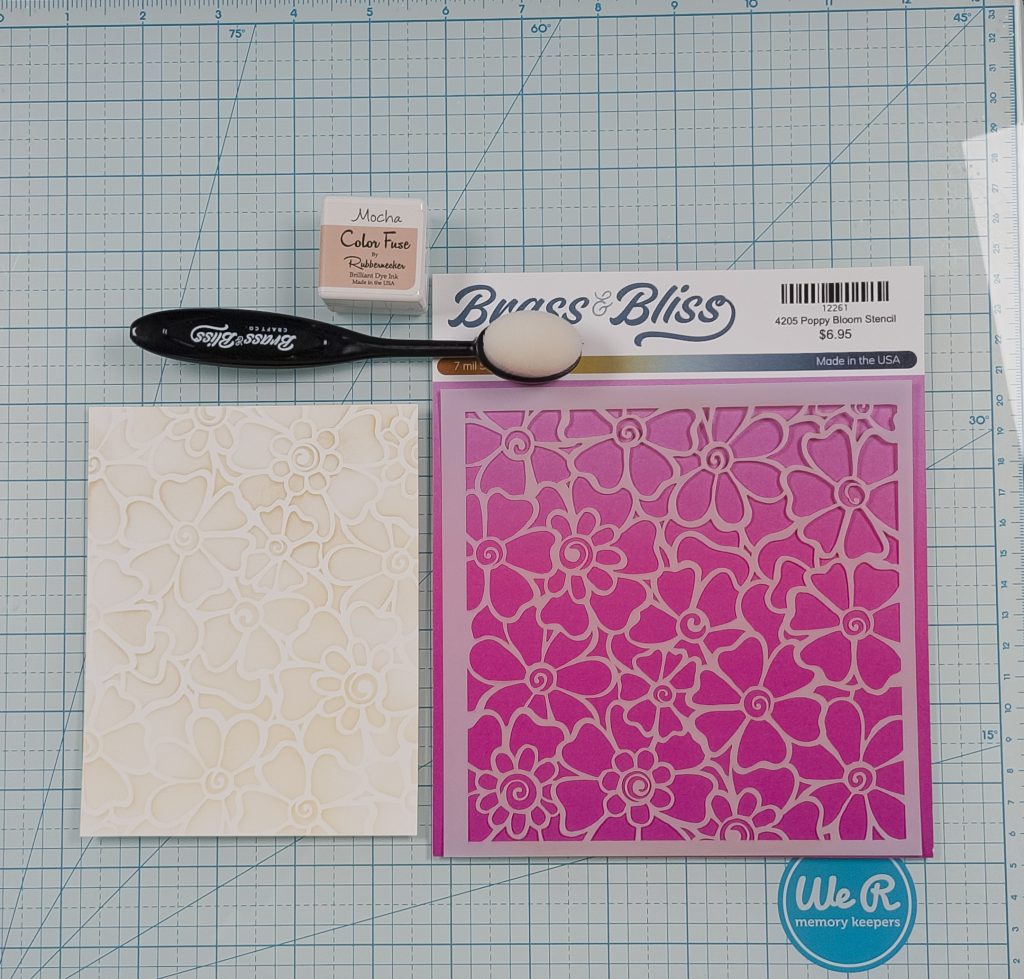
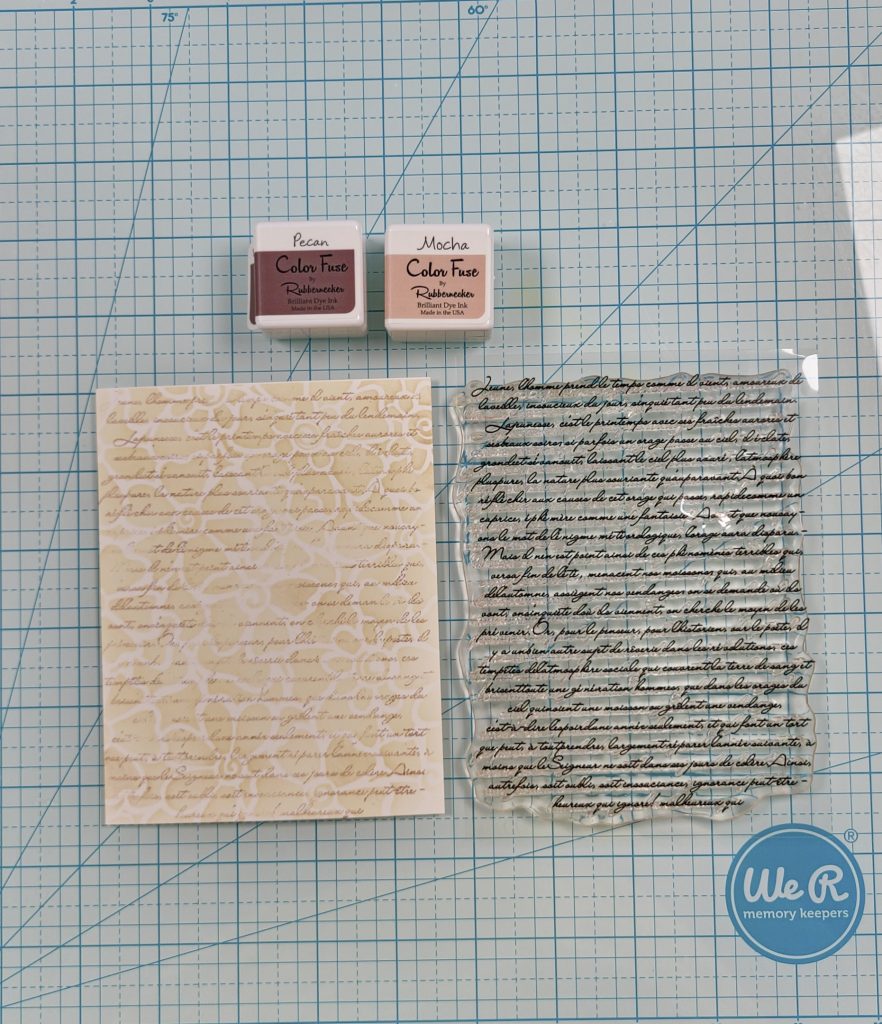
- Stencil the 4205 Poppy Bloom Stencil on an ivory A2 card panel with Mocha ink from Color Fuse Set #3.
- Stamp the 3487-09 French Script BG Stamp over the stenciled panel with Mocha ink.
- Trim ¼” from both sides of the panel and attach to a side-fold card base with foam tape.
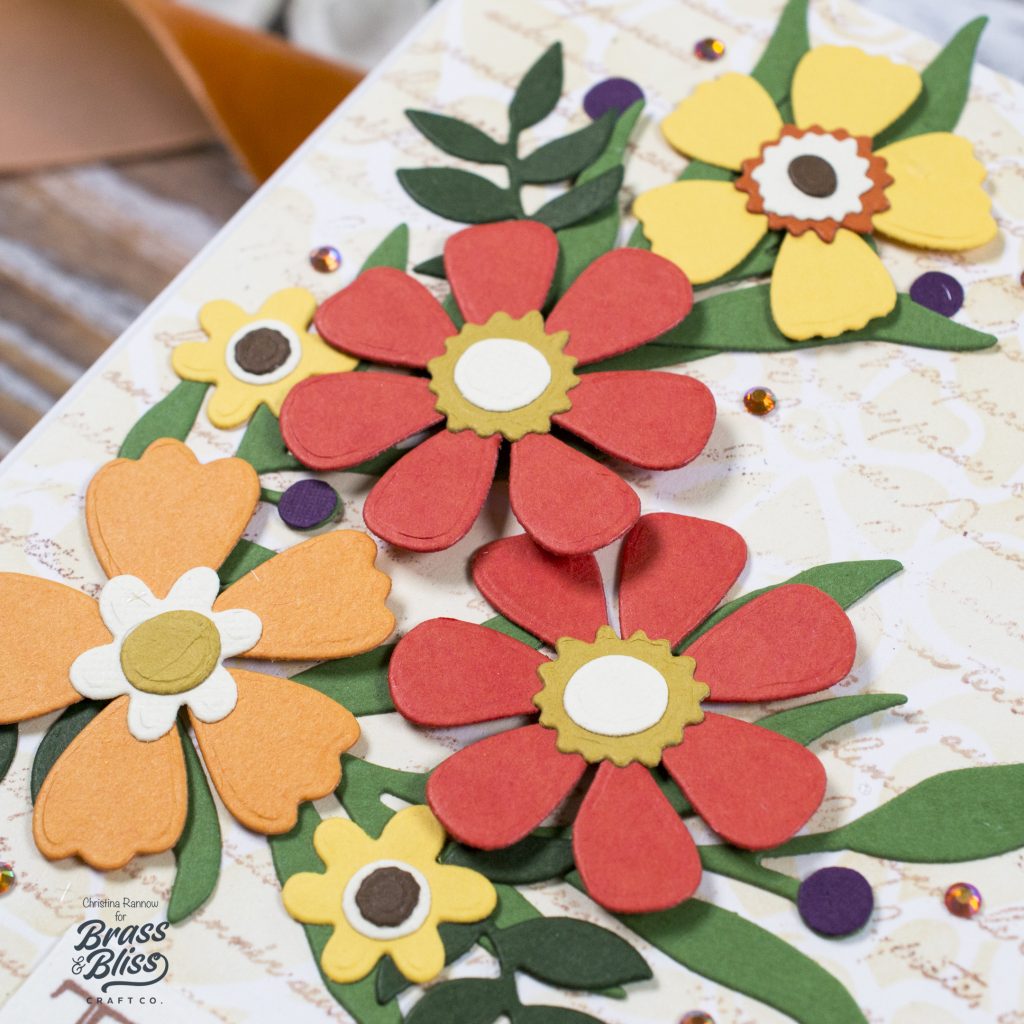
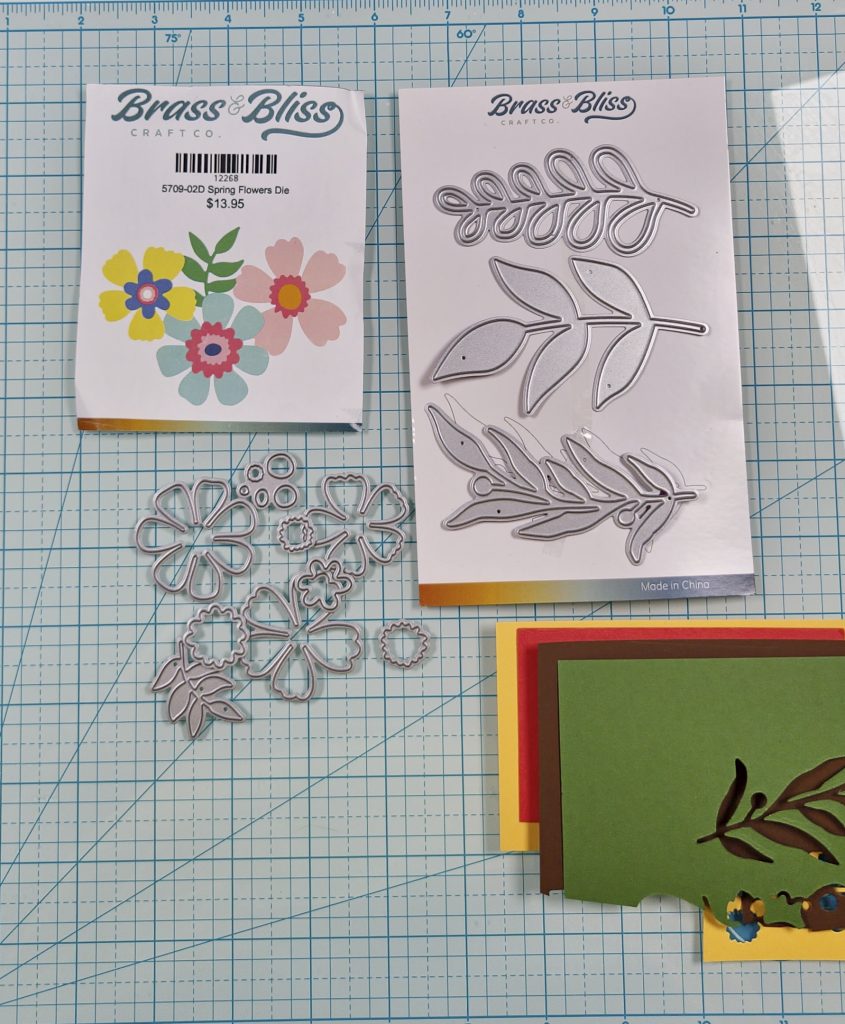
- Die cut flowers and leaves from sets 5709-02D Spring Flowers and 5611-07D Foliage Trio in fall-inspired colors.
- Assemble the flowers, securing with liquid adhesive.
- Arrange the flowers and leaves on the card front and attach with a combination of foam squares and liquid adhesive.
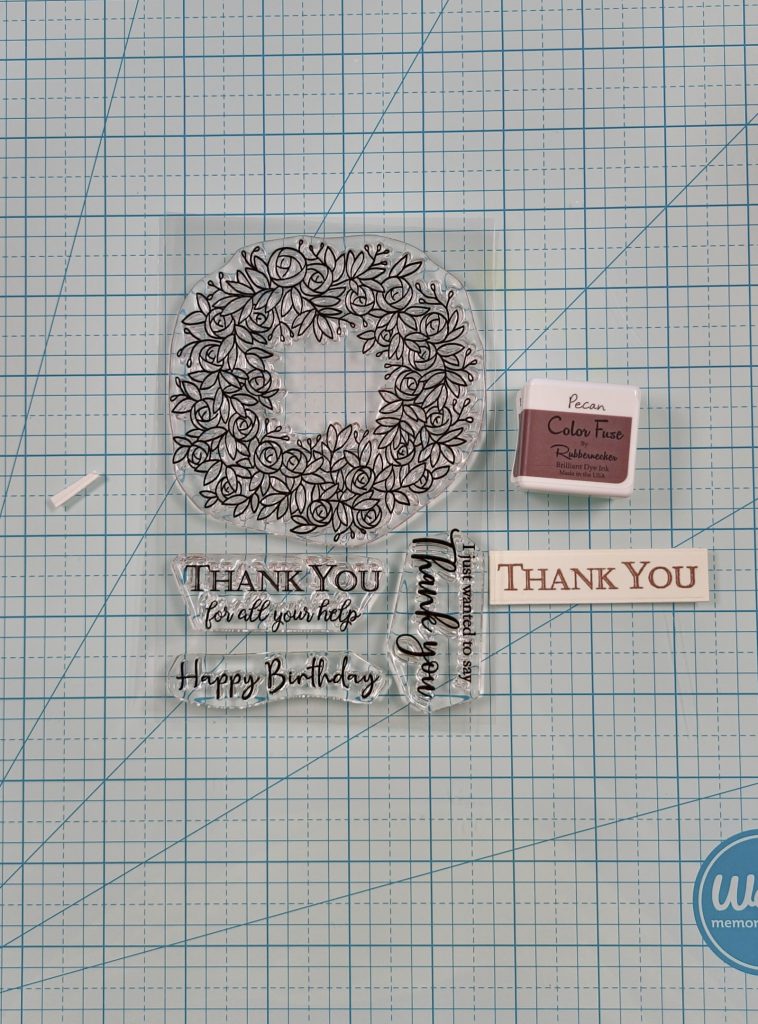
- Stamp the sentiment from 35050 Floral Wreath Stamp set with Pecan ink from Color Fuse Set #3 on ivory cardstock and trim around sentiment with a scissors.
- Attach the sentiment with liquid adhesive and add decorative gem embellishments.
We adore how this project turned out. The French Script background is a Best Seller Item, as it’s always such a nice elegant touch.