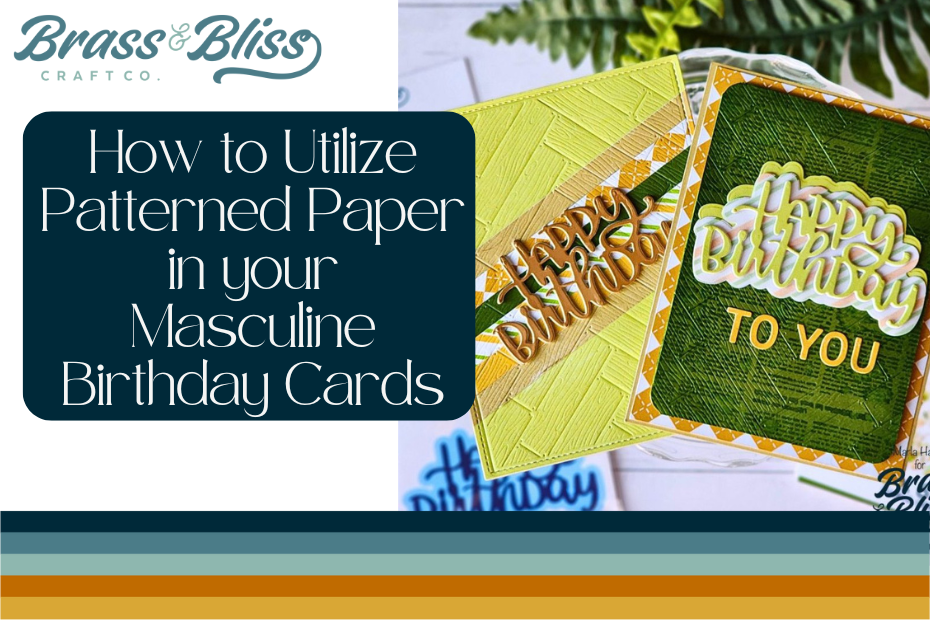
Do you struggle to make masculine cards? Today we are sharing a few tips and tricks to elevate a simple card design using pattern paper.
Today’s fun card designs are from our designer, Marla, who is giving us some awesome tips and showing us how to utilize patterned paper in our masculine birthday card designs. We are always looking for cards to fill up our birthday stash, so some fresh inspiration for the guys in our life is something we are always down to check out! Grab your favorite paper pad and let’s get started.
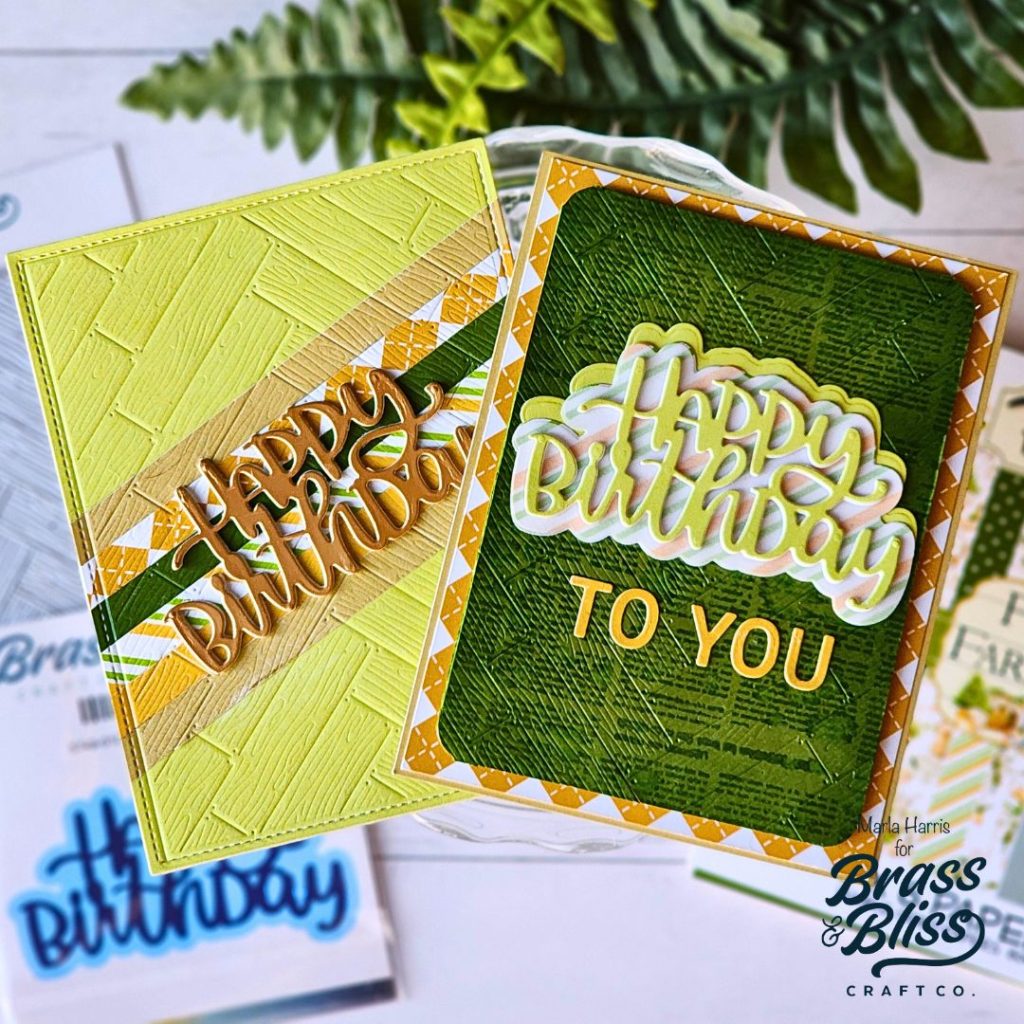
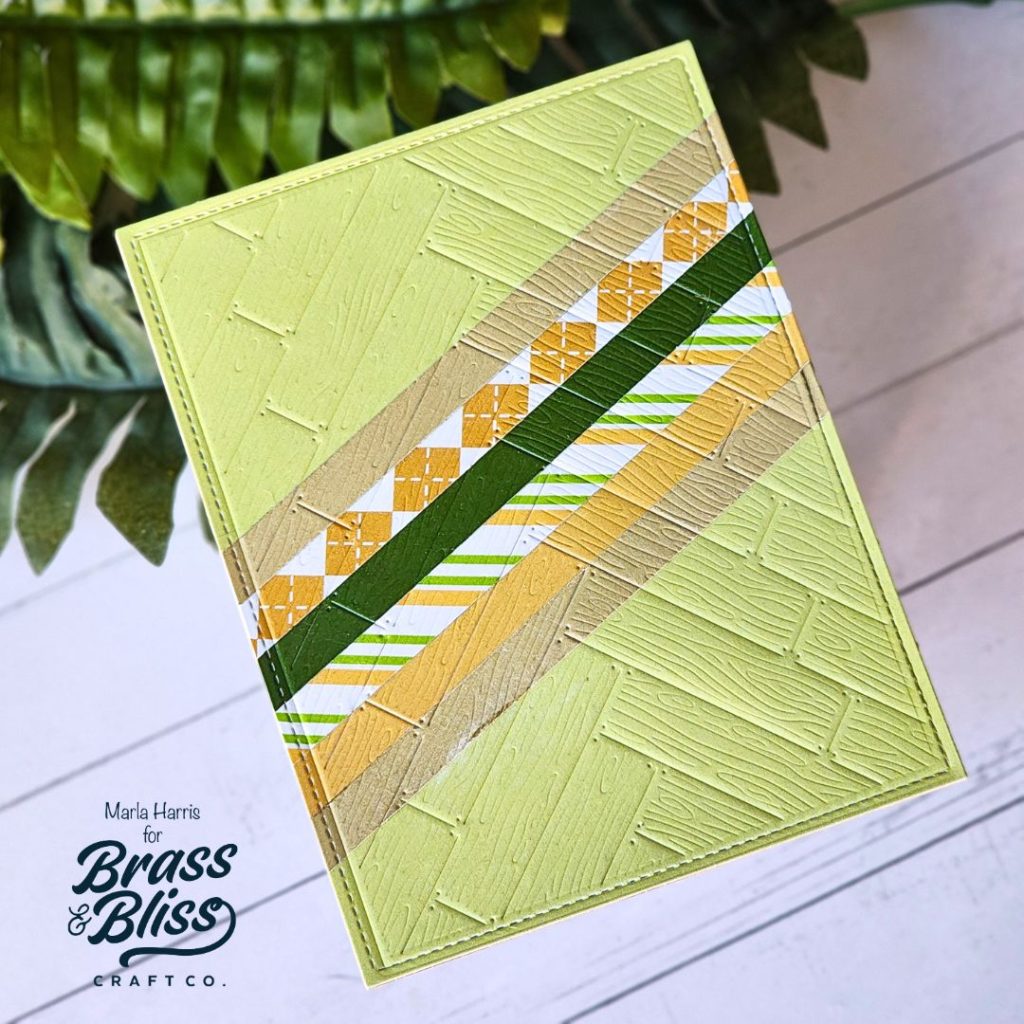
- Cut 1/4″ strips of pattern paper using our Festive Farmhouse paper pack. *Choose several different patterns.
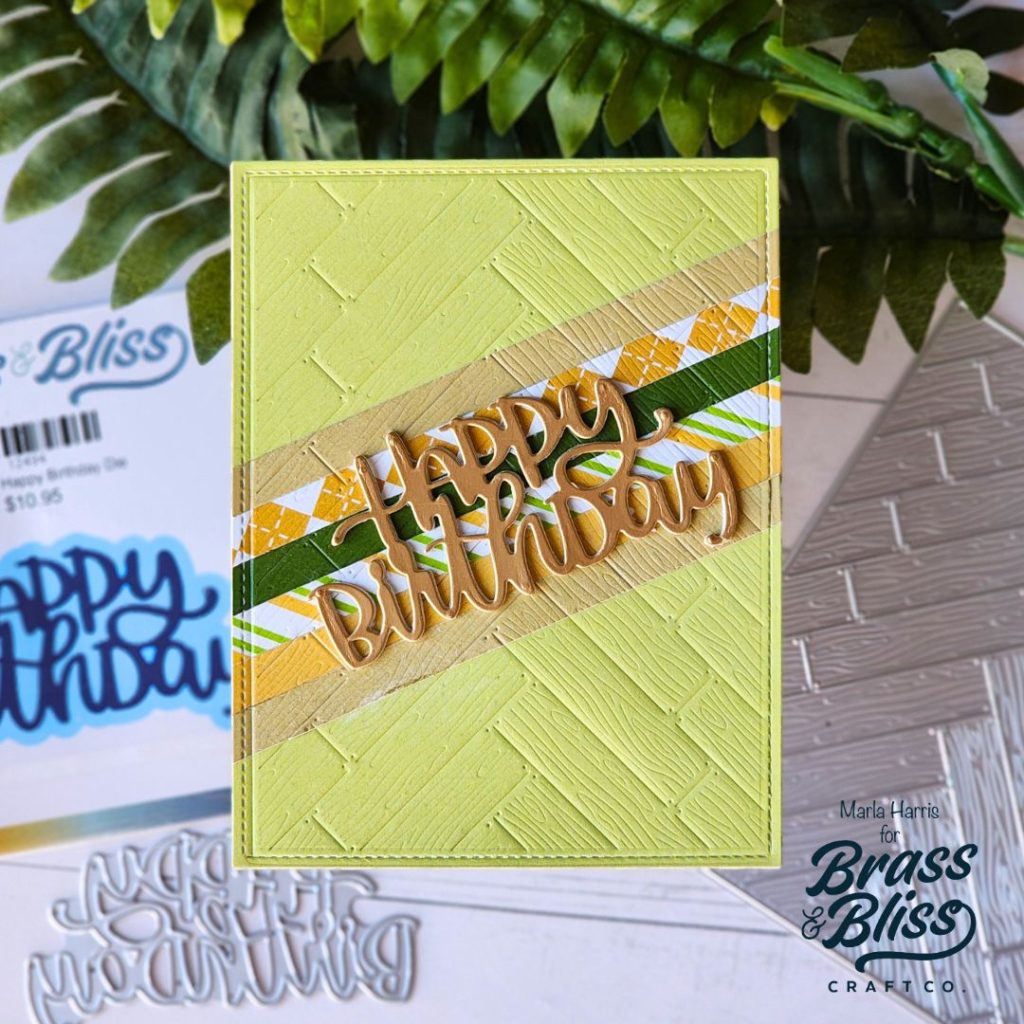
- Cut piece of *paper using our Festive Farmhouse paper pack to 4.25″ x 5.5″ and adhere it to another piece of A2 sized card stock to add stability to the panel for the next step. * Marla recommends a solid color for this.
- Adhere the 1/4″ strips of pattern paper, alternating the patterns, to the panel at a diagonal.
- Dry emboss the panel, using our 5708-01D Wood Plank die, onto the A2 card panel using your die cutting machine, embossing sandwich and a rubber mat.

- Cut the sentiment using our 5749 Happy Birthday die and matte gold cardstock.
- Cut the sentiment two more times from white card stock and adhere all three layers together for dimension.
- Adhere the sentiment to the card front at a diagonal.
- Adhere the panel onto an A2 top folding card base to complete the card.
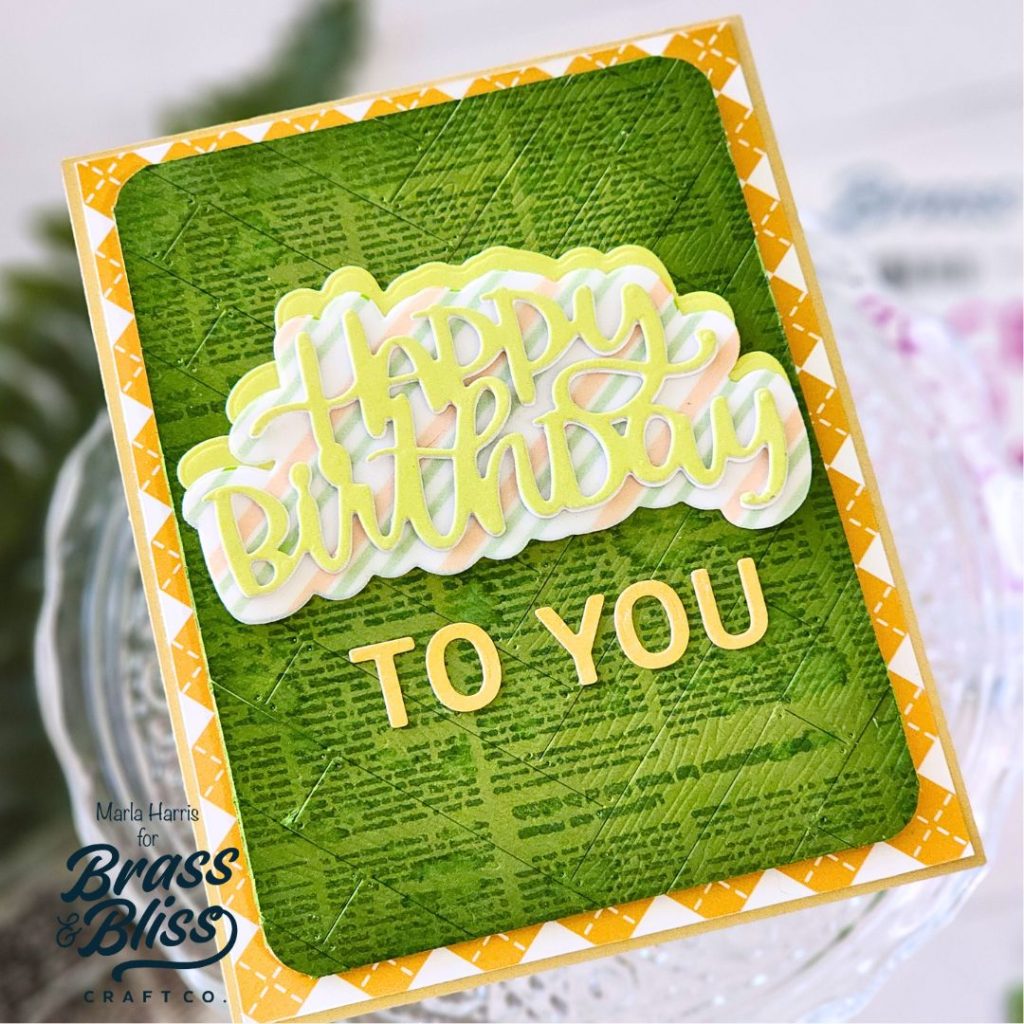
Let’s use the same products and add a background stamp to create one more masculine card.
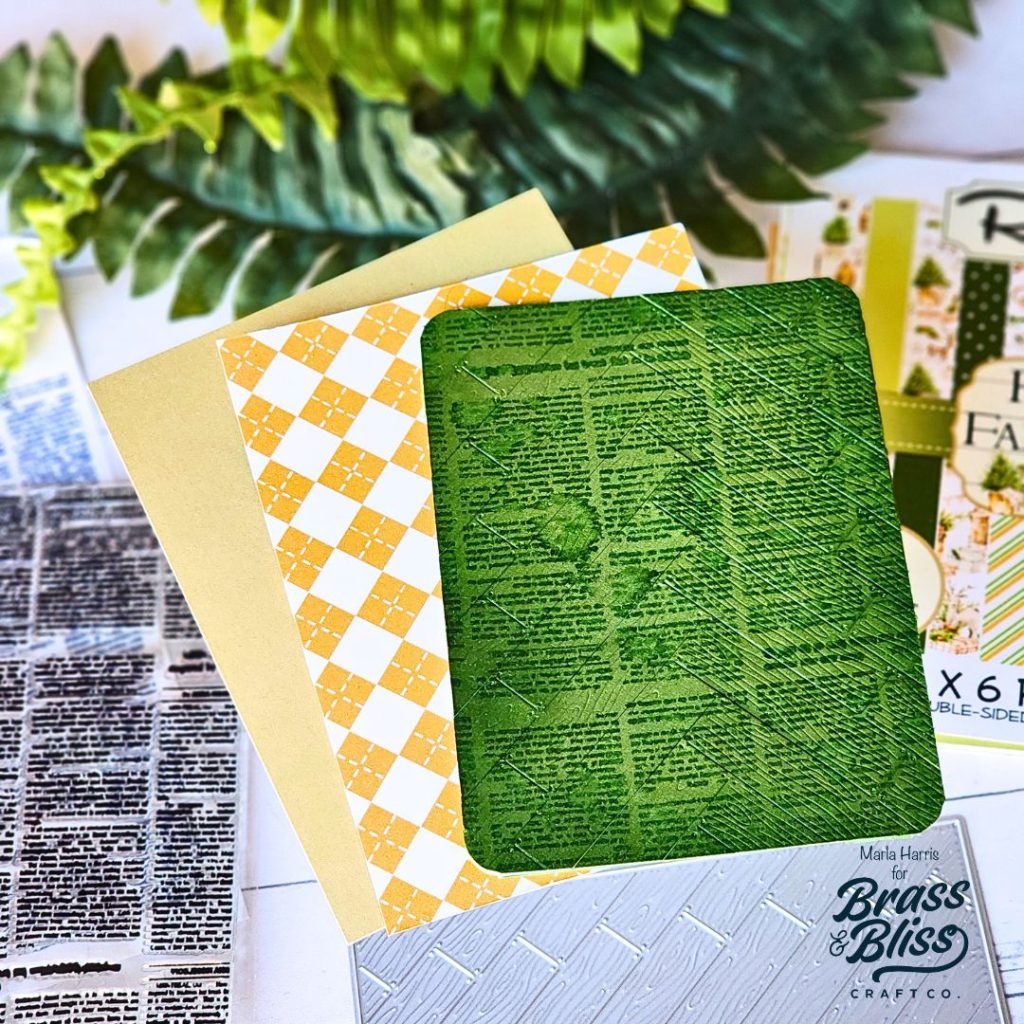
- Cut three pieces of pattern paper from the Festive Farmhouse paper pad to 4.25 x 5.5″, 4″ x 5.25″ and 3.75″ x 5″. Make sure two of the panels are solid colors and one is a pattern.
- Adhere the two largest pieces of pattern paper to an A2 top folding card base.
- Adhere the smaller panel to a piece of cardstock for reinforcement and round the corners.
- Stamp onto the smaller panel using Basil ink and our 35022 News Paper Background stamp.
- Ink the edges of the paper with the Basil ink and splatter with water. Either let the panel dry naturally or speed it up with a heat tool.
- Add foam tape to the back of the panel and adhere it to the card front.
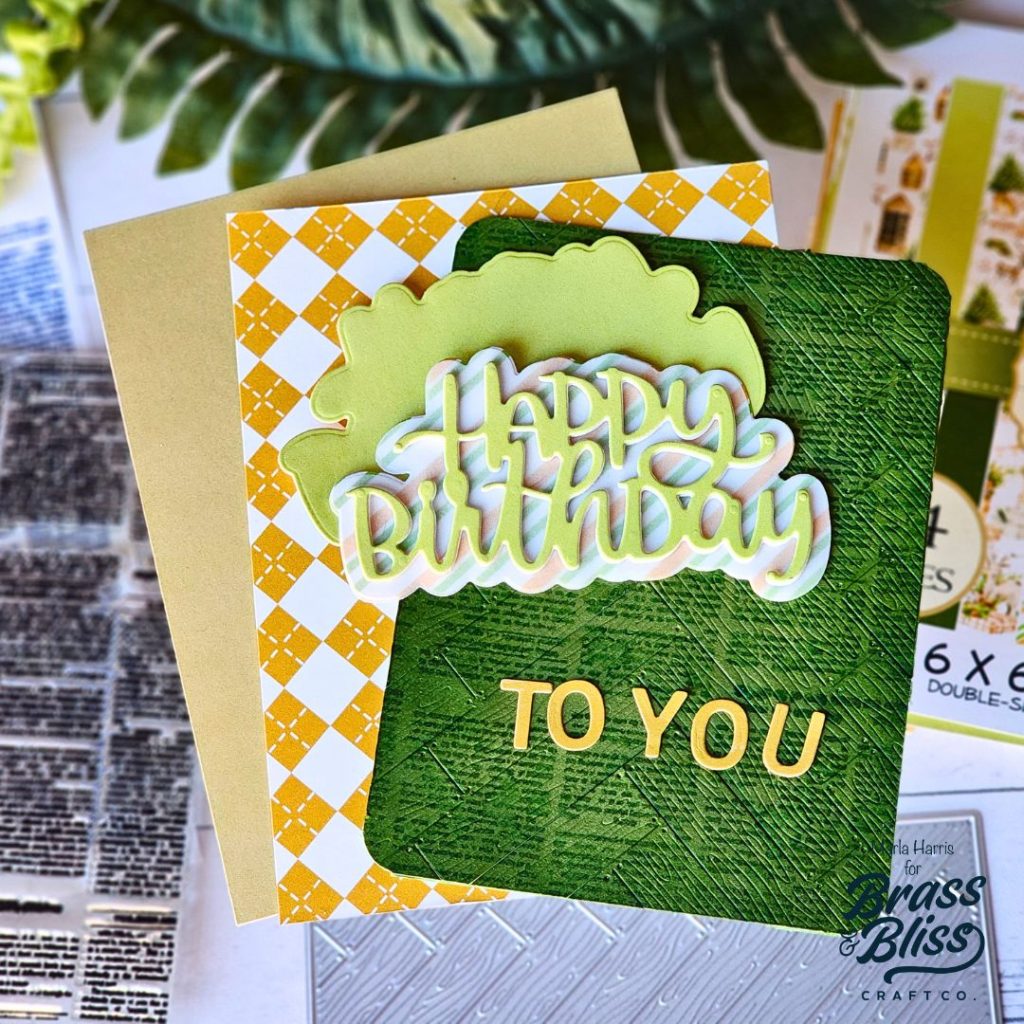
- Die cut the “Happy Birthday” sentiment using our 5749-01D Happy Birthday die. Cut the sentiment once from the light green solid paper in our Festive Farmhouse paper pad and two more times from white card stock.
- Adhere all three pieces to create a dimensional sentiment.
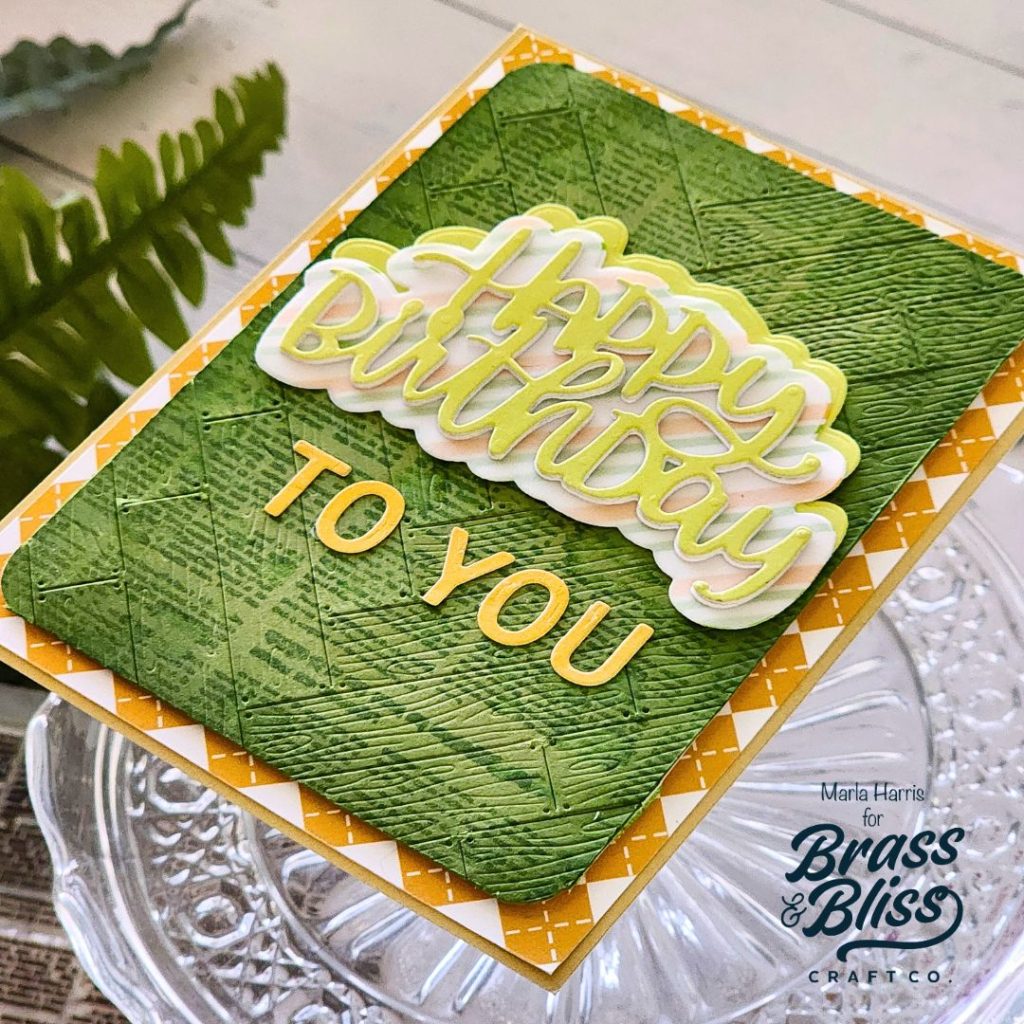
- Die cut the shadow layer from our 5749-01 Happy Birthday die once from the striped pattern paper in our Festive Farmhouse paper pad, once from the light green solid and once from vellum.
- Adhere the dimensional sentiment to the vellum shadow using wet glue. *Tap the sentiment with glue onto a scrap paper before attaching to the vellum to prevent any oozing of the glue onto the vellum.
- Adhere the vellum layer onto the striped shadow. Carefully add the glue to the backside of the letters to conceal the glue.
- Adhere the shadowed sentiment to the final green shadow layer offsetting the shadow layers.
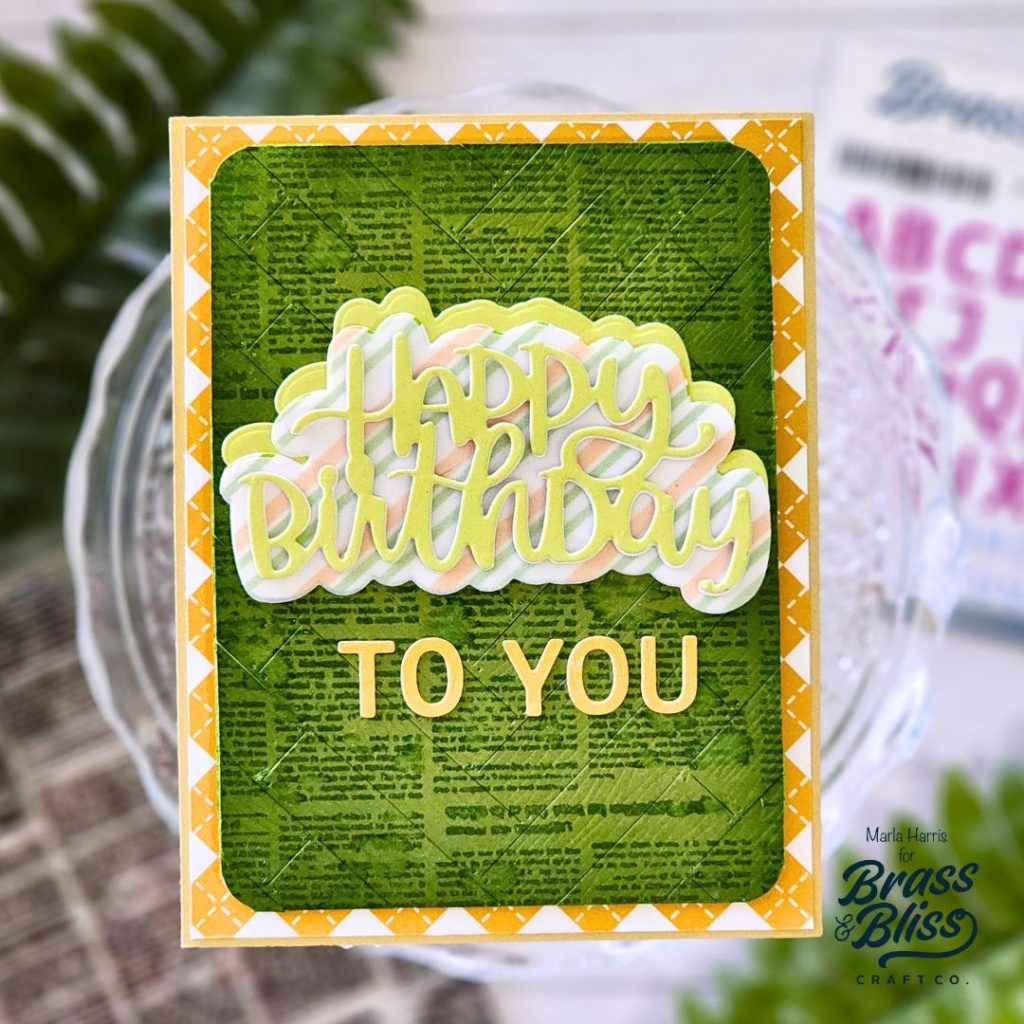
- Die cut the “To You” sentiment letters twice using our 5618D Classic Small Alphabet die and a solid piece of paper from the Festive Farmhouse paper pad.
- Adhere the two layers together for dimension.
- Complete the card by adhering the sentiment to the front of the card panel.
We hope you loved learning How to Utilize Patterned Paper in your Masculine Birthday Cards. These projects are fun and creative and allow us to use some of those patterned papers we have been holding onto for awhile. If you are looking for more birthday inspiration, be sure to check out our new “Blissful Celebrations” release, that came out yesterday, and check out other birthday projects HERE.