Looking for a fun new way to make your backgrounds pop? Try brayering your inks or paints and make unique backgrounds that will set your card apart.
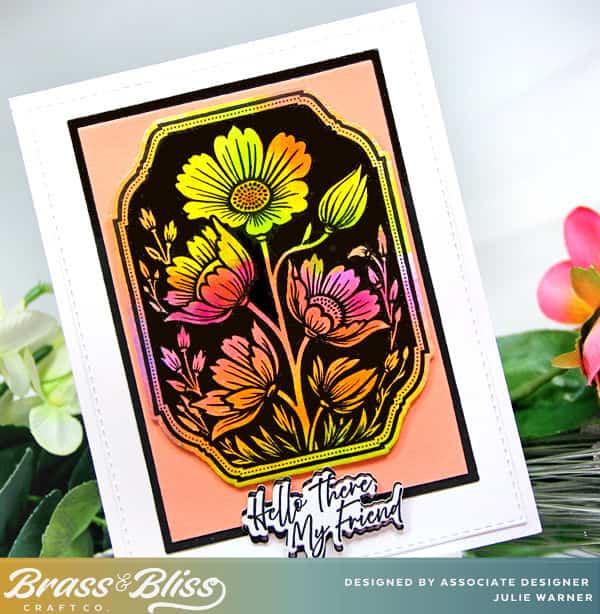
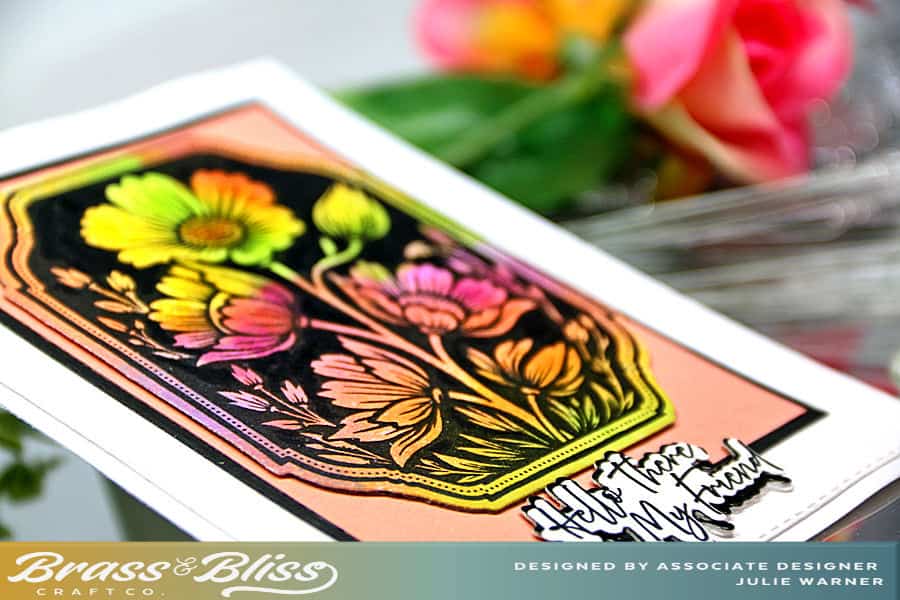
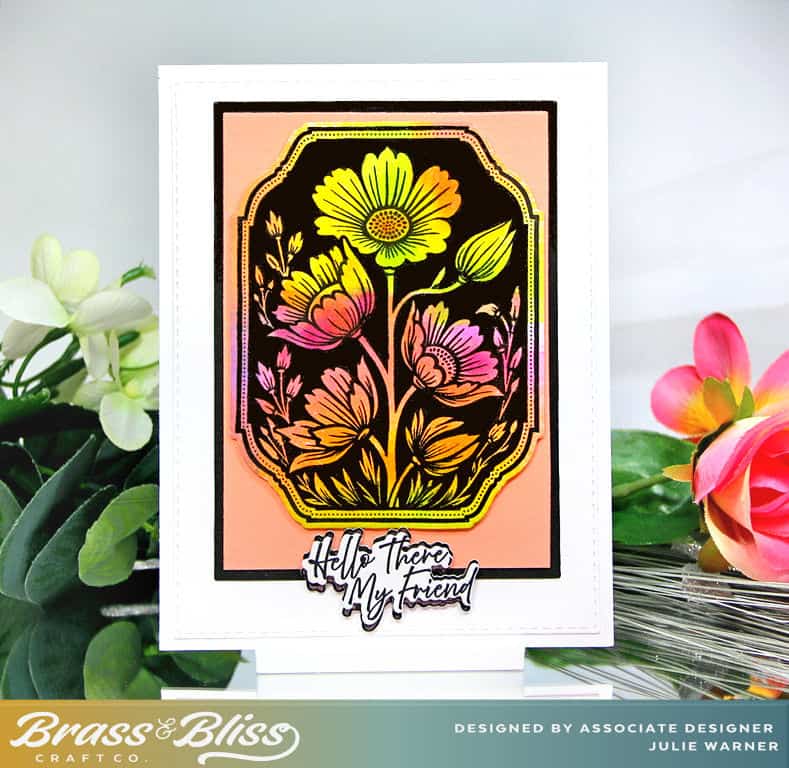
Today’s beautiful card is by our designer, Julie, who showed us this stunning card creation last week using this same ‘brayering’ effect. She is using one of the stunning new florals form the ‘Sensational Spring’ Release that dropped this past week, and we are obsessed with how this card turned out. Julie said, “My bright floral card is not at all hard to make & the bright colors really pop against the black of the background.” Follow along as Julie shows us how to make a brayered ink background for floral silhouettes.
How to make this card:
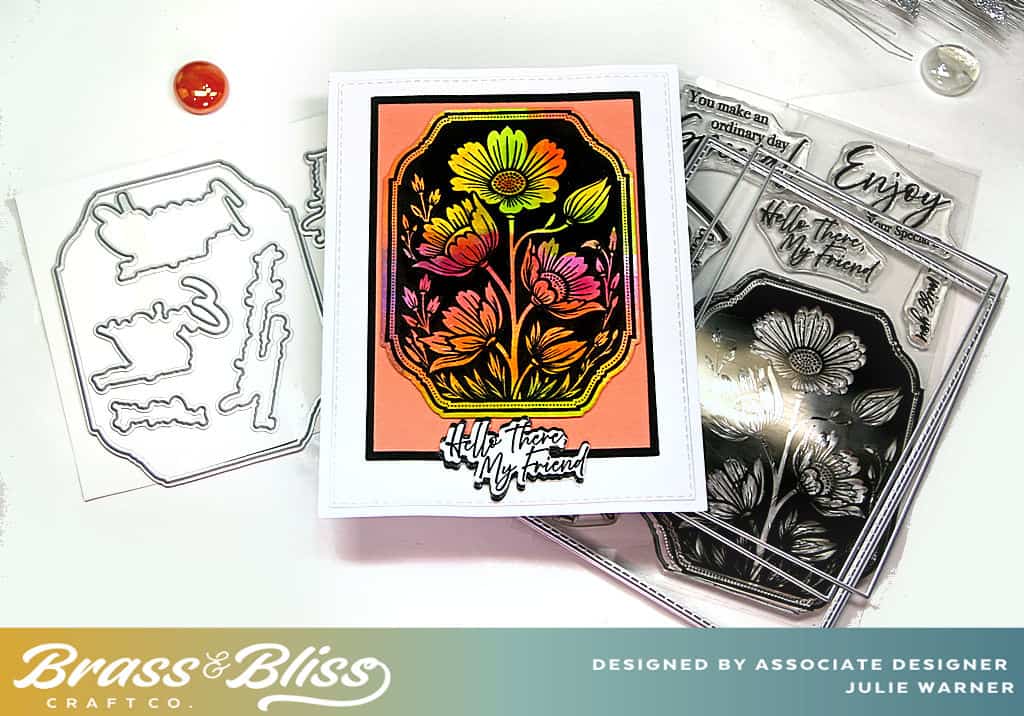
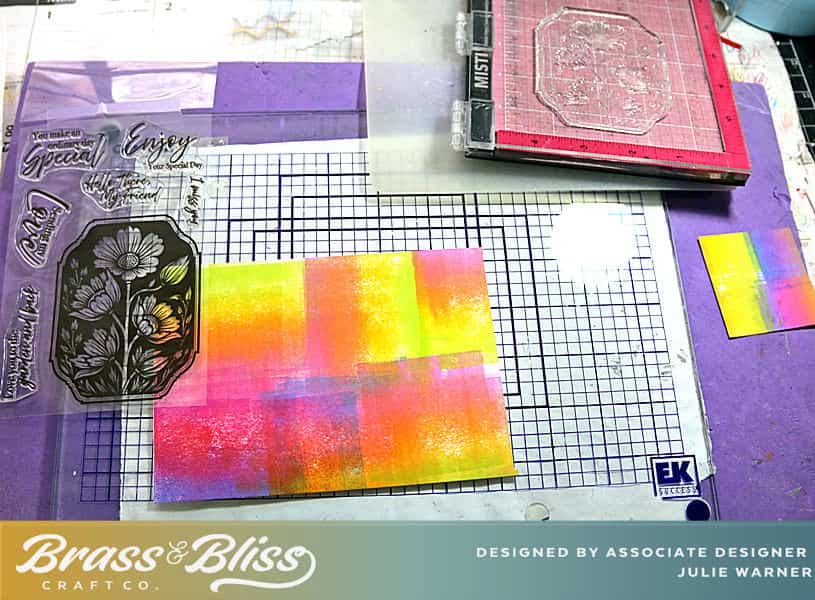
- I took the plastic sheet the stamps come on & used the printed image to put on top of various backgrounds to see what would look good against the black. I came across a little square w/ bright colors brayered onto it. It wasn’t big enough, so I got the rainbow pads I’m pretty sure I used, & made a larger background.
- Then I positioned the image around to see what I liked best, put the image & the background into my Misti & stamped it several times w/ the Versaclair nocturne to get good coverage.
- Here is a picture of the brayered background I made. As you can see, it’s not perfect or arranged in any way. It’s just bright colors brayered on in a haphazard manner. No need to get too precise as only the colors will show through.
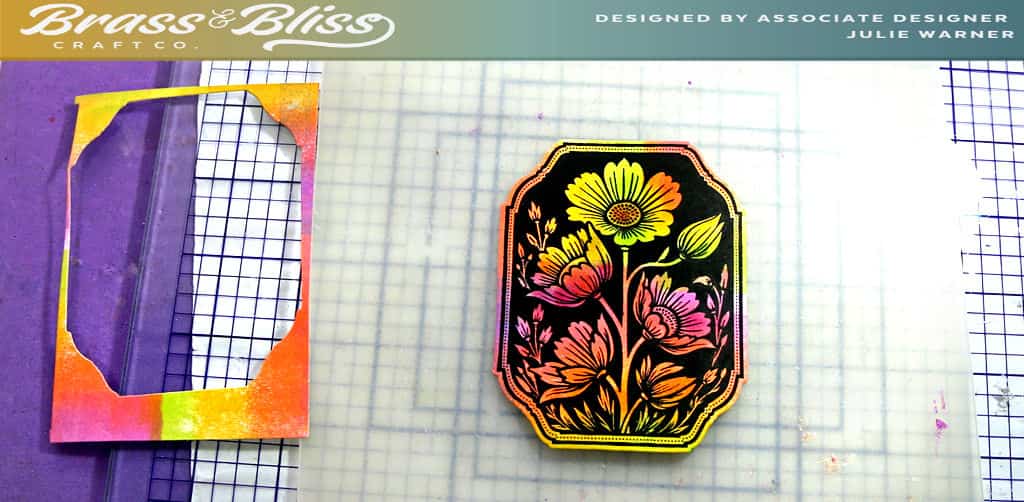
- This is how it looked after I stamped it & die cut it w/ the coordinating die. Using the printed plastic sheet makes it easy to see where to stamp it. Since there was a lot of black ink on it, I used a heat tool to dry it before I die cut it.
- The image was layered onto a piece of card board for a little elevation, before adding a peach & narrow black mat behind it.
- The greeting was stamped, die cut & I also used the greeting die to cut 2 out of black to use as a shadow above & below.