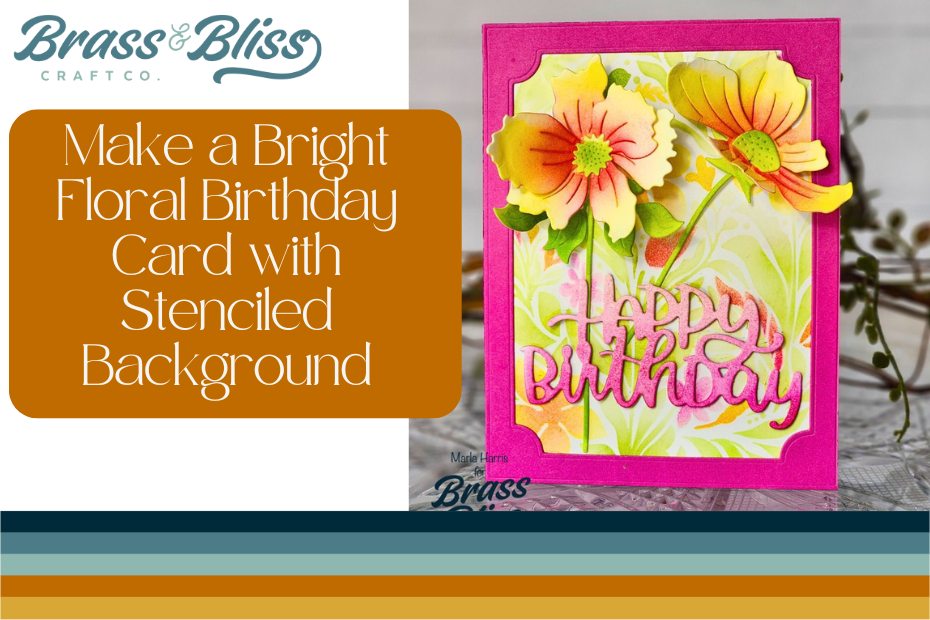
Sometimes the inspiration runs dry and we struggle to come up with a card design that feels fresh and makes us want to hit our craft room. Check out this stunning floral card that sparks creativity and leaves us itching to craft.
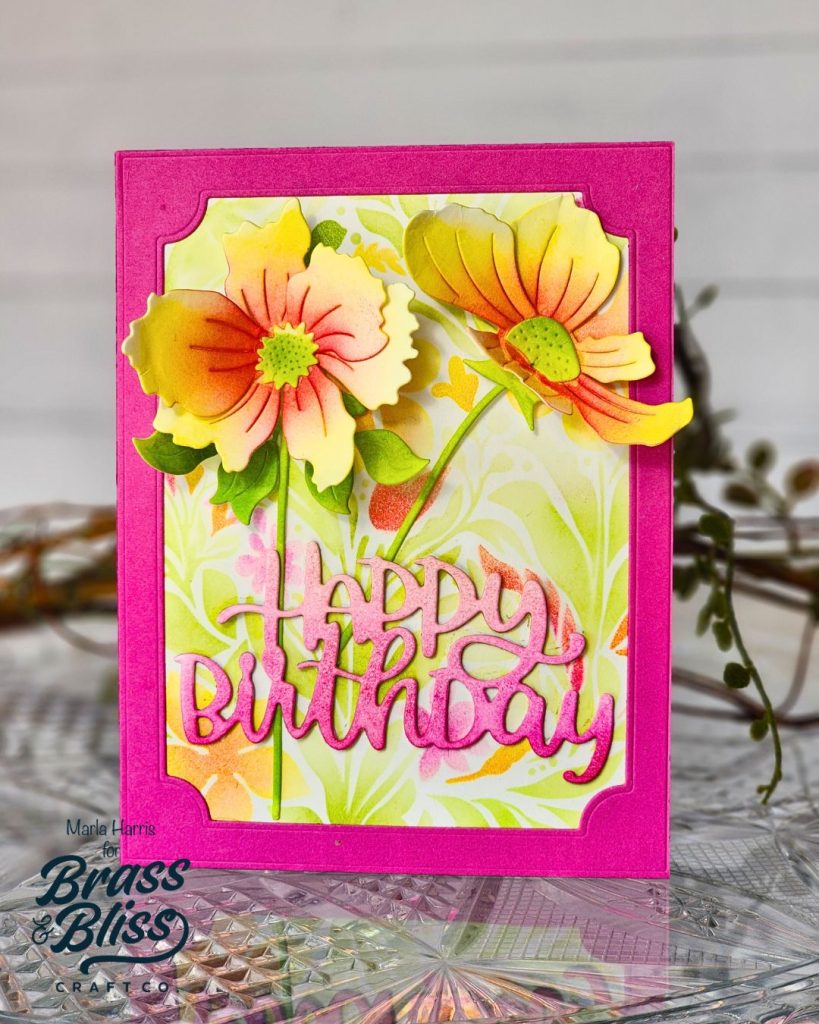
We are hitting that time of year when we begin to long for warmer days and the sweet scent of flowers in full bloom. Marla is on the blog today with a card that will warm your soul, if only for a moment. Let’s take a look at her card and see how to make a bright floral birthday card with a fun stenciled background.
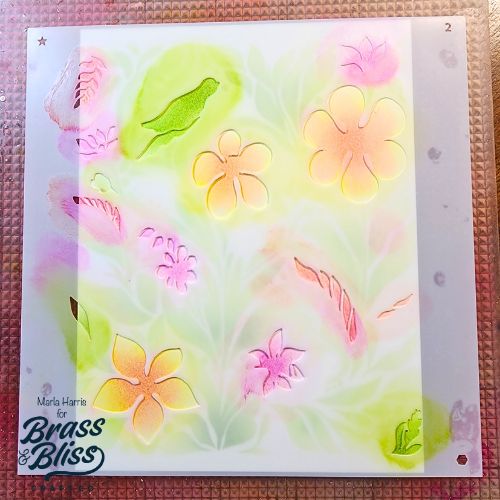
- Cut a piece of white cardstock to 4.25″ x 5.5″.
- Stencil the floral background using our 4405 Floral Abstract Stencil and the following ink colors: Lemon, Custard, Fern, Grass, Juniper, Rose, Bubble Gum and Posey inks and a blending brush.
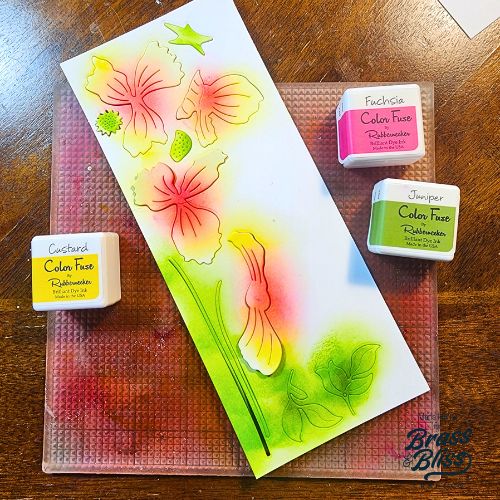
- Using white cardstock, die cut the flowers using our 5808-01D Build a Bloom Anemones Die.
- Color the die cut pieces using combinations of Custard, Fuchsia, Grass and Juniper ink and a blending brush.
- Assemble the flowers.
- Add dimension to the petals by rolling a stylus from the center of the petals to the ends.
- Repeat the process with the leaves.
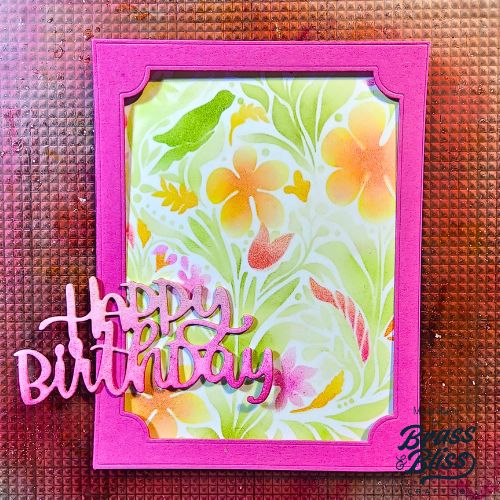
- Die cut the frame from Fuchsia cardstock using our 5852-02D Framed Tag Cover Die.
- Die cut the sentiment three times from white cardstock using our 5749-01D Happy Birthday Die.
- Ink the sentiment using Rose, Bubble Gum and Fuchsia inks.
- Assemble all three layers together for added dimension.
- Assemble all of the pieces onto an A2 card base to complete the card.
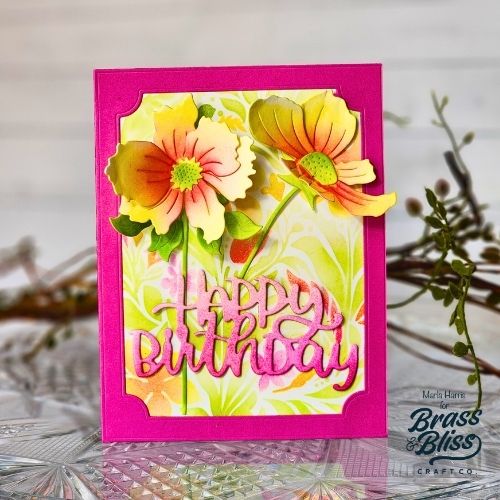
So bright and happy. This card really feels like it’s bringing all the warm spring vibes and we can’t wait for all the upcoming florals to start showing up around us.