
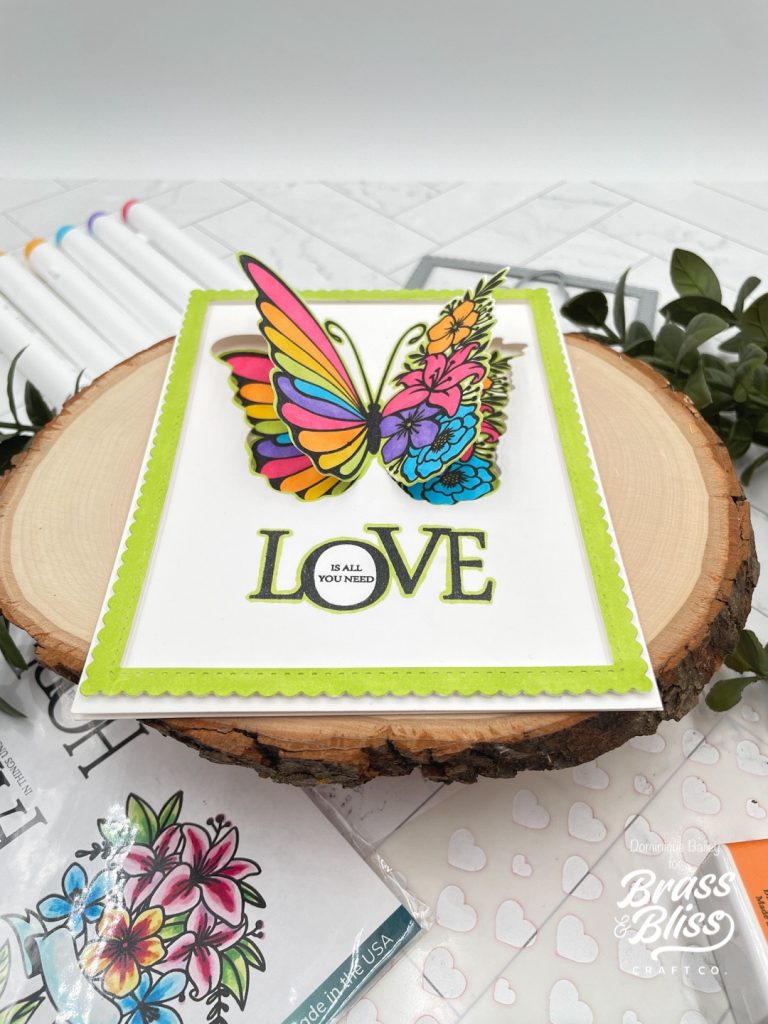
Double the inspiration, double the fun! Color up this stunning butterfly and make two dazzling cards that give 3D whimsical vibes.
Today our designer, Dominique, is giving us TWO wonderful designs using the Butterfly Flower set. She will create a pop-up butterfly card using simple stamping and partial die-cutting techniques. Follow along to make your own beautiful card!

How to make these cards:
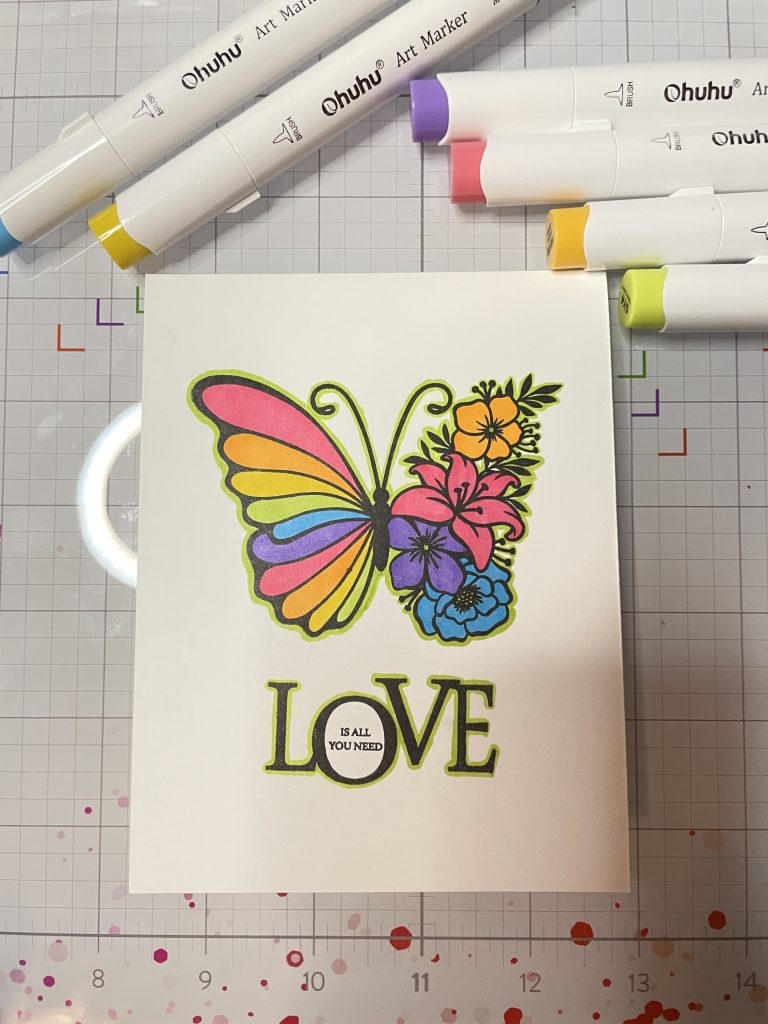
- Begin with a top-folding 4 1/4 x 5 1/2 white card base. Line up your images inside your stamp positioner. I’ll be using the butterfly image and the ‘love’ sentiment from the 35007 Butterfly Flowers set. Stamp the card front using alcohol-friendly ink.
- Next, open your card, and stamp just the butterfly image on the inside.
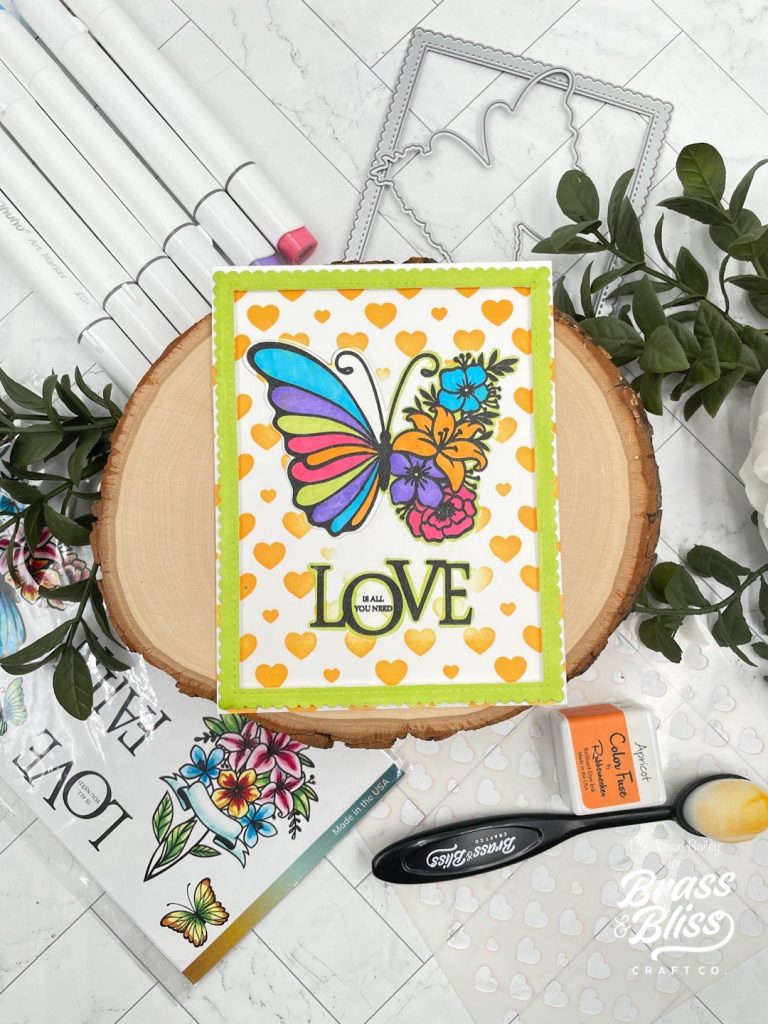
- Color in your butterflies using your desired colors. I went with rainbow color scheme. I also outlined the image in a green color.
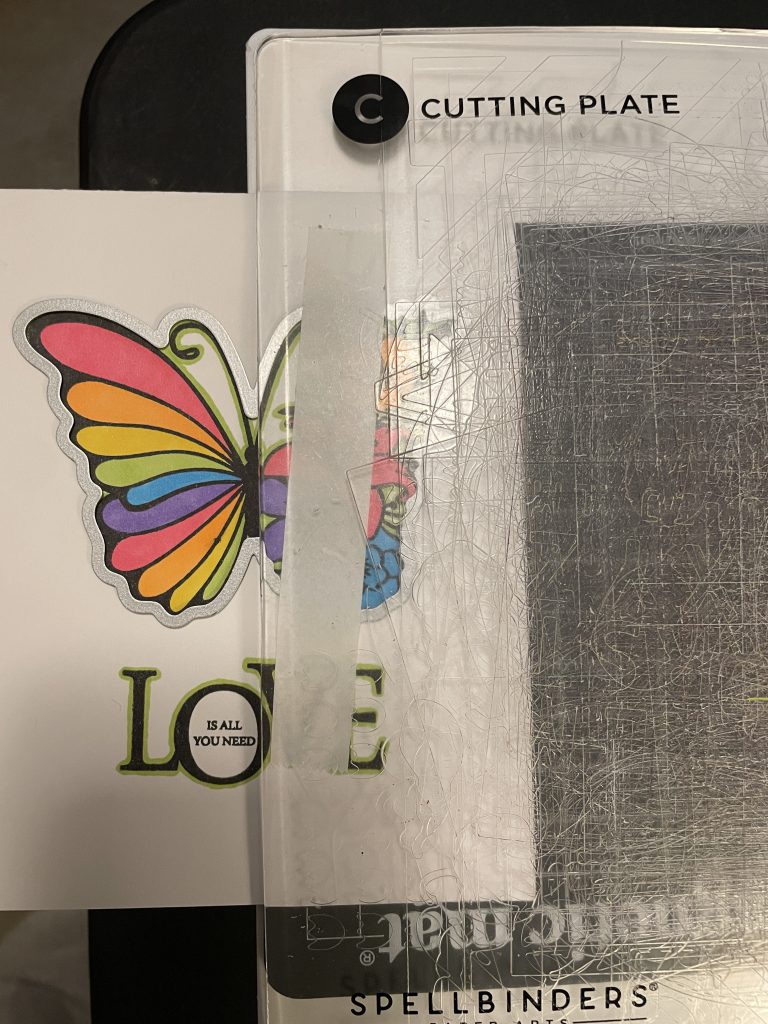
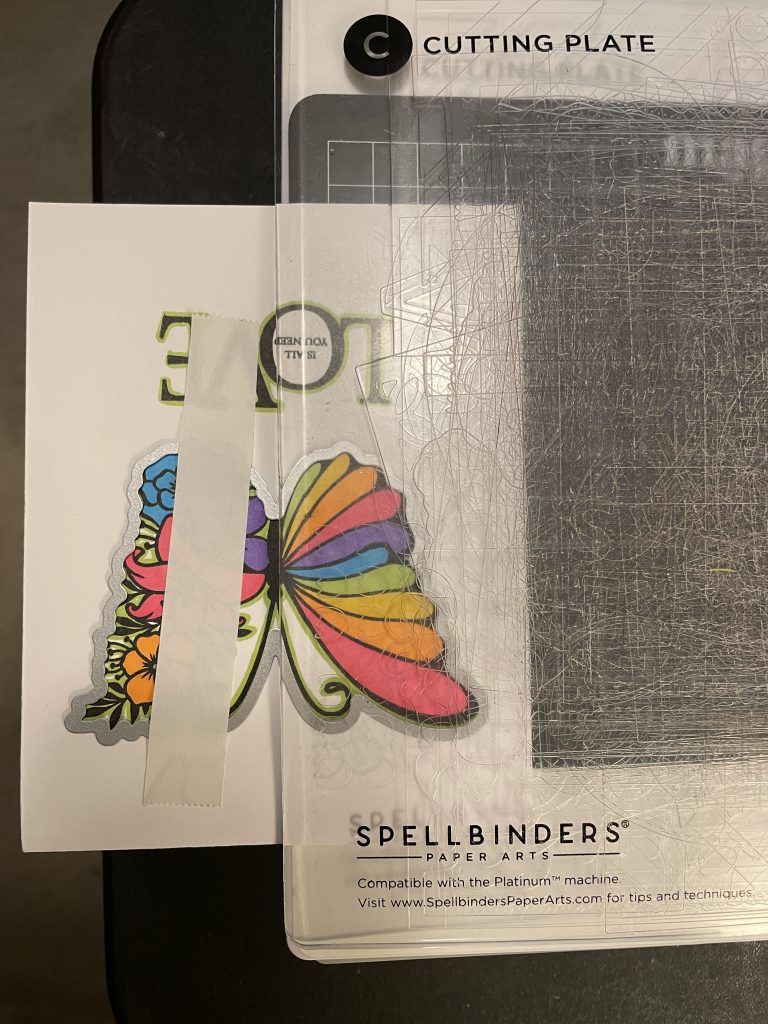
- Once your images are colored, take the coordinating die, 35007D Butterfly Flowers Coordinating Die, and tape it around the front of the image using low tack tape. You will only want to die cut the top panel of the card, not the inside, so place the bottom of your card base under the bottom cutting plate. Since we are only going to cut the wing portion of the butterfly, not the body, place only the part of the wing you are die cutting between the plates (see my images below). Die cut. Then flip and do the other side. You want to make sure you leave the little body of the butterfly uncut.
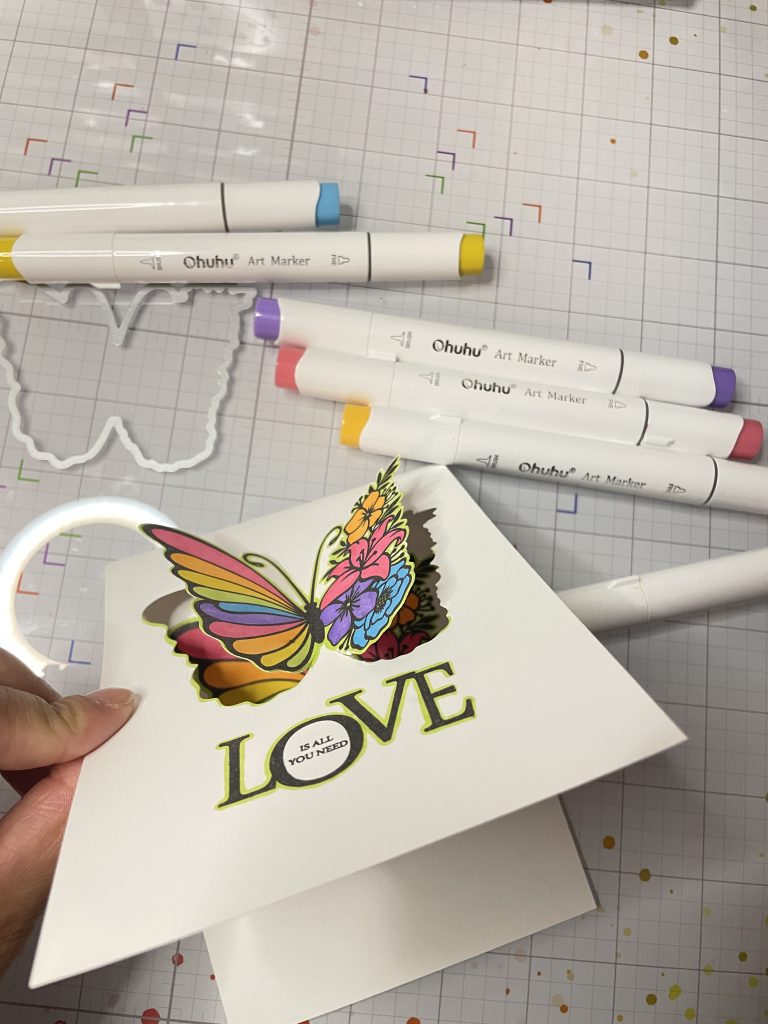
- Once you are complete with your die cutting, fold up the wing to to pop them up, revealing the your inside colored butterfly.
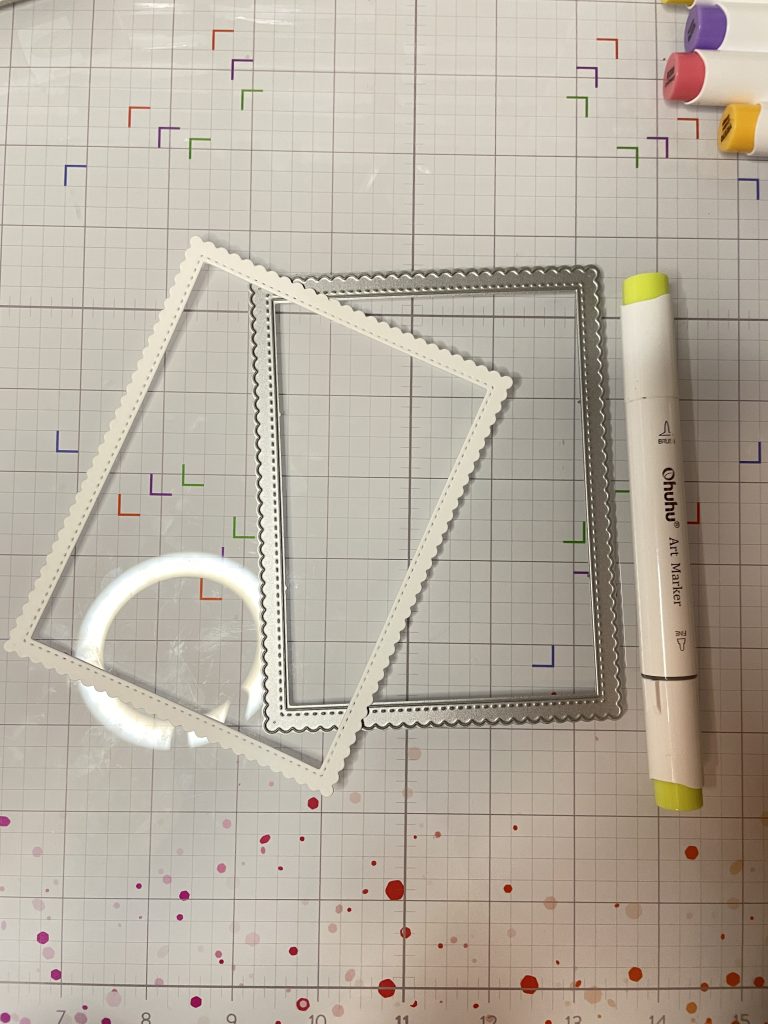
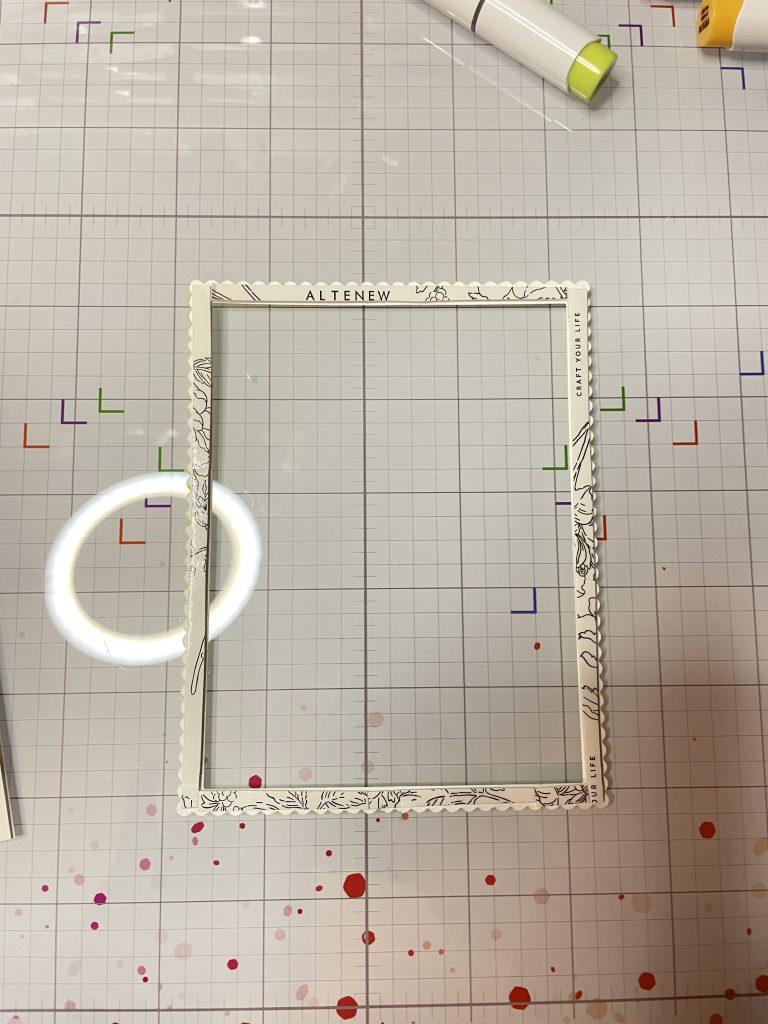
- Moving on to the border, from white card stock, die cut the largest die from 5500-02D Outside Scallop Frame Die. Then color it in using the same color that you outlined your butterfly with. Then add double sided foam tape to the back.
- Adhere that down, and you’re done!
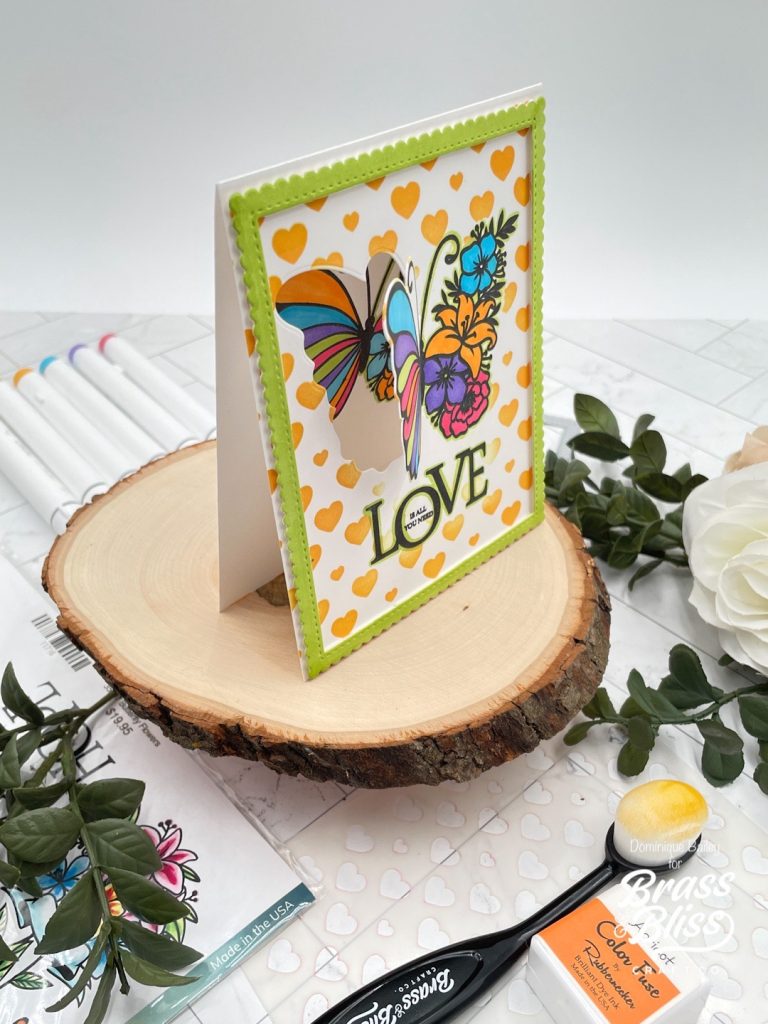
- BONUS: If you want to step this project up a notch, you can add some stenciling to the front of your card. Before adding your border, create a mask for your butterfly. To do this, take masking paper or just a sheet of paper and die cut the butterfly outline using the coordinating die. Use that piece to cover your stamped butterfly. Next, stencil using your desired color. I used the smaller heart stencils from the 4301 Bokeh Hearts Stencil set. Once you’re done stenciling, proceed with the steps above to complete your card.

Did you just love learning how to make a Colorful Butterfly Card-Two Ways? Which version is your favorite?