
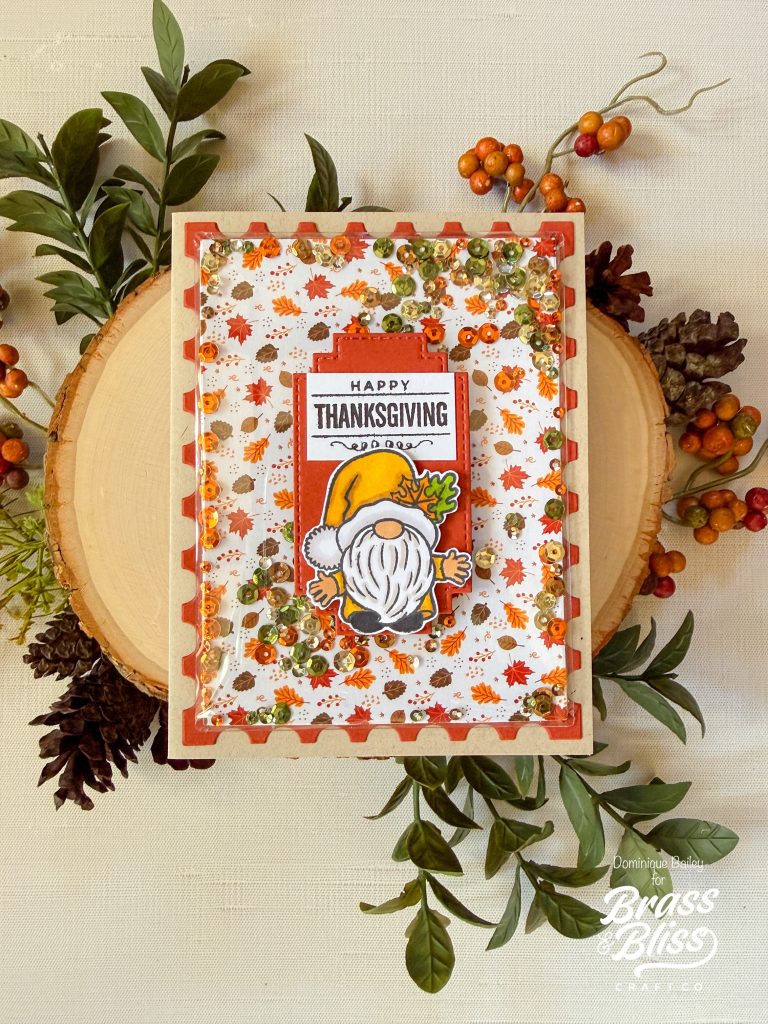
Get ready to send out the best Thanksgiving Card ever with this shaker cover card that’s sure to impress.
For today’s technique, Dominique is showing us how to create a simple shaker card using a shaker cover. We love her use of patterned paper, bold colors and the sweetest gnome ever!
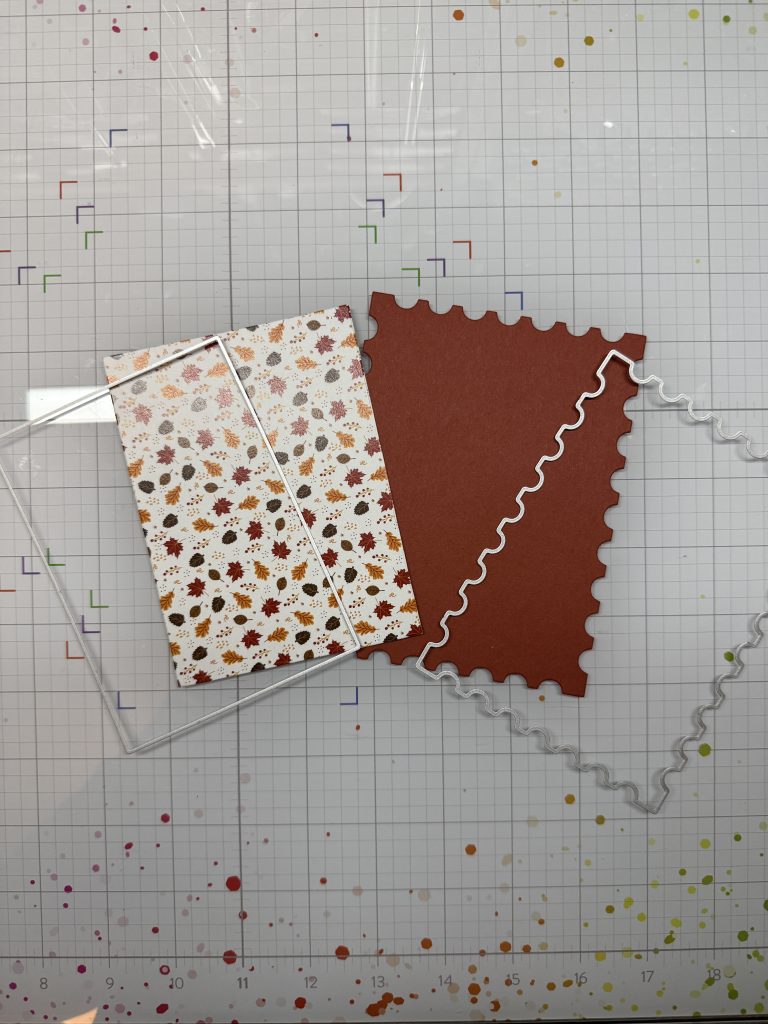
- Die Cut Your Panels
- Using a sheet of patterned patter from the 2306 Whispers of Fall Paper Pad, die cut using the third largest die from 5003 Classic Nested Rectangle Dies set.
- Using a sheet of burnt orange, die cut using the largest die from 5806D Postage Stamp Nested Die.
- Assemble the Shaker Frame
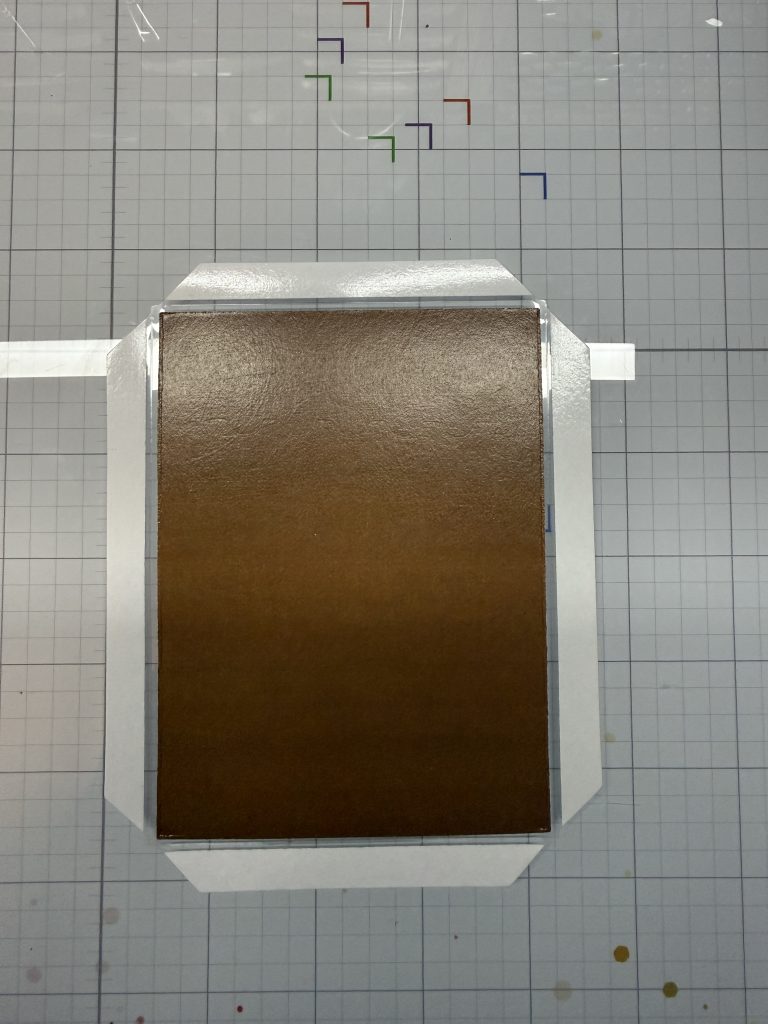
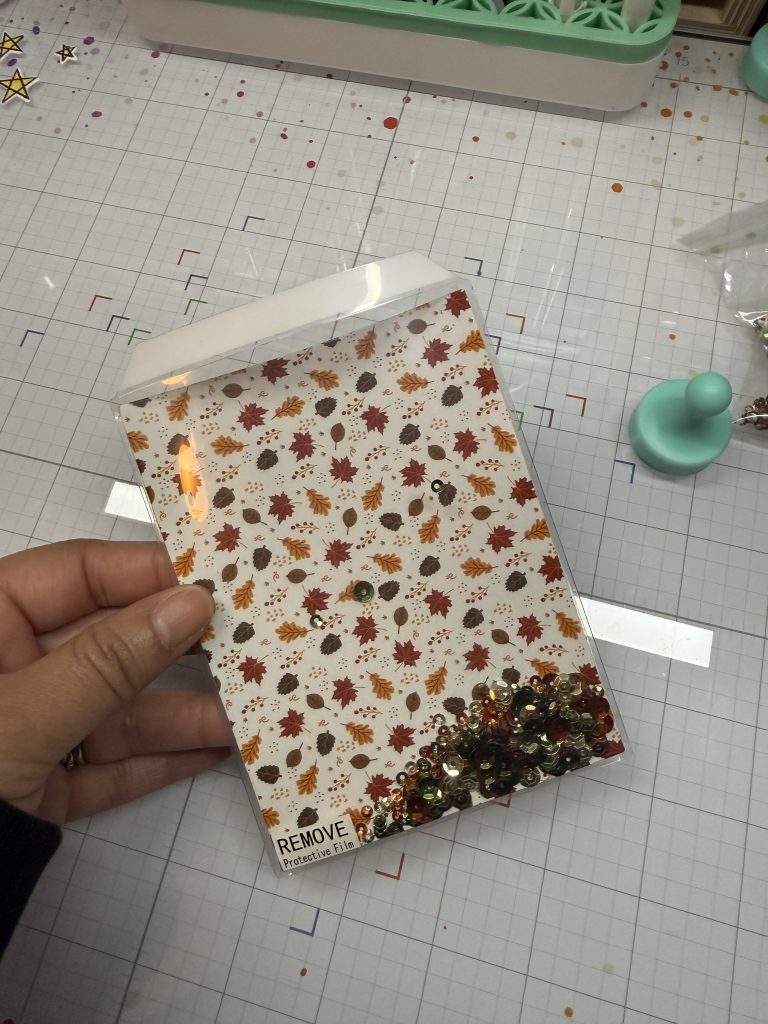
- Place your patterned paper, pretty side down, into the shaker frame (I’m using one from Pink & Main).
- Seal the bottom and two sides of the frame.
- From the top opening, add coordinating sequins, then seal the top.
- Prepare the Panels
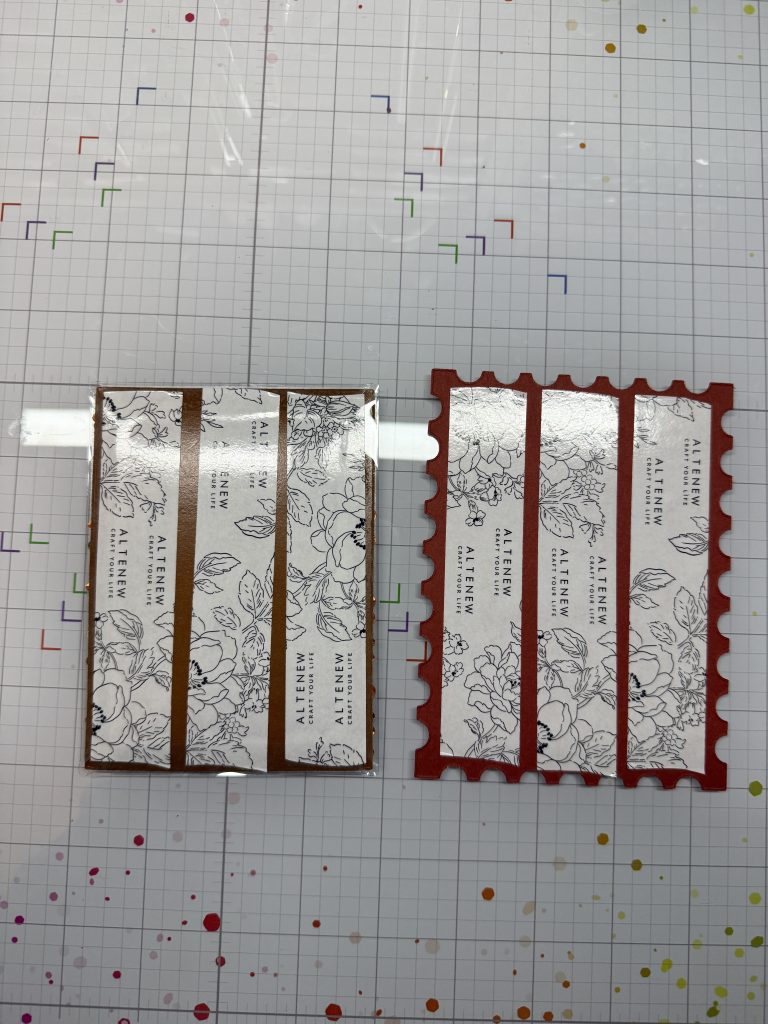
- Add double-sided adhesive to the back of your panels and set them aside.
- Die Cut the Frame Accent
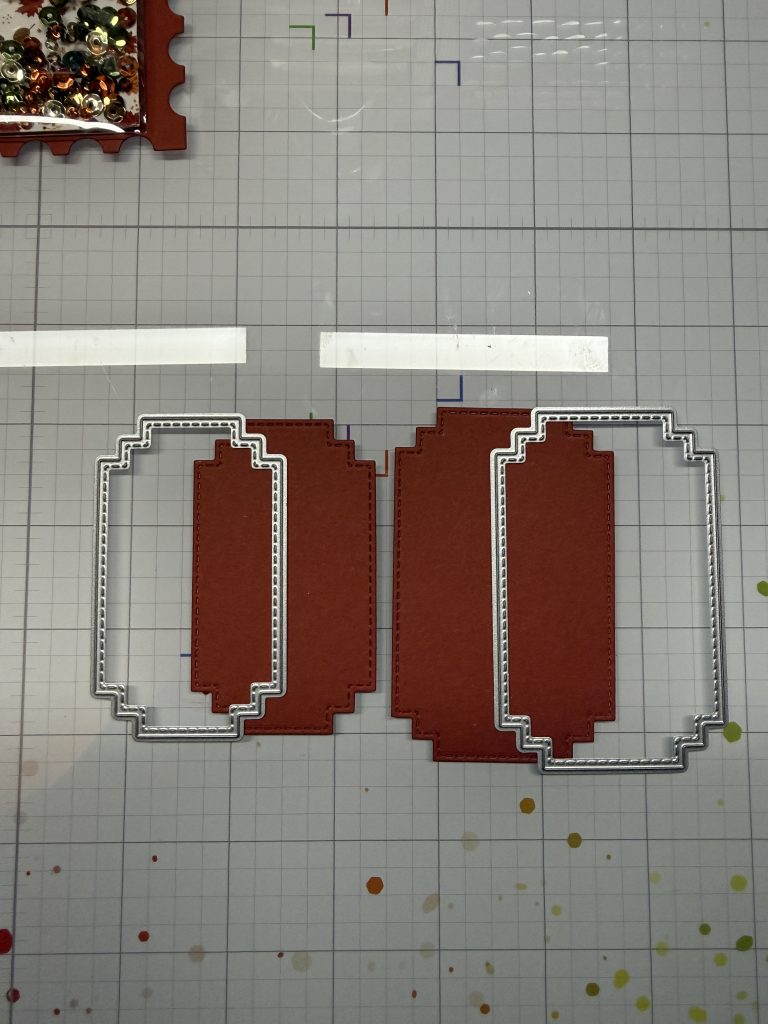
- Die cut the smallest frame from the 5819-01D Nested Frame #1 Die.
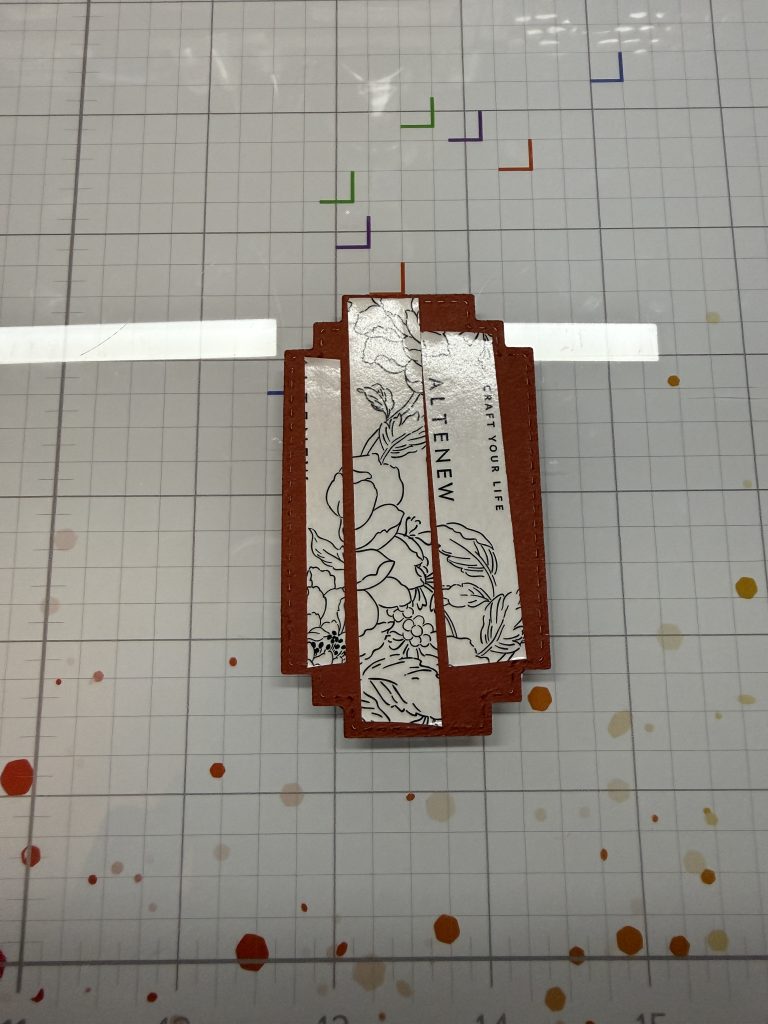
- Add double-sided adhesive and set aside. When I first made this card, I wasn’t sure which size frame I wanted, so I cut out both—you’ll see that in the photo below.
- Stamp and Color Your Images
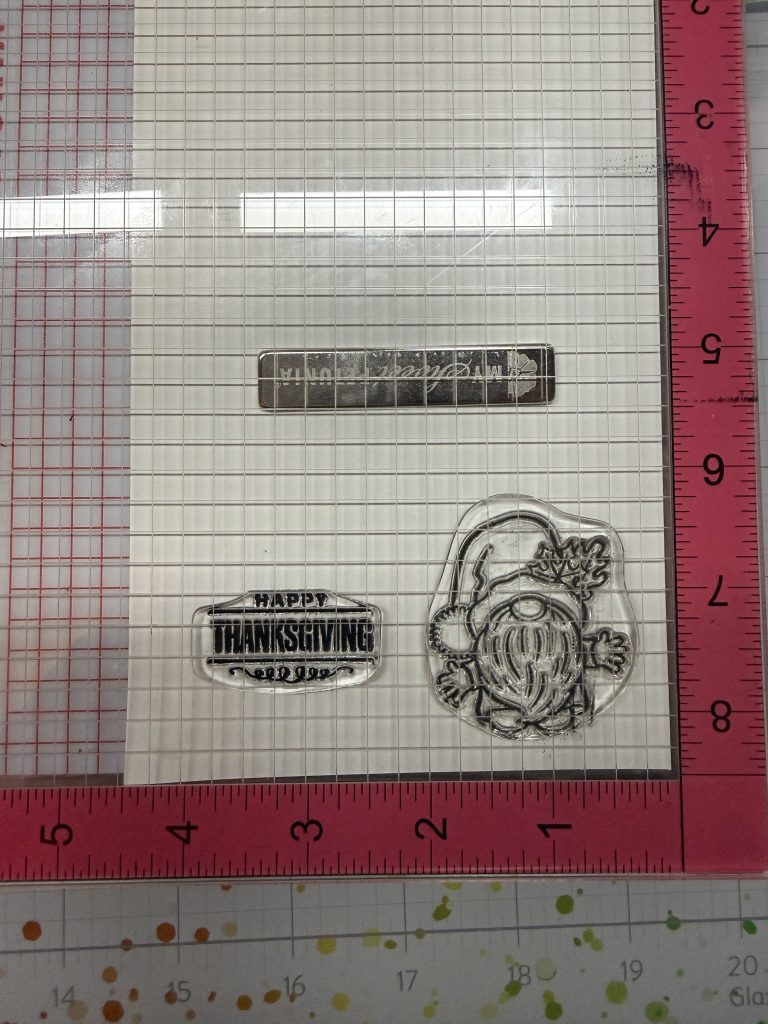
- Grab your stamping tool and stamp sets: 37043 Hello Fall Sign Sayings and 35026 Autumn Gnomes Set.
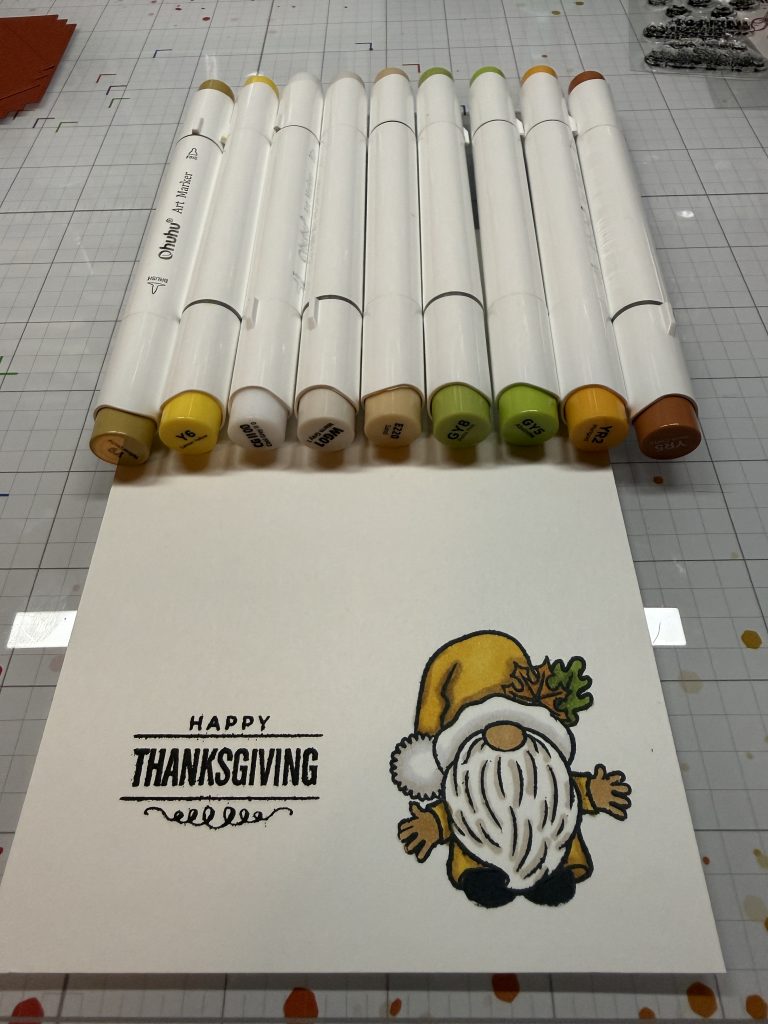
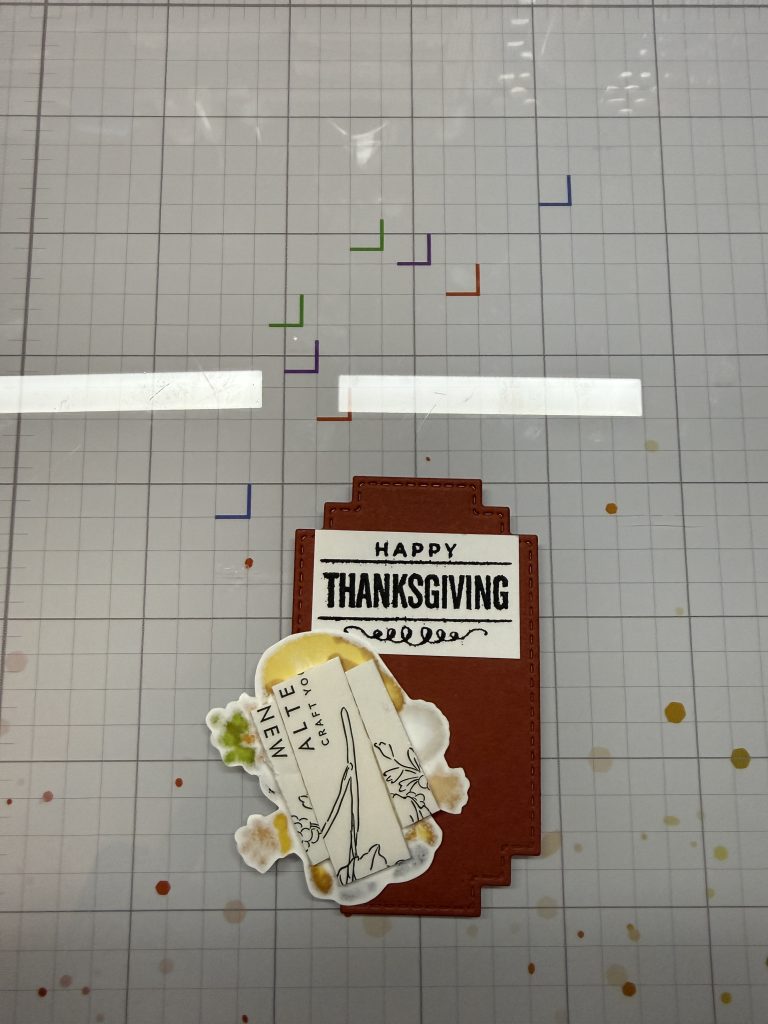
- Stamp one gnome and one “Happy Thanksgiving” sentiment from each set onto white cardstock using alcohol-friendly black ink.
- Color your images using colors that coordinate the patterned paper.
- Cut and Layer
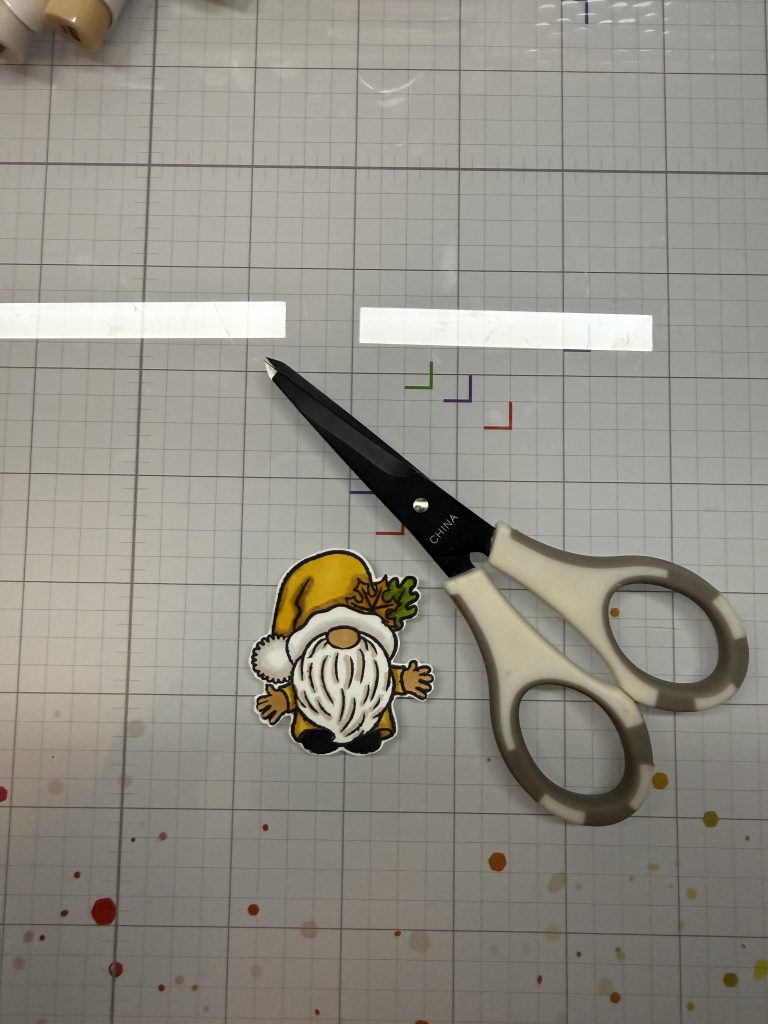
- Cut out your stamped images. I don’t have the coordinating die for the Autumn Gnomes set, so I fussy cut the gnome.
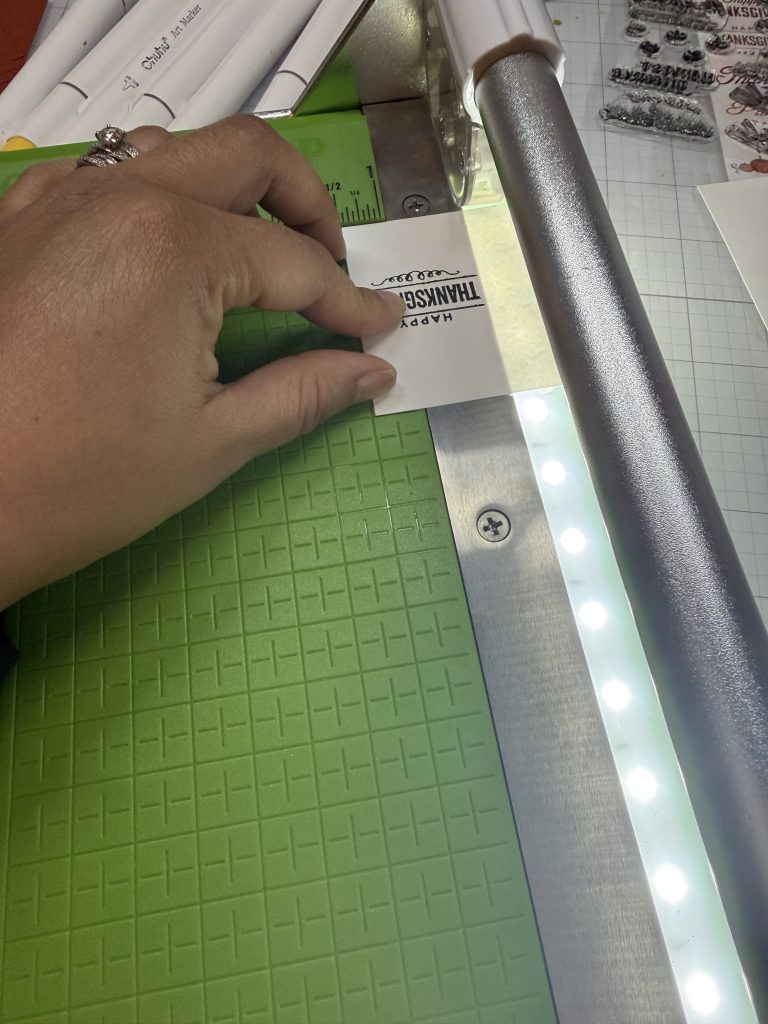
- Use a trimmer to cut around the sentiment.
- Add double-sided foam tape to the back of the gnome.
- Adhere the sentiment to the top of the nested frame piece.
- Assemble the Card
- Use an A2 card base—I chose a sandy brown color for mine.
- Layer all your elements together to complete your shaker card!
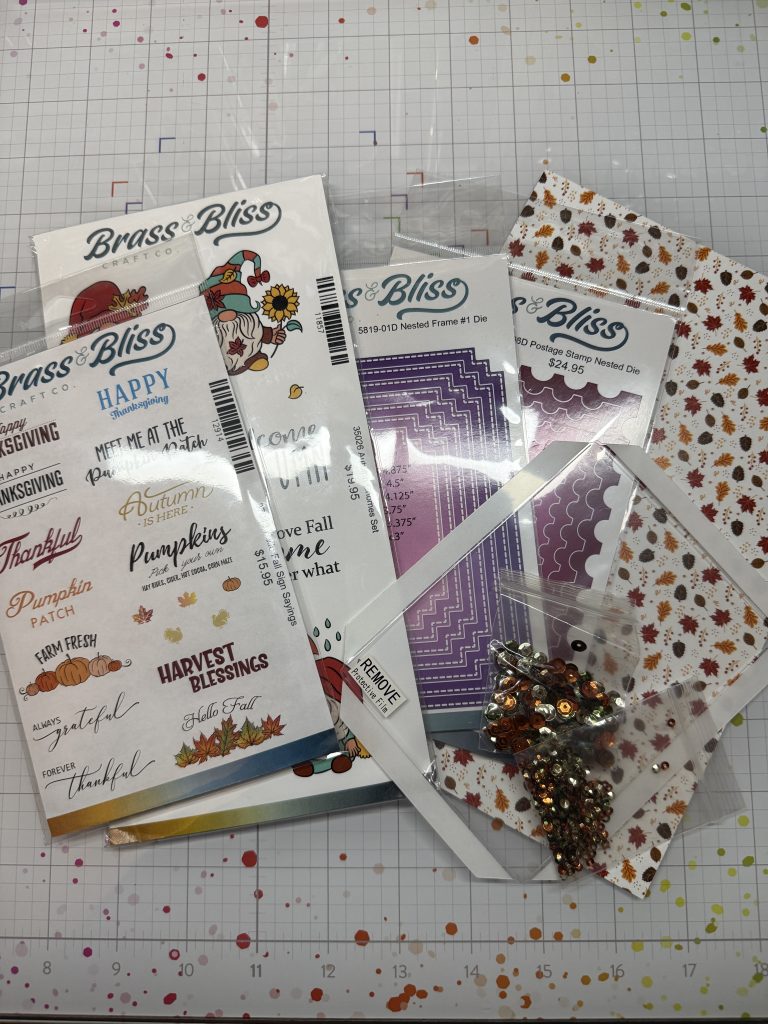
Supplies used: