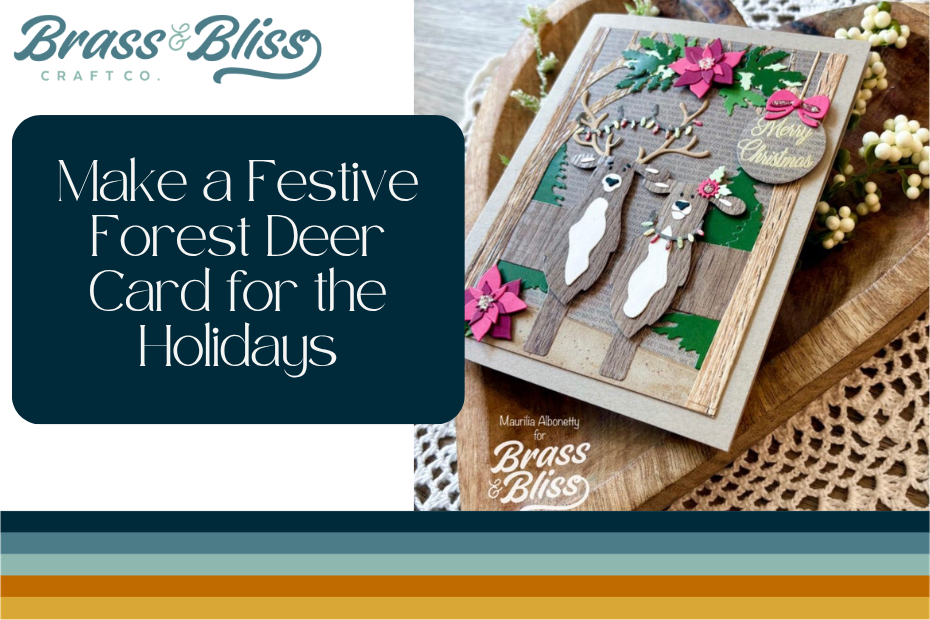
Bring a little festive cheer to your handmade cards with these sweet deer set under a holiday forest canopy.
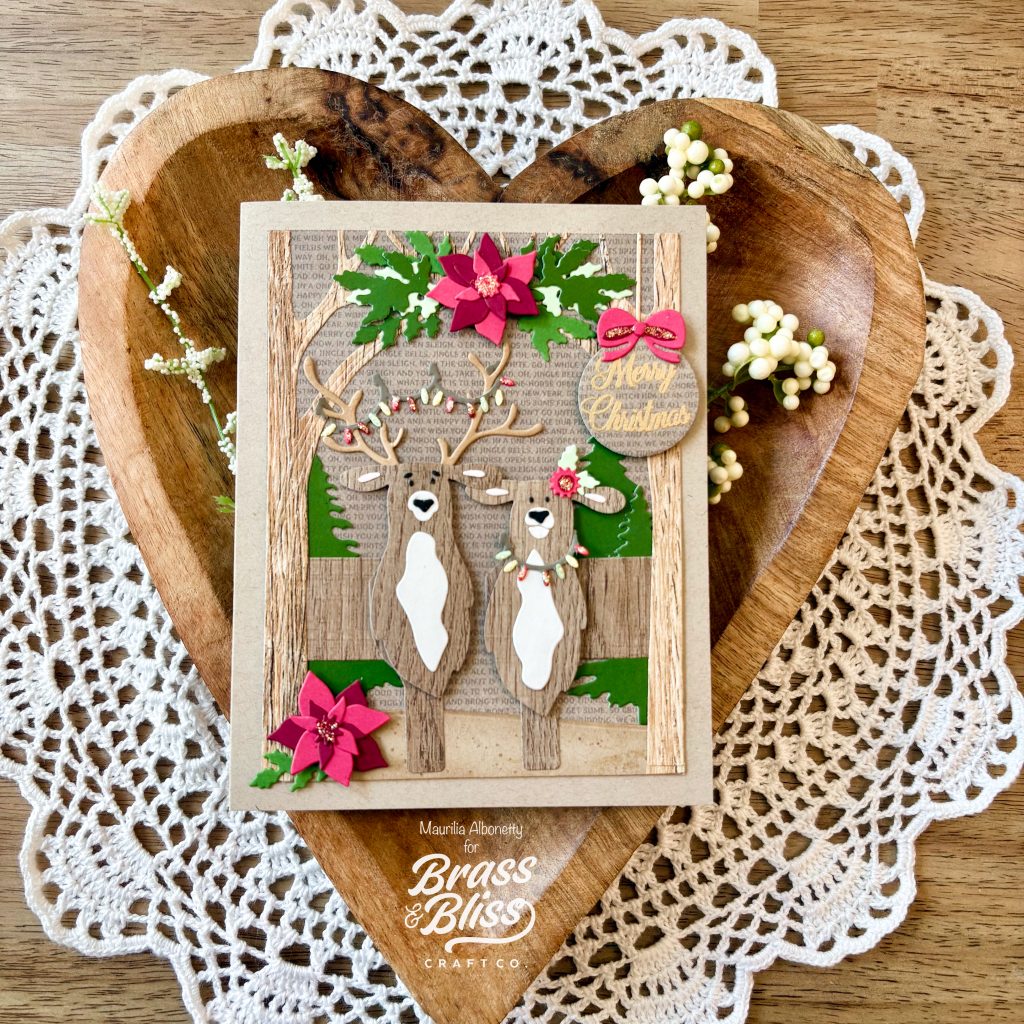
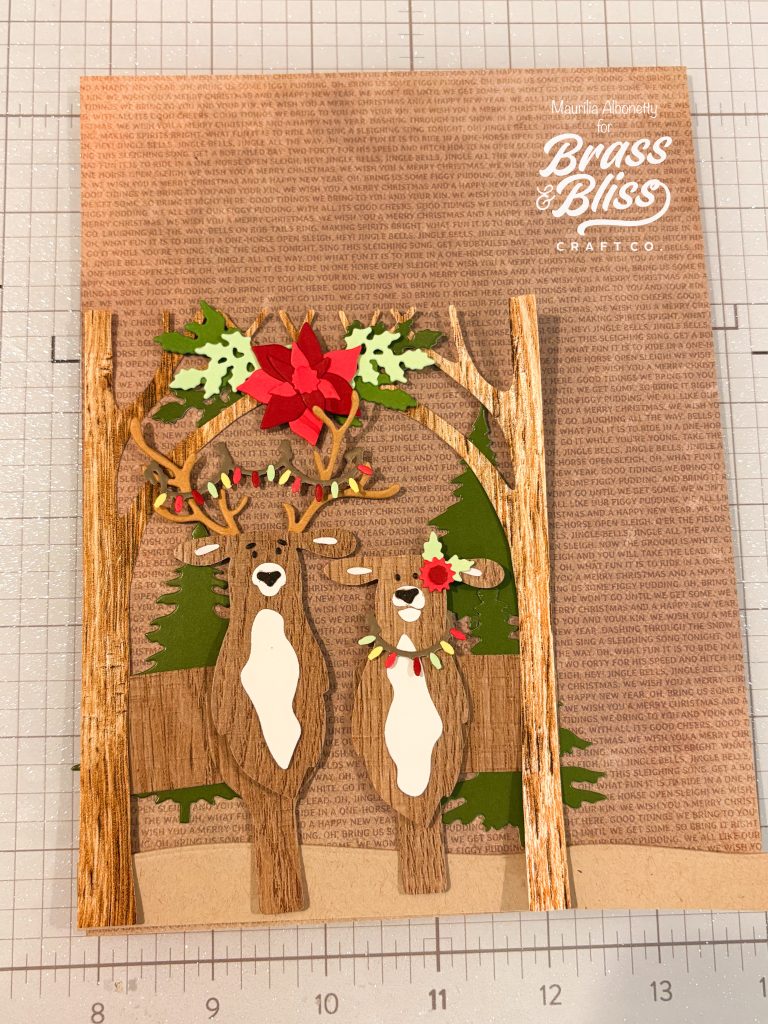
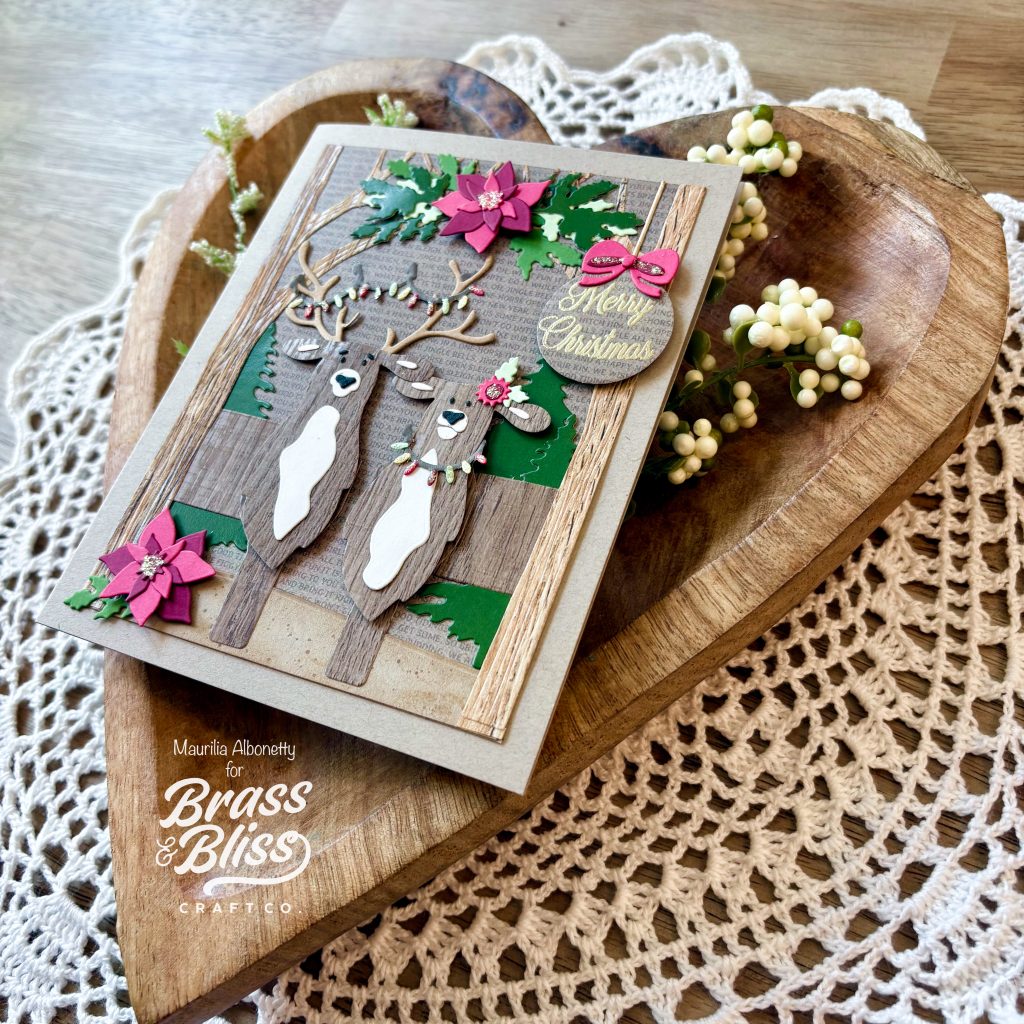
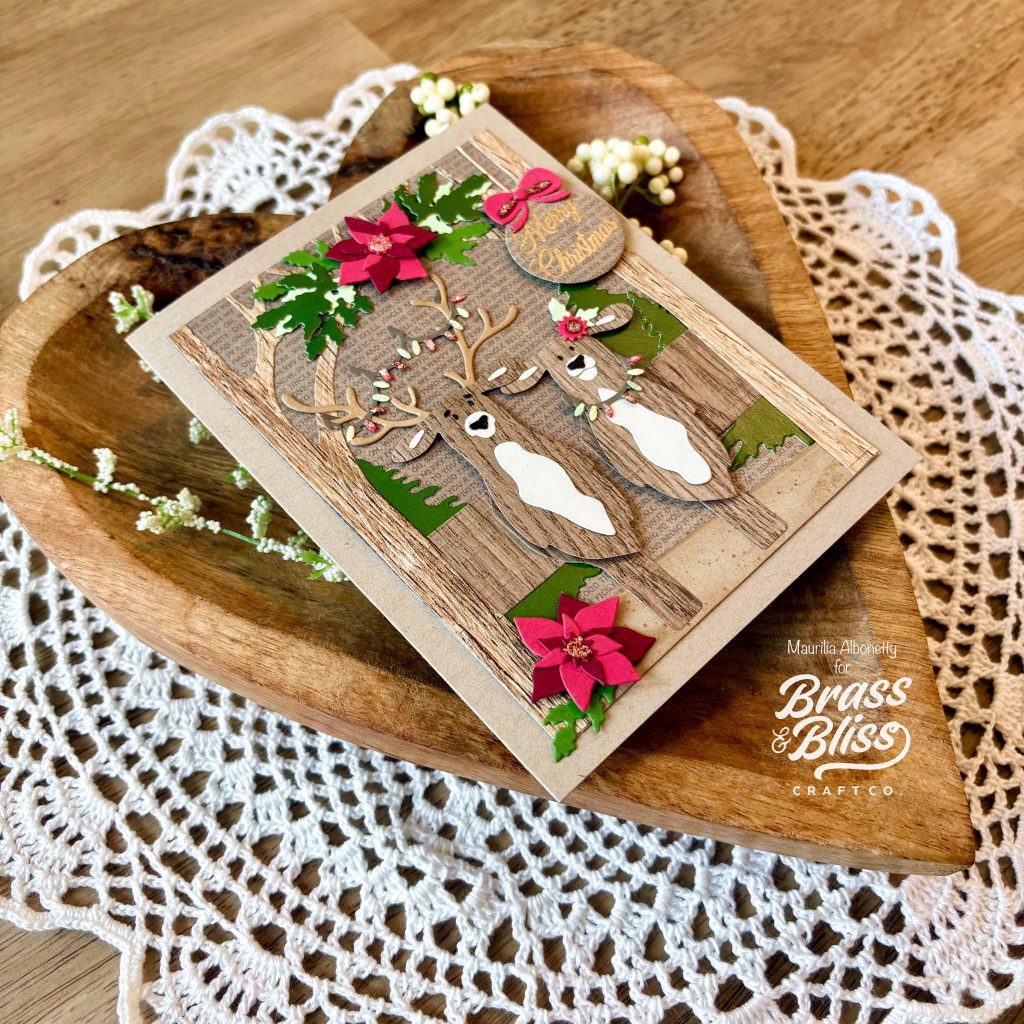
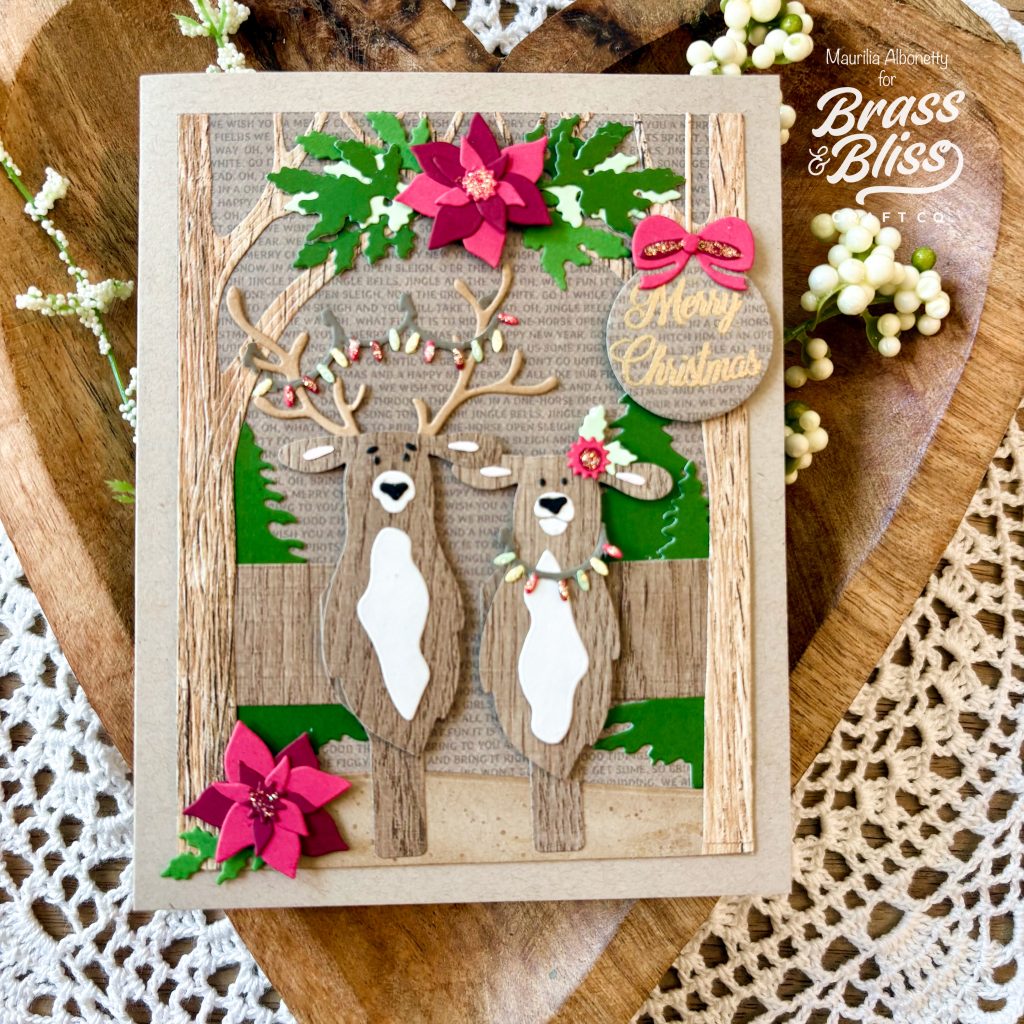
Today’s festive card is from Maurilia, who said, “I chose this sweet deer set and modified it a bit to give them the illusion of them standing in the forest under this festive tree arch.” We love this sweet design. Follow along as she shows us how to make a festive forest deer card for the holidays.
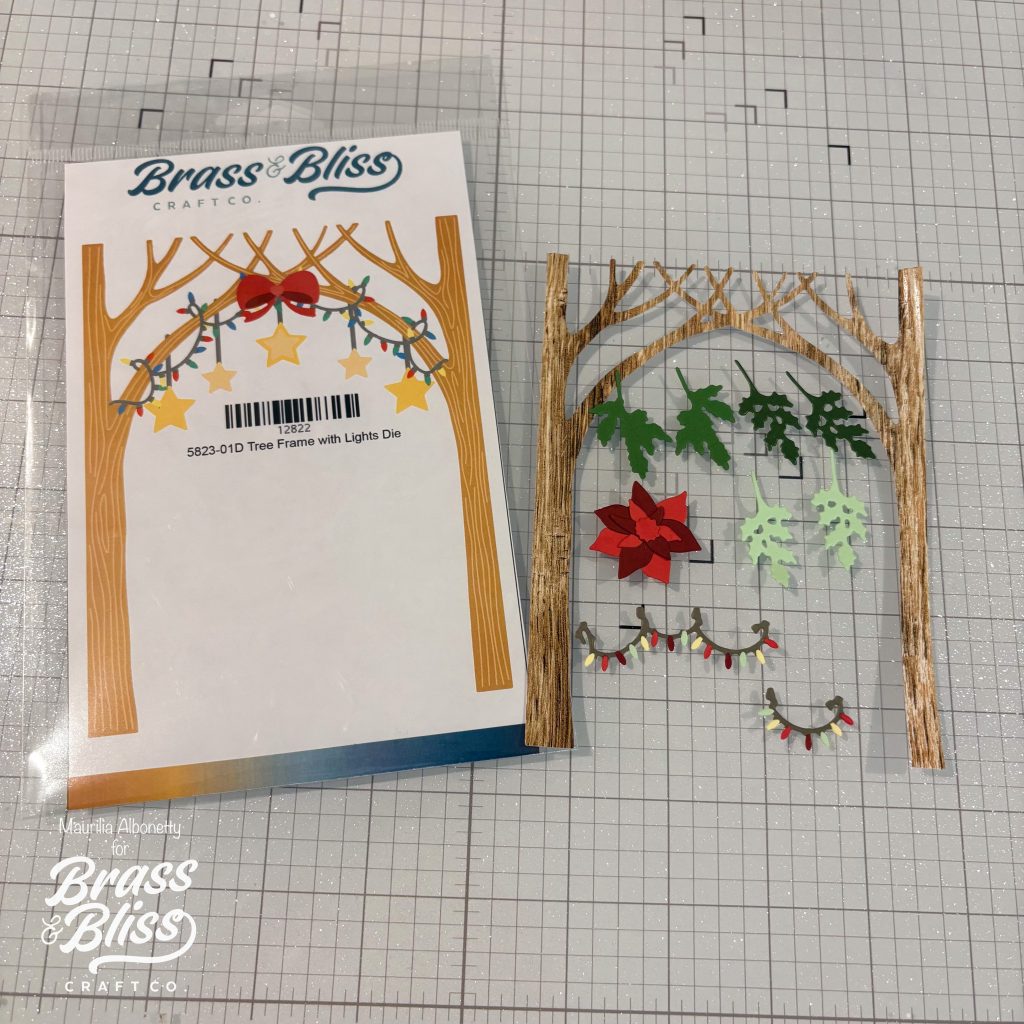
- Using wood grain paper die cut the tree frame using 5823-01D Tree Frame with Lights Die. Next chose a background of your choice. Here I had a brown text background which I thought paired well behind the tree frame.
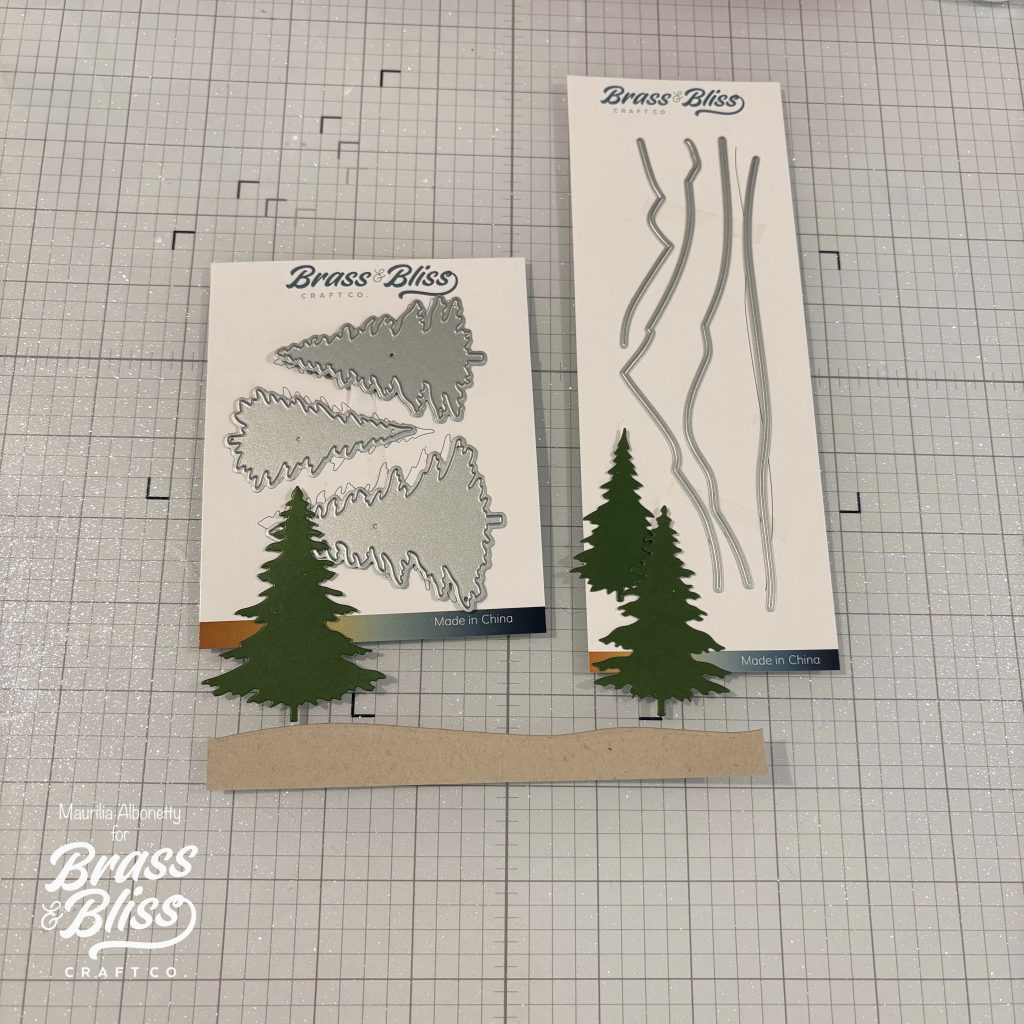
- Chose the green sheet in 2006 Country Christmas by Kittie Kraft paper pad and die cut all three trees in the 5217-01D Evergreen Trees Die. Position the largest tree on the left behind the tree frame. Positions the remaining two behind the right side of the tree frame. Trim any overhang of the trees using a pair of scissors.
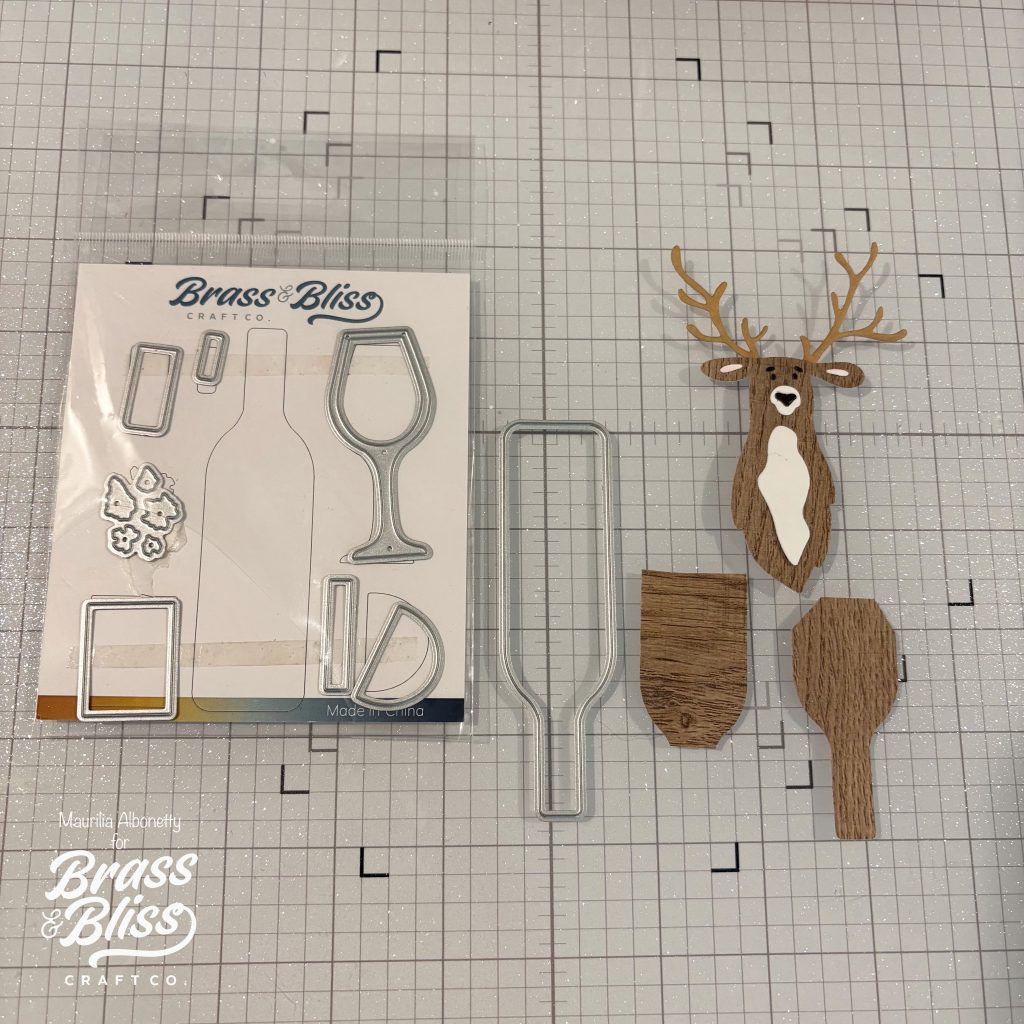
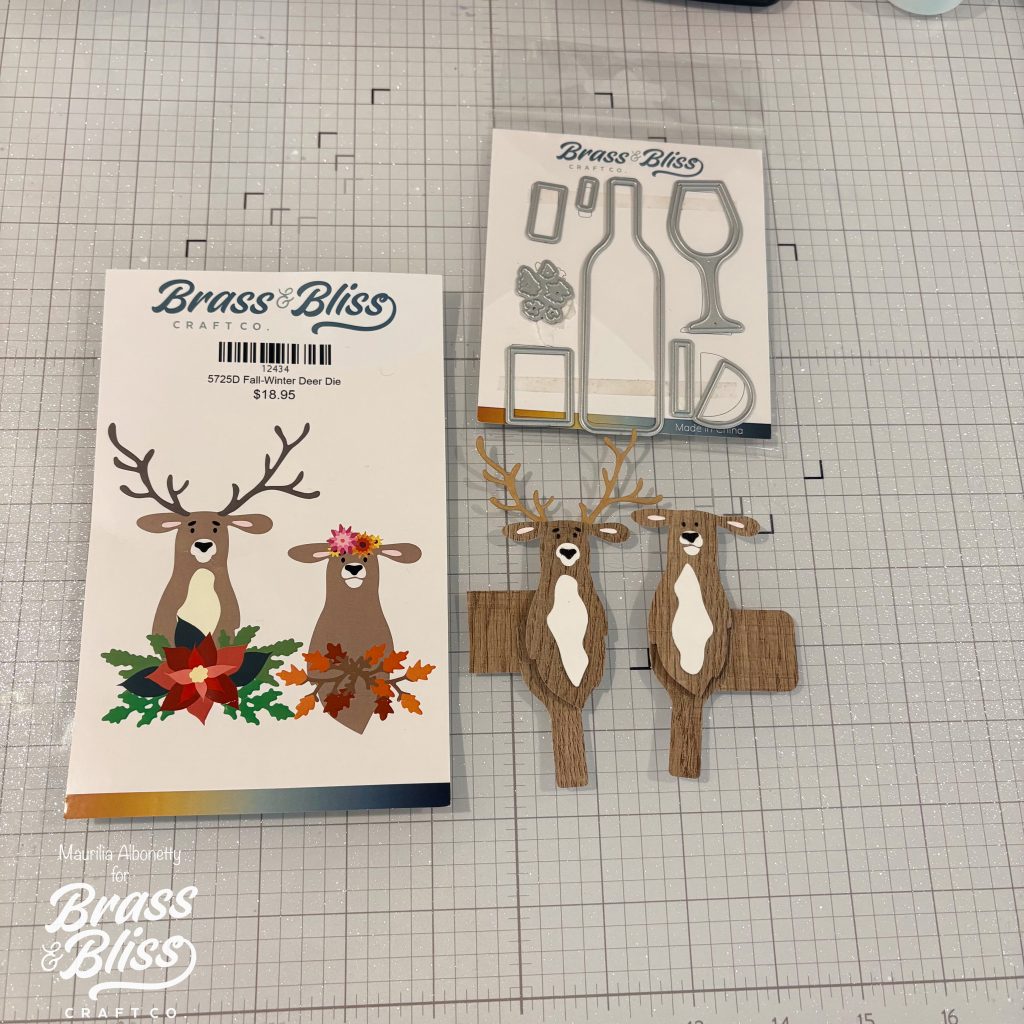
- Chose a dark brown wood grain paper for the deer and die cut them using 5725D Fall-Winter Deer Die. Use cream paper for the muzzle, chest and inner ear. Use black for the eyes and nose. To create the deer body use the bottle from 5603D Wine Glass and Bottle Die. Here you will need to die cut two bottles using the dark wood grain paper for both the male and female deer. Turn the bottle upside down and trim off about a half. This will serve as the legs. Next you will trim down the remaining bottle by cutting the bottle neck. This part will serve as the deer body. See photos for reference.
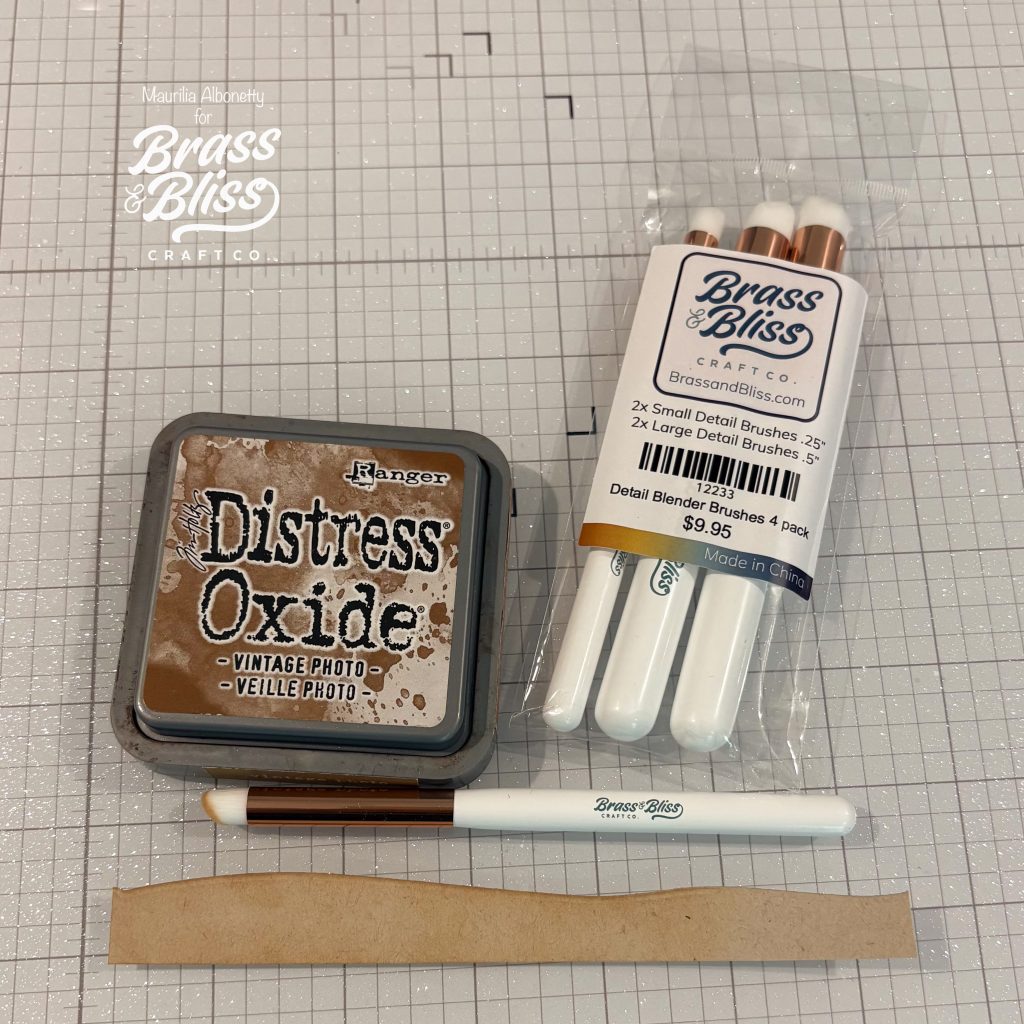
- Create a dirt base using a light piece of kraft stock with the hill die in 5318D Tabbed Mountains Die. Ink blend the edges using 4PCDBB Small and Large Detail Brushes in a light and dark brown oxide inks. For added texture splatter the hill using a paint brush and water spritzed brown ink.
- Begin assembly on a folded kraft card base. Cut the text background slightly smaller than the card base and adhere. Adhere the hill base at the bottom. Next position the trees as instructed above. Finally adhere the male and female deer, one on the right and the other on the left. Add foam tape behind the deer heads for added dimension. Lastly adhere the tree frame.
- Using brown cardstock die cut the string of lights from 5823-01D Tree Frame with Lights Die. Use various color shades to die cut the light bulbs. Glue each bulb on the string of lights. Trim it down to size to fit the male deer’s antlers which will have 3 loops. One loop can be used for the female and will serve as a necklace. Also found in this set are tiny flowers and leaves. Adhere these together as a flower decoration for the female deer.
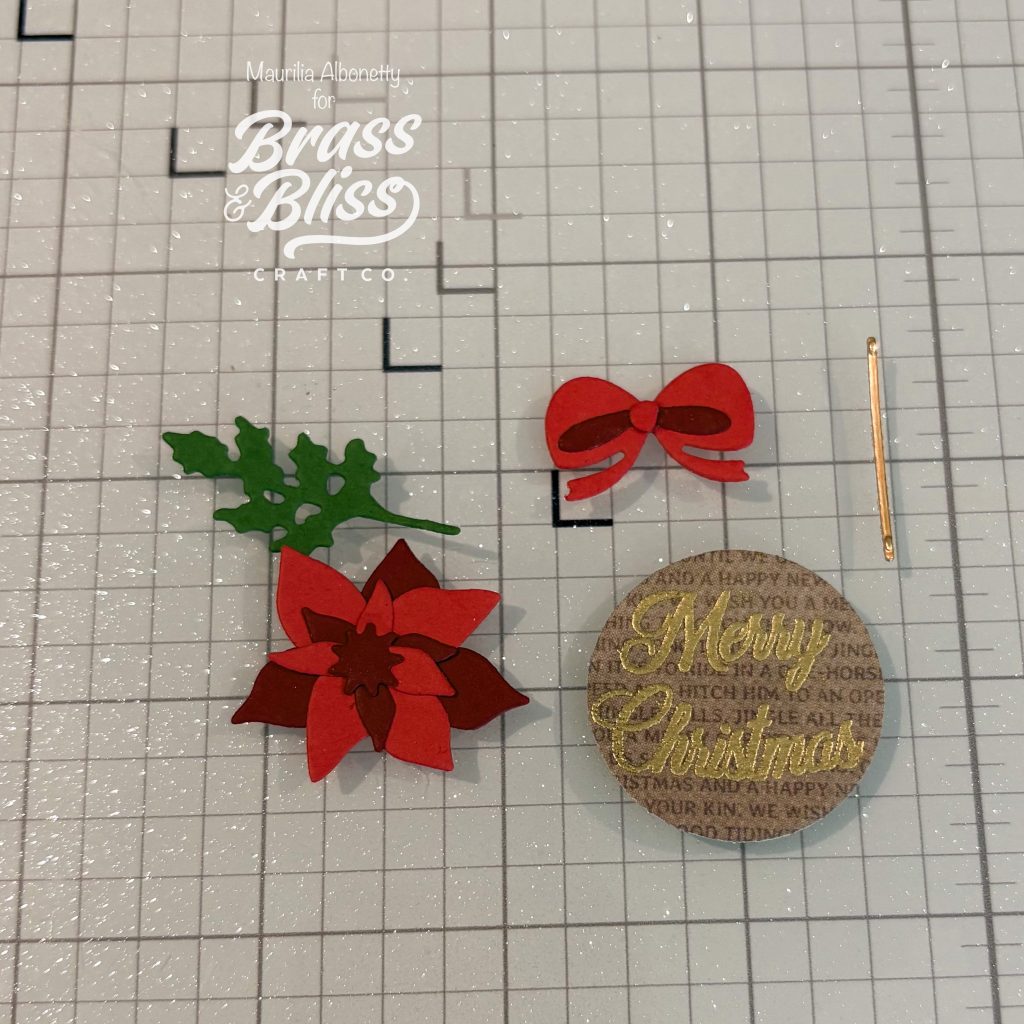
- Die cut two poinsettia flowers in light and dark red paper from 5725 D Fall-Winter Deer Die. Adhere these together. Using three shades of green: Light, medium and dark, cut out the foliage which will go behind the poinsettia. For the tree frame, 4 leaves were used on each side with the poinsettia in the center with foam tape. The other poinsettia will go in the lower left corner with a one leaf behind it.
- Gold emboss the Merry Christmas sentiment from 36003 Magic of Christmas Stamps onto the texted background. Using a circle die cut this out. Die cut a bow from light and dark red paper and adhere above the circle. Die cut a string from gold paper and adhere this in the upper right hand corner.
- Lastly add a little sparkle to the string of lights, poinsettia centers, mini flower center and inner bow using a glitter glue.
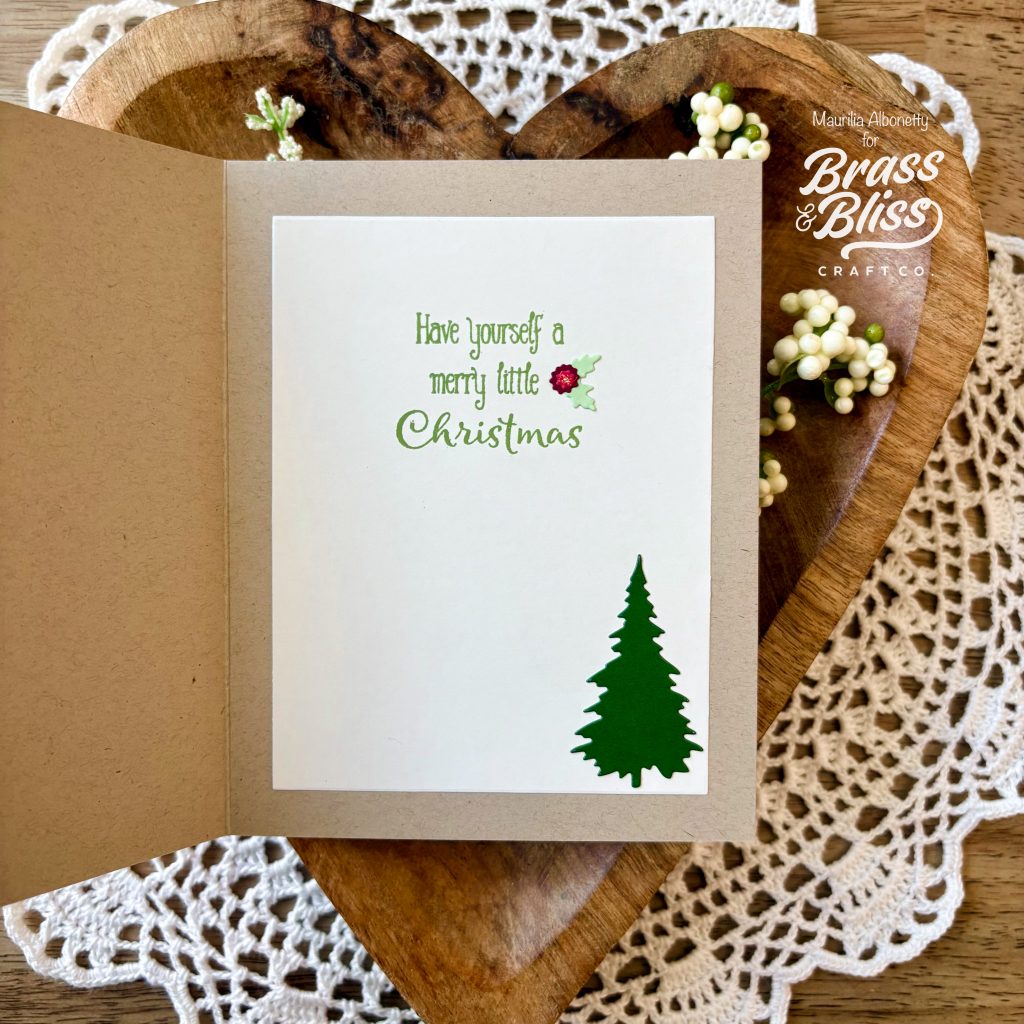
- I always like to add a little extra to the inside of my cards by decorating them. Here I cut out a rectangle using 5003D Classic Nested Rectangle Dies from cream card paper. Next I stamped the sentiment: “Have yourself a merry little Christmas” from 36004 May the Season Stamps. I used an extra mini flower and placed it on the left of the sentiment. And lastly I die cut one of the trees and placed it in the lower right hand corner.
Supplies Used:
- 5823-01D Tree Frame with Lights Die
- 5725D Fall-Winter Deer Die
- 5217-01D Evergreen Trees Die
- 5003D Classic Nested Rectangle Dies
- 5603D Wine Glass and Bottle Die
- 5318D Tabbed Mountains Die
- 4PCDBB Small and Large Detail Brushes
- 36003 Magic of Christmas Stamps
- 2006 Country Christmas by Kittie Kraft
- 36004 May the Season Stamps