
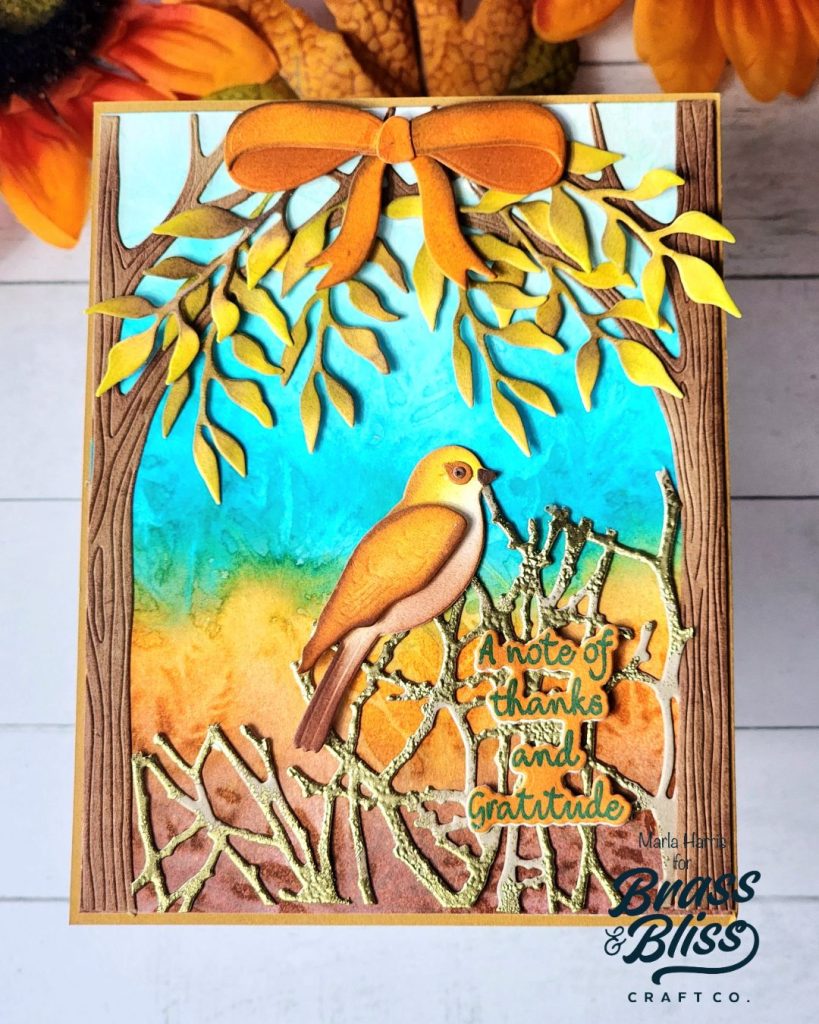
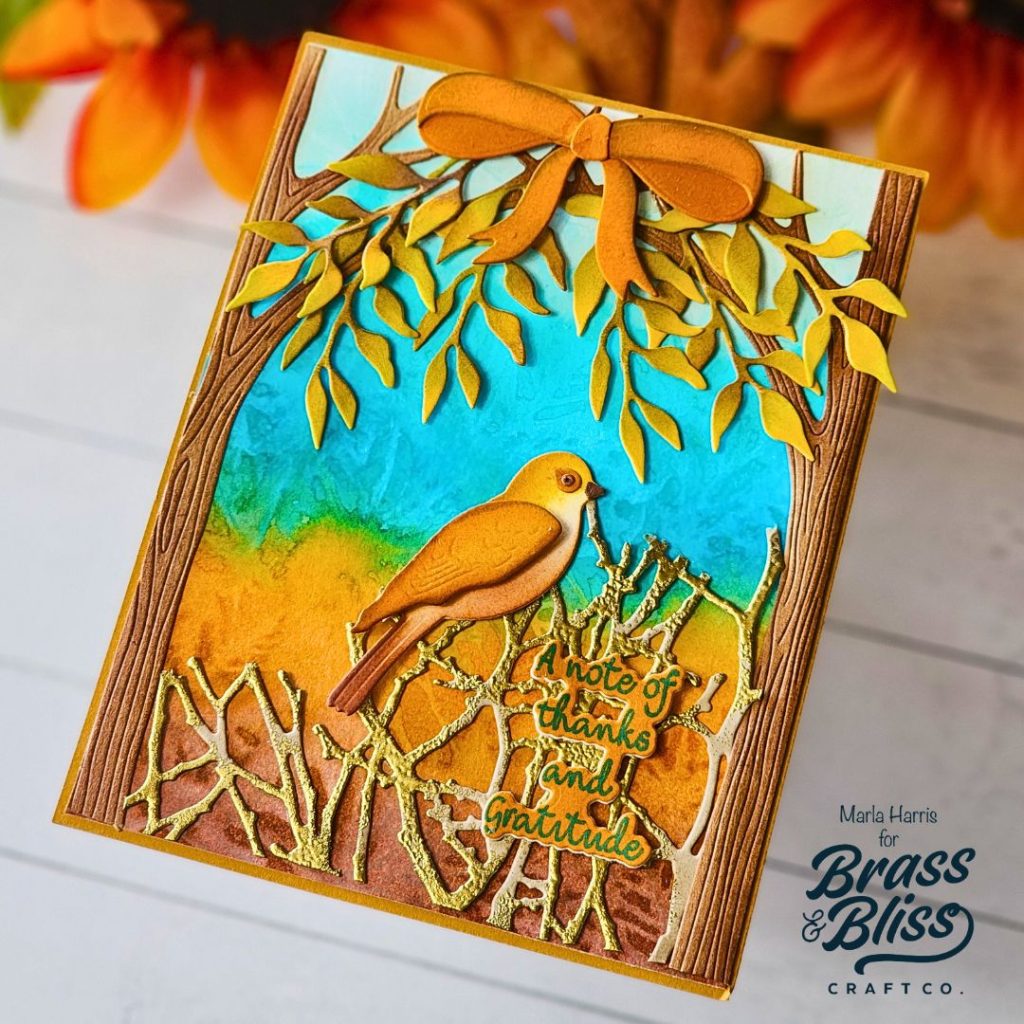
Check out this sweet side of Fall with this elegant note of thanks that feels serene and elegant.
Thanksgiving is quickly approaching, a time to reflect on all of the things we are thankful for. Whether you celebrate this U.S. holiday or not, this note of thanks is a beautiful way to remind our loved ones we are always grateful for them. Marla is up on the blog today with a beautiful gratitude card. Join her as she shares how this serene scene came together.
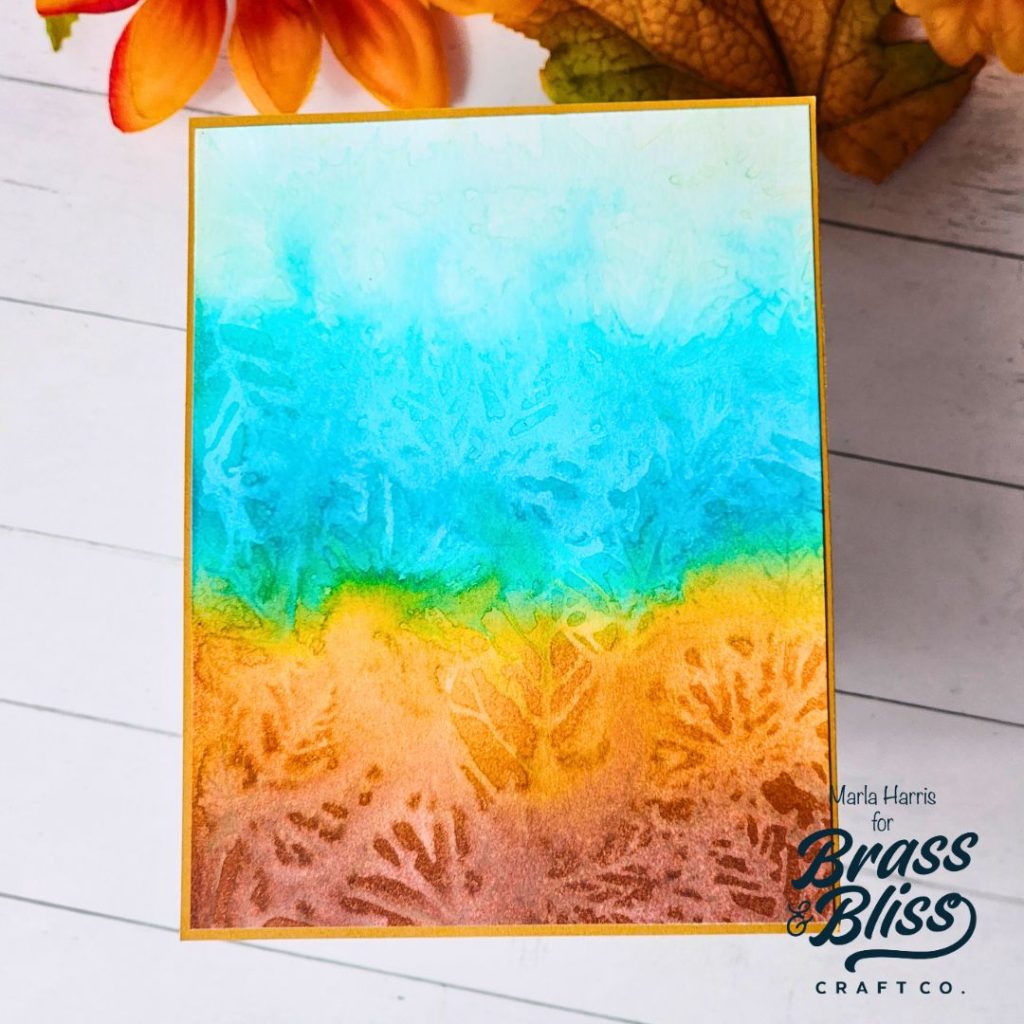
- Ink a 4″ x 5.25″ piece of Bristol Smooth cardstock using Beachside, Whisper, Ammereto and Pecan ink.
- Spritz our 3490 Fall Leaf Background Stamp with a light touch of water and stamp the inked background.
- Use a microfiber cloth or paper towel to lift the ink. Restamp if necessary and set aside to dry.
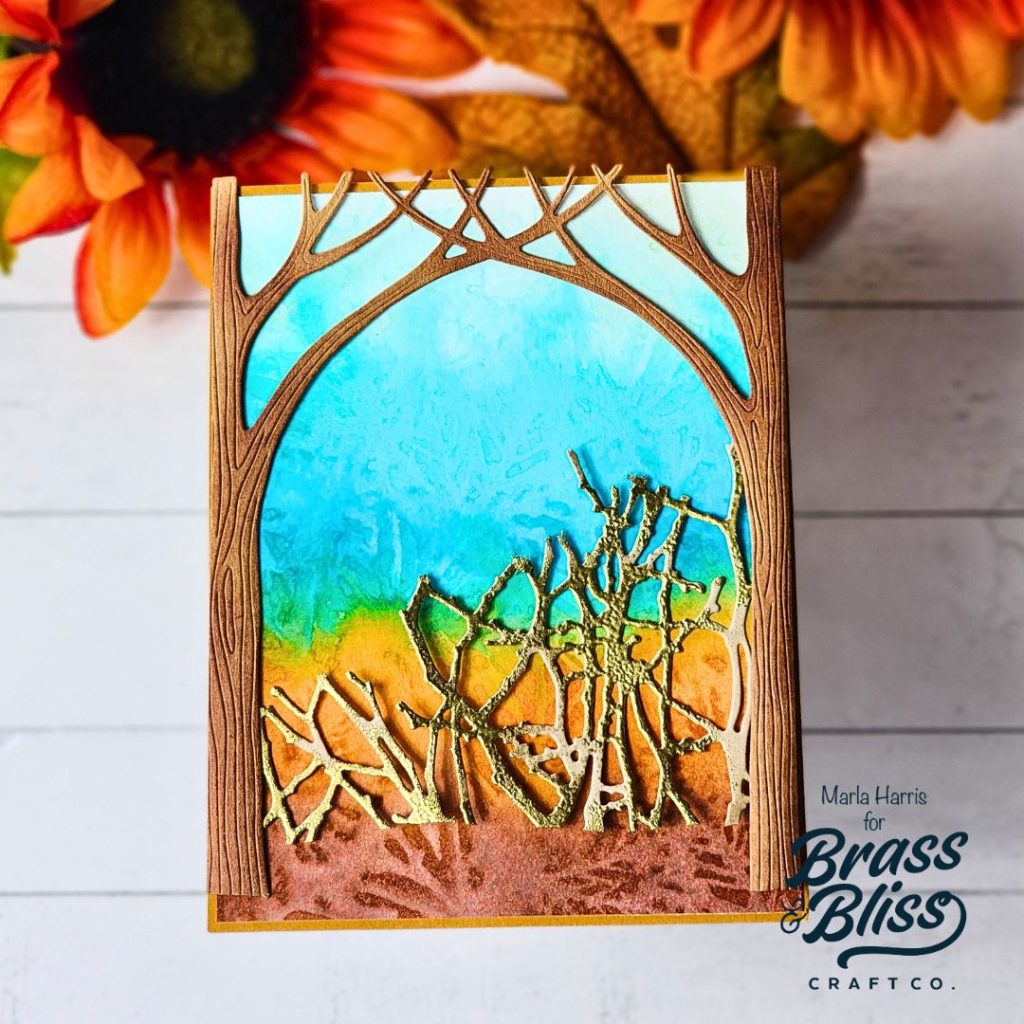
- Cut the trees using our 5823-01D Tree Frame with Lights Die and kraft cardstock.
- Ink the trees with a combination of Cinnamon and Pecan ink.
- Die cut the twigs from kraft cardstock using our 5841 Twig Cover Die. Tip use a scrap piece of cardstock.
- Cut away the edges of the die cut piece.
- Add Versamark ink to different areas of the twigs, not the entire die cut, then sprinkle on gold embossing powder and heat set to melt.
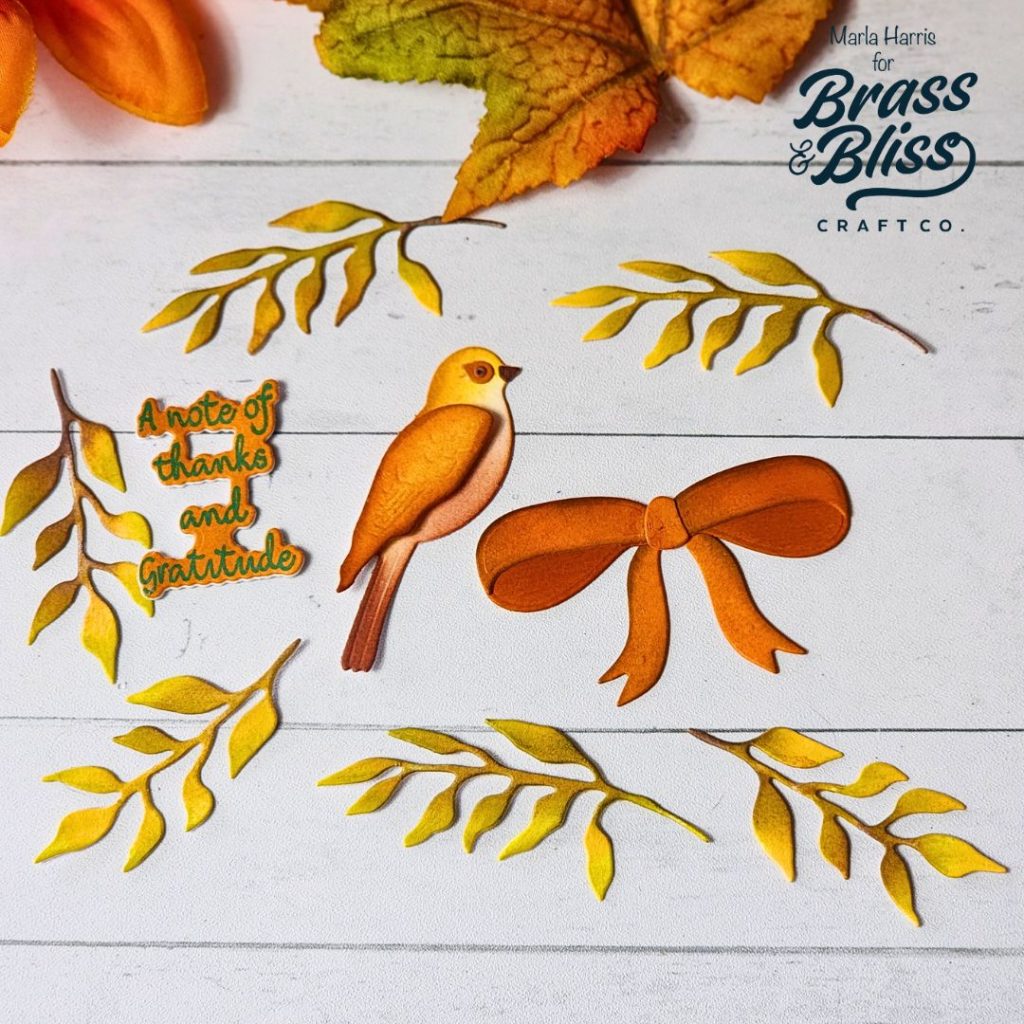
- Die cut the bow using our 5840-02D Candy Apples Die and white cardstock.
- Ink the bow using amber and Cinnamon ink and add a touch of Pecan ink around the edges.
- Cut the leaves using our 5832-02D Fall Foliage Dies and white cardstock.
- Ink the leaves using a combination of and Juniper and Pecan ink.
- Die cut the bird from white cardstock using our 5422-06D Spring Birds Die.
- Ink the bird using Autumn, Mocha, Cinnamon, and Pumpkin ink.
- Assemble the bird adding dimensional foam behind the wing.
- Stamp the sentiment from the 36057 Thank You Stamp onto a piece of Pumpkin inked cardstock using Whisper ink.
- Die cut it with the coordinating die.
- Cut a piece of colored cardstock to 4.25″ x 5.5″ and adhere it to an A2 card panel.
- Add foam adhesive to the tree frame. Trim the edges to fit the stamped background.
- Assemble the card.
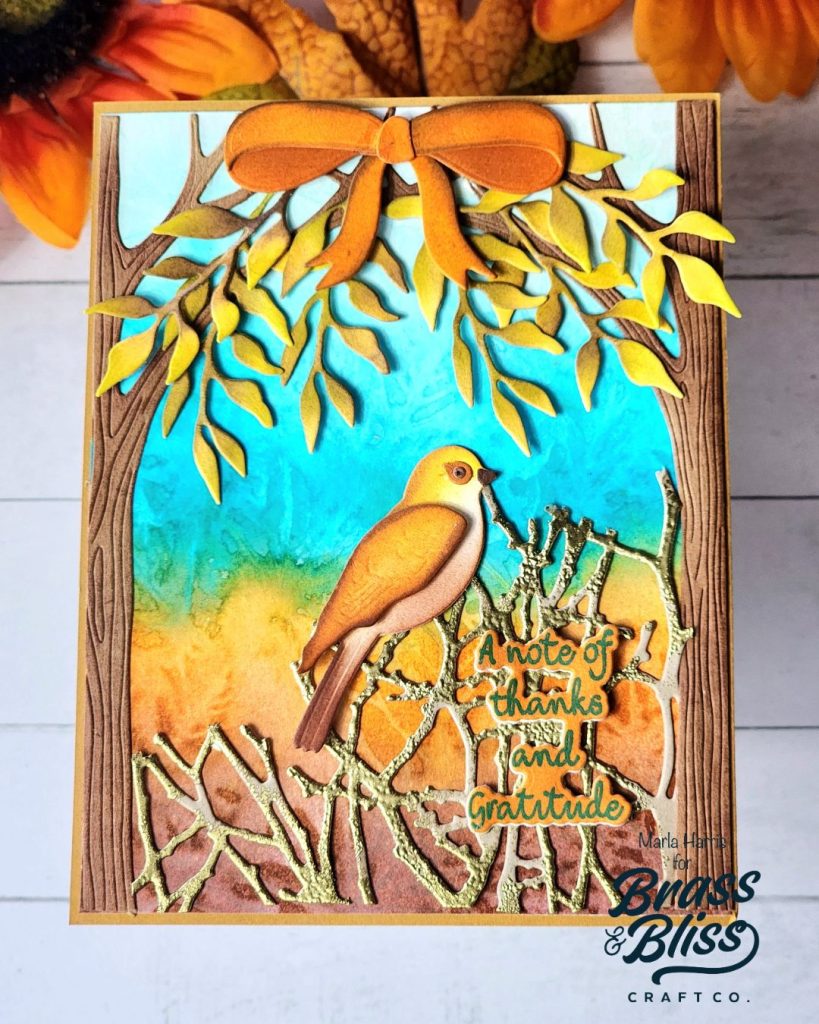
This is truly a stunning card and definitely one we want to send out to show our thanks and gratitude! Stunning work, Marla!