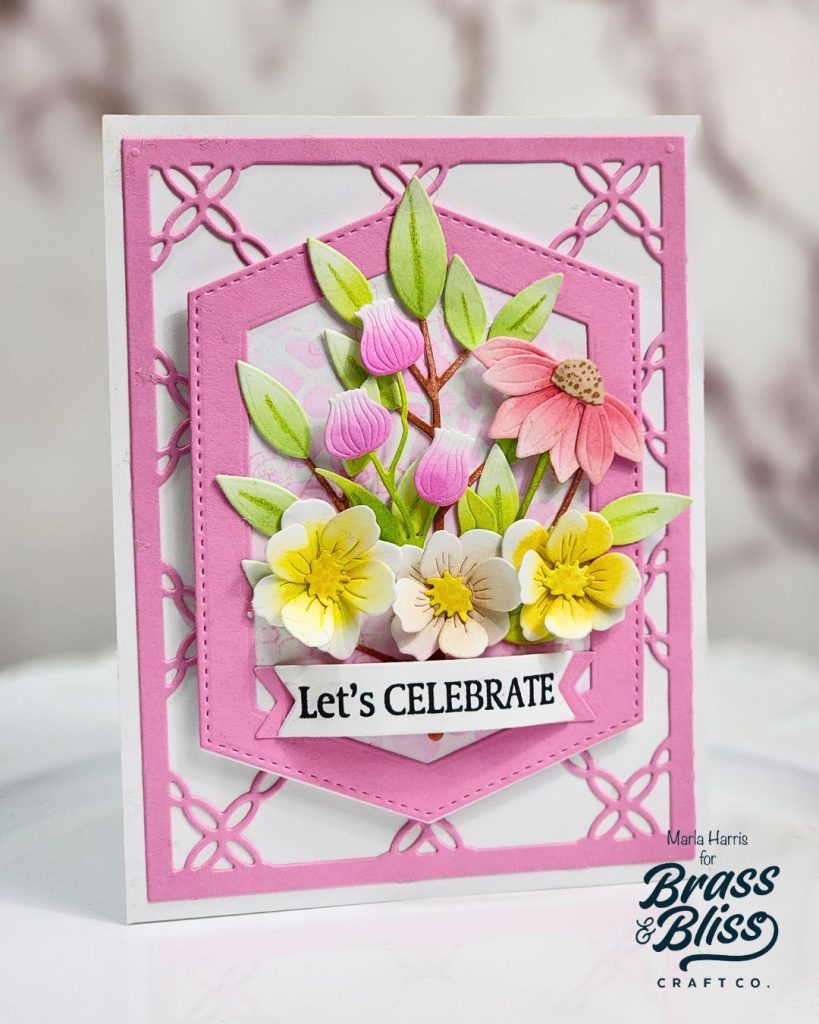
Your next floral card project awaits. This bright spring card is blooming with crafty goodness and layer upon layer of papercrafting fun.
When it comes to the card making community Punxsutawney Phil couldn’t be more wrong. Spring has sprung and we couldn’t be more excited. Marla’s display of renewed spring beauty flows from this beautiful floral card design. From the soft color palette to the elevated layers this card design has us anxiously anticipating the blooming of gardens outside. Let’s unravel how she created this card.

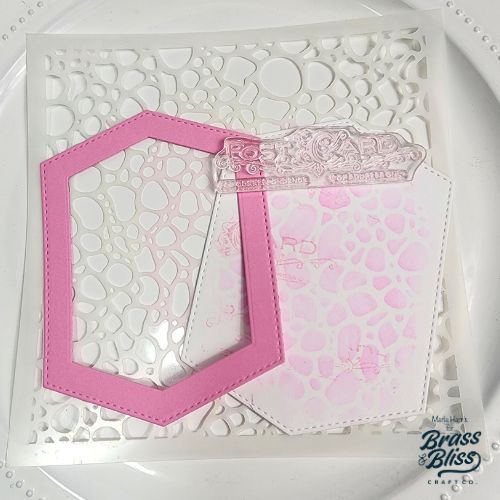
- Using two of the 5819-02D Tall Hex Nested Dies create a frame from pink cardstock.
- Cut a solid hexagon from white cardstock using the 5819-02D Tall Hex Nested Dies.
- Add the pattern to the white hexagon using Bubblegum ink and our 4408 Cobblestone Stencil.
- Add additional “texture” to the hexagon by lightly stamping text using our 36017 Vintage Postcard Set and Fuchsia ink.
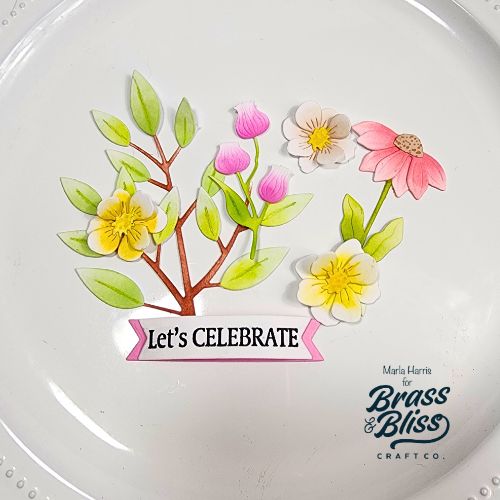
- Die cut the flowers and foliage from white cardstock using our 5832-04D Fall Florals Die.
- Die cut the branch and leaves from white cardstock using our 5811-03D Sunlit Blossoms Die.
- Ink the die cut pieces using the following inks: Bubblegum, Mocha, Posey, Mist, Moss, Fern, Grass, and Custard.
- Stamp the sentiment using our 38002-02 All-Occasions Birthday Greetings stamp set and Versafine Clair Nocturn Ink.
- Die cut the sentiment using our 5908D Flag Banner Dies.
- Die cut a larger flag from pink cardstock.
- Use a pencil to bend the sentiment and add foam tape to the center before adhering to the pink flag.
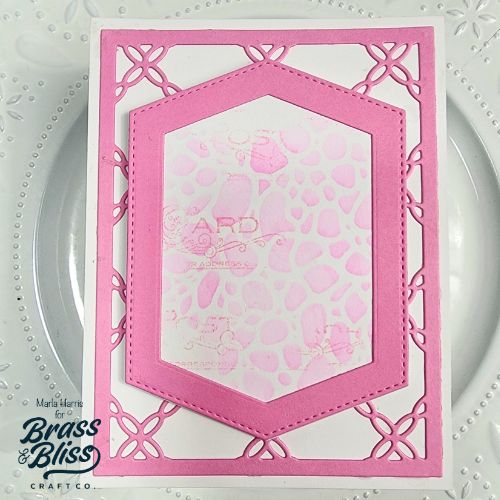
- Create a layered background using our 5419D Diamond w/Holes Cover Die and pink cardstock.
- Adhere the Diamond w/Holes background to an A2 cardbase.
- Adhere the white hexagon to the pink frame and add dimensional foam tape to the back before adhering to the center of the card front.
- Arrange the foliage and flowers and adhere to the center of the hexagon. Adding dimensional foam tape to the taller flower heads.
- Complete the card by adding the sentiment.