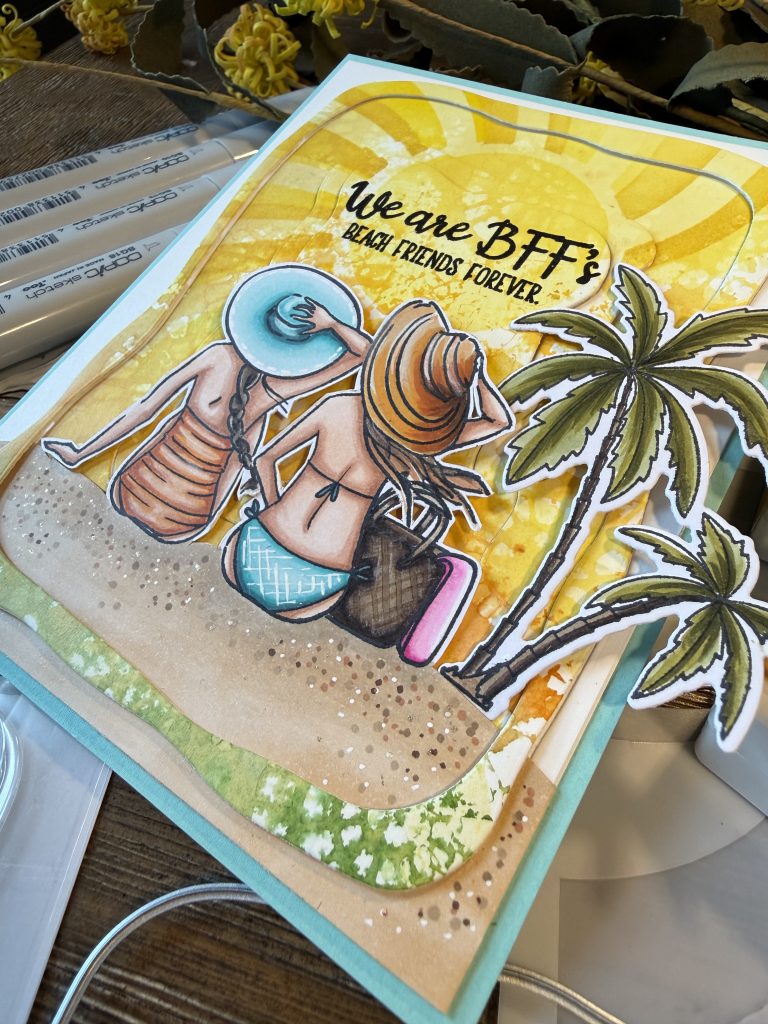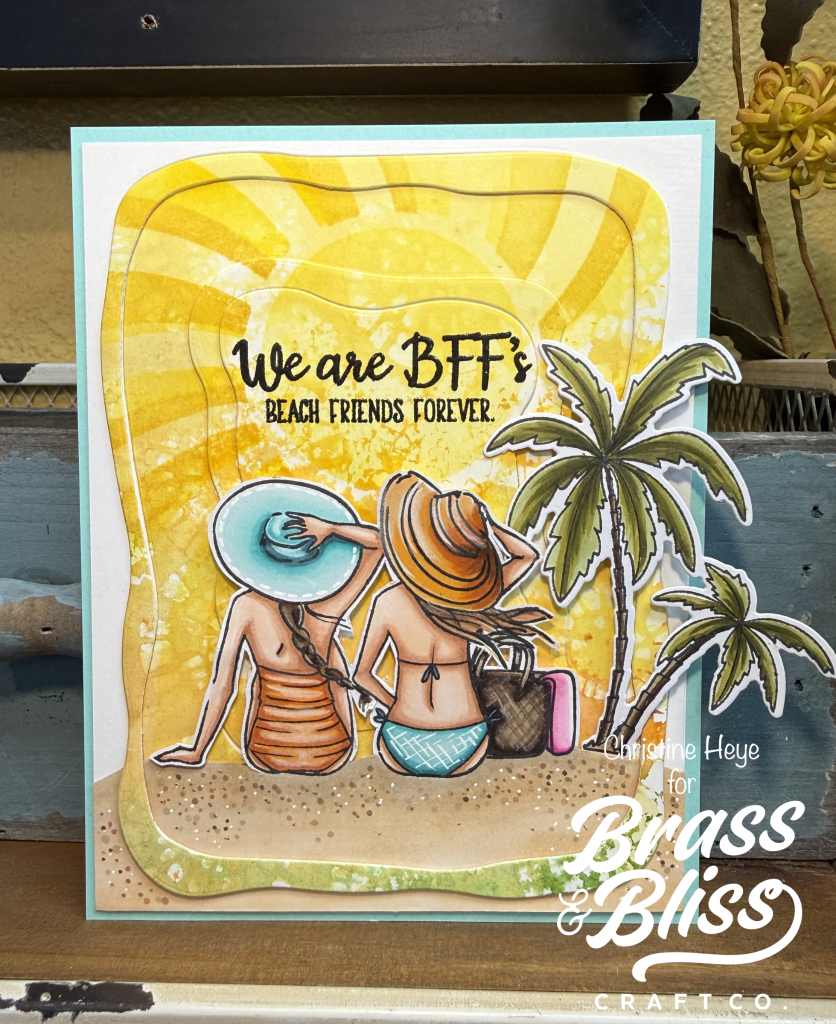
Summer is here and girl time is a MUST! This sunny card creation is the perfect beach invitation to send to your gal-pal to plan a day in the sun!
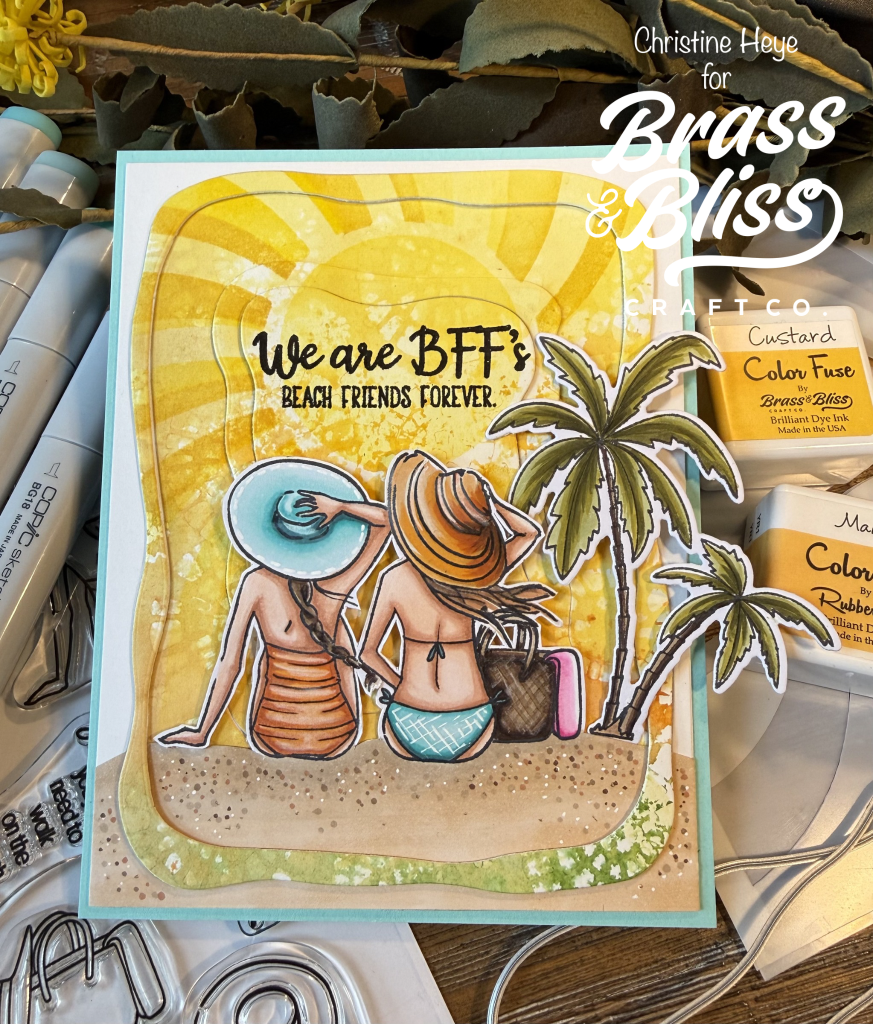
Do you need a beach day? How about a beach day with that favorite friend? Here is the bright, cheerful and happy card for you from our talented designer, Christine Heye! This card features the adorable Beach Girls stamp set, a wavy set of stencils, and a fun twist to the Wavy Nested dies! We love how sunny this card is and think our BFF is going to love it just as much. Christine ask us to, “Go on a beach walk with me, to recreate this beach friends forever card!”
- Cardstock is abbreviated cs throughout-
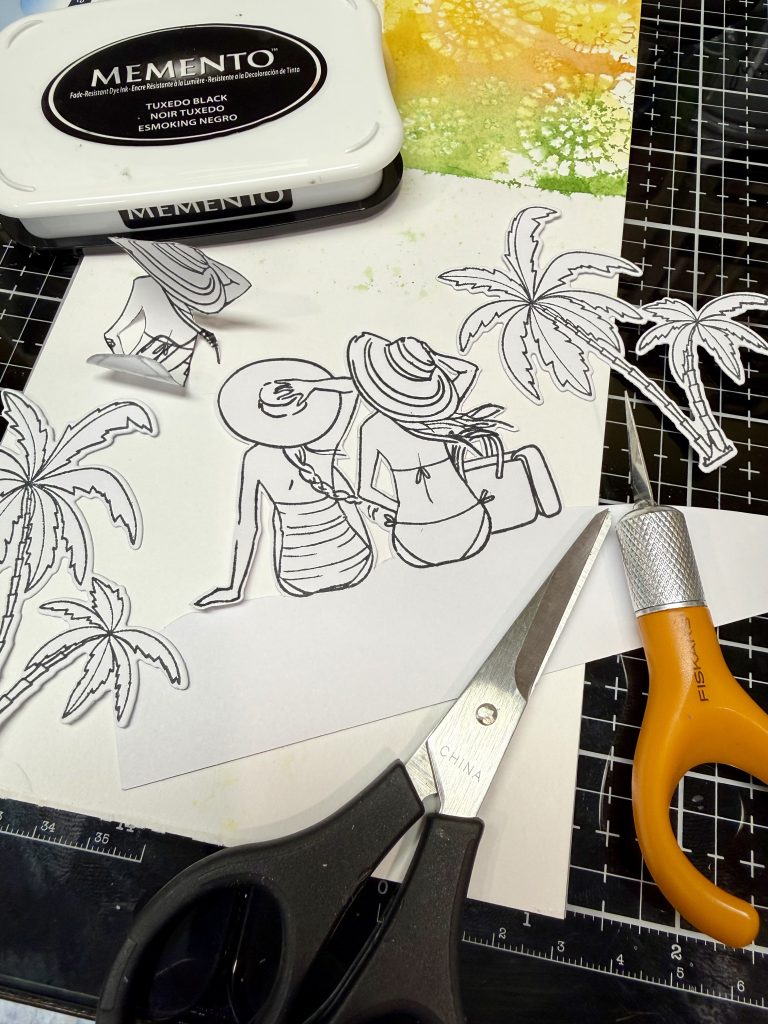
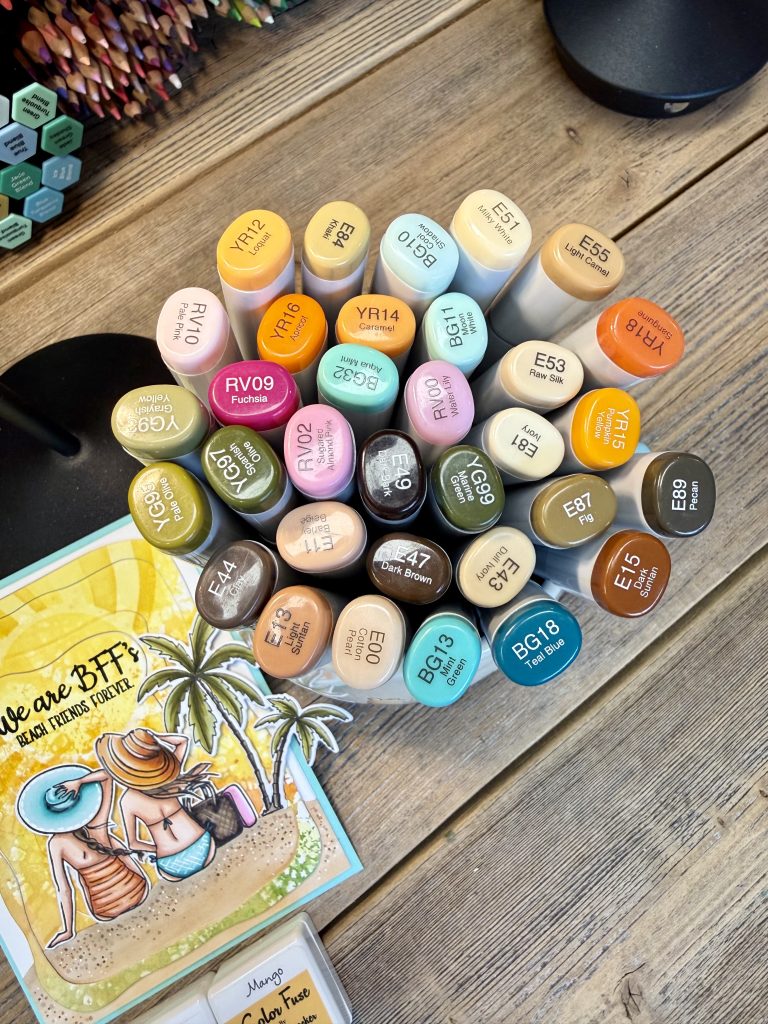
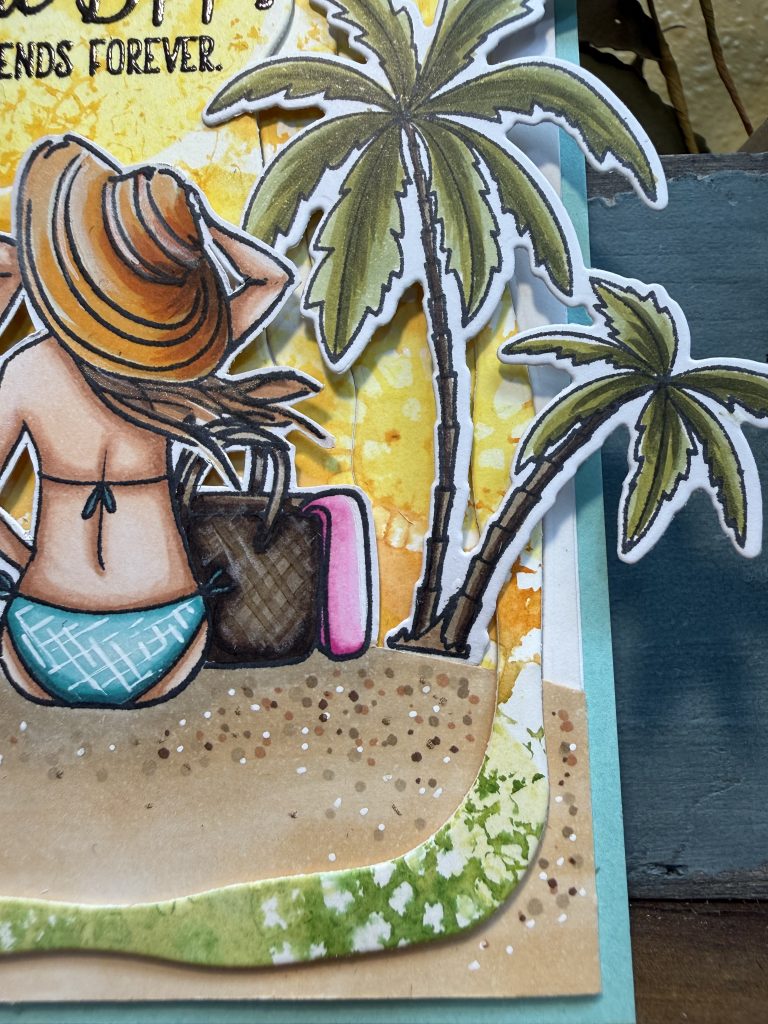
- Start with stamping the lovely girl (on the right)-onto your fav coloring cs (I use Blend it xpress). Making sure to leave plenty of room for additional stamps to be added to your scene. On my card, I created a mask of the girl on the right. I stamped her first, then put the mask over top. Next I stamped the second girl on the left and the beach bag on the right. Then fussy cut it all out, making sure to leave your sandy beach area in tact. You can also stamp these images separately and die cut them, layering later to create this scene. I masked for flatness and the fun of it. :) Stamp the palm tree duo and die cut using the coordinating die. I die cut first, then color to avoid any oopsies in die-cutting a colored image. Color using alcohol markers or preferred coloring medium. (I used Copics- see photo). Create your sandy beach using two shades of brown. (I think I used E43 & E55). Add speckles from white gel pen and 4 or 5 different browns and gold brown pens.
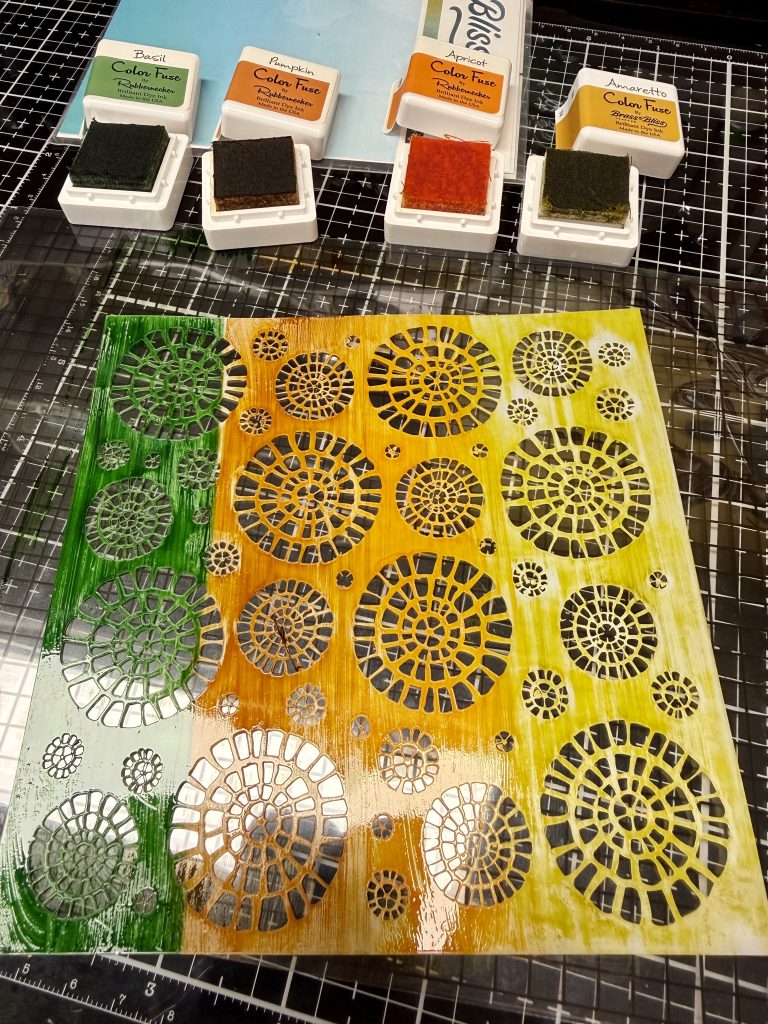
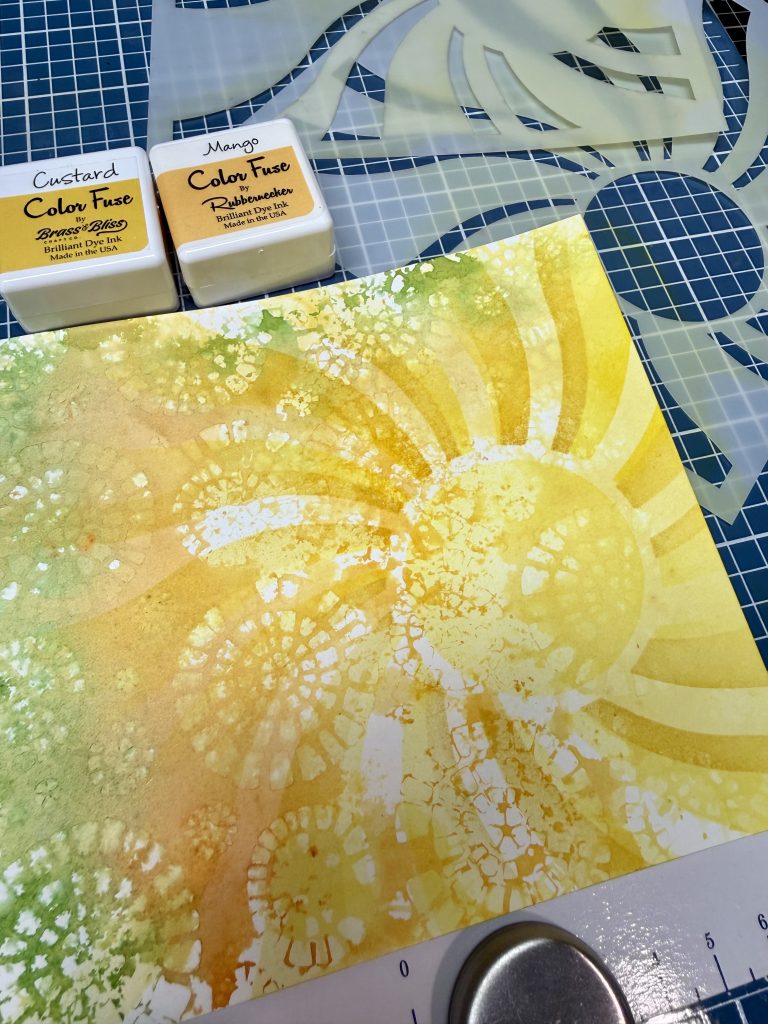
- To create the background you will use two different stencils. First, using Basil, Pumpkin, Apricot, and Amaretto inks or colors you have, using the direct to stencil technique, swipe color onto Circled Paver stencil, in stripes. (See photo). Mist your (A2 sized) watercolor or mixed media cs with water and liberally wet the inked stencil. Apply the paper to the stencil, using a paper towel, press the stencil down, trying not to move it. Lift it off -straight up. Heat set or allow to fully dry. Place first stencil of the Wavy Sun 2 part stencil set onto the dry panel (securing down). Using Custard ink brush/blend onto the panel. Do the same with the second part of the stencil, but with Mango ink. After removing the stencil, take the Custard ink and soften the lines and white area- gently. Makes the panel more yellow and less harsh. Heat set or allow to thoroughly dry before die cutting.
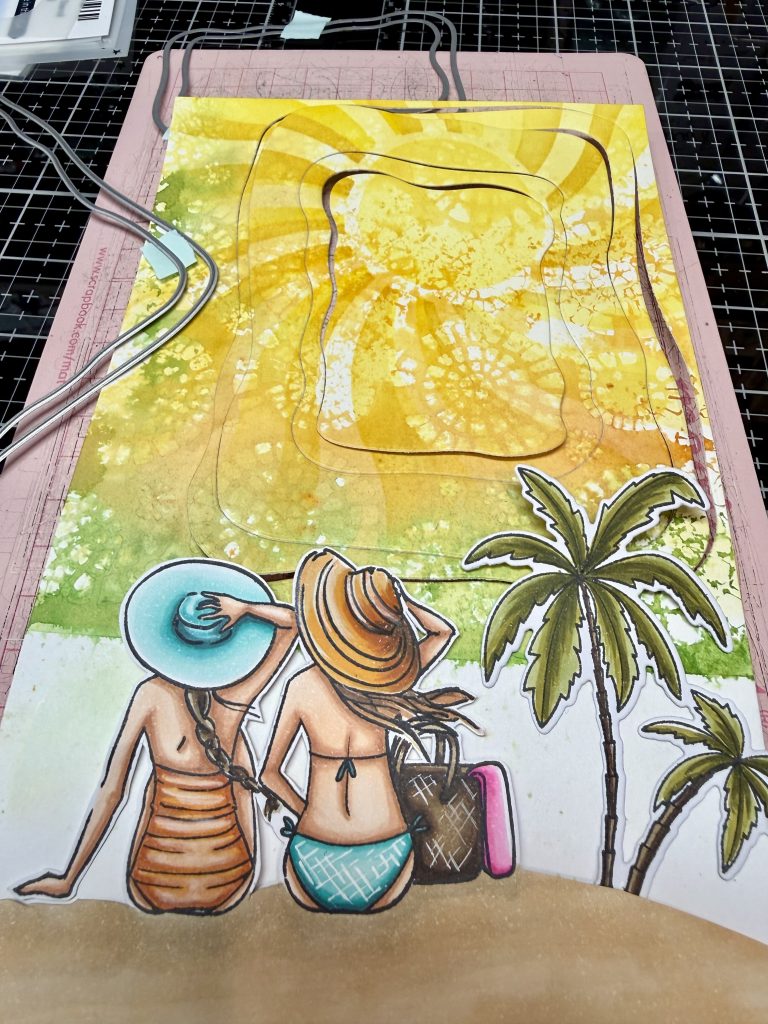
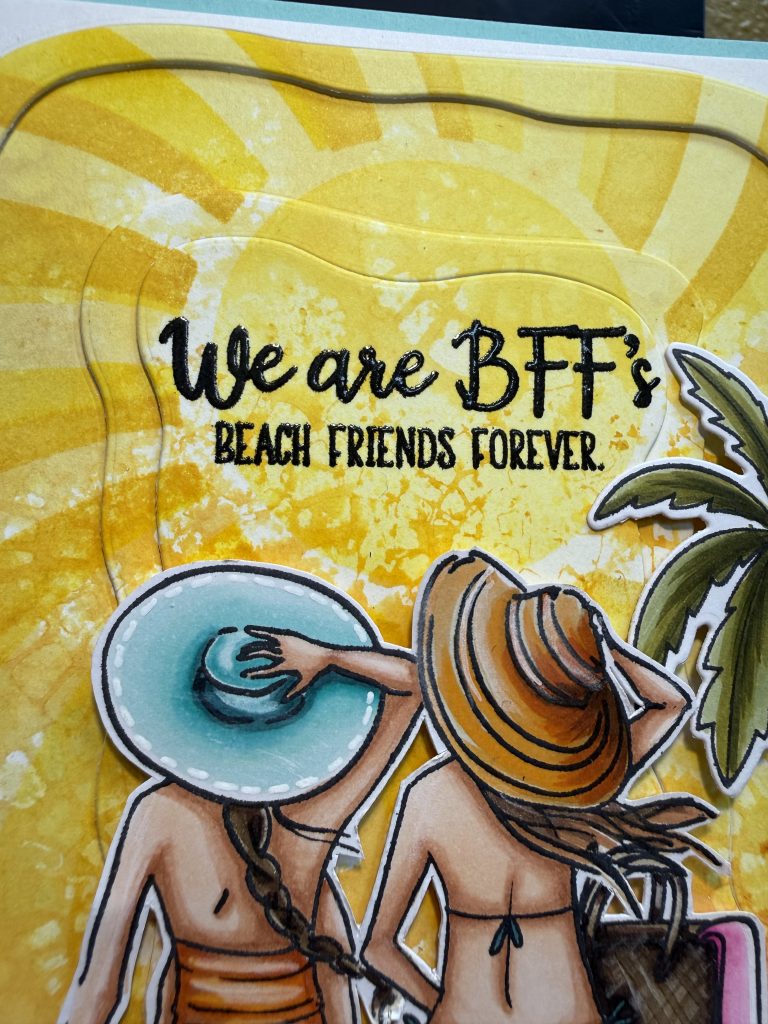
- Die cut the panel using 4 of the Wavy Nested dies formed into 2 thin frames and two larger pieces. (See final photo to get idea). Save all pieces- they will complete the background in layers. Some lifted and others flat. Cover the backside of both of the created frames with thin foam adhesive. Set aside.
- Taking the smallest cut out yellow section- and the We are BFF’s sentiment, emboss it using versafine and clear gloss embossing powder. Make sure it is evenly positioned in the center top. Set aside.
- Cut a piece of white cs to A2 size. Taking the largest frame with foam adhesive, mount to this white layer, BUT make sure to have placed/spaced your white beach & girls layer below. (See photos). No adhesive should be on the beach piece except the very bottom glued to the white layer. As you will be sliding your other sunshine sections onto the white layer before securing the images in the front down. Next glue down the second wavy lines section flat onto the white layer, within the first foam layered frame. Repeat with the 2nd thin frame- this also has dimension by the thin foam. And lastly the embossed sentiment layer with thick foam adhesive, to make it pop and the eyes go there.
- Glue the palm tree in place using a thin bead of glue, on the front bottom of the tree trunk and thick foam adhesive on the backside, that will make contact with the card (some hangs over, but if you prefer, you can cut that off. I liked it extending past the outer edge.)
- Here is where you add thick foam adhesive to the girls and beach bag and press down to secure the top of the beach scene section to the layered frames background.
- Card is finished. Now let’s go take a rest at the beach!