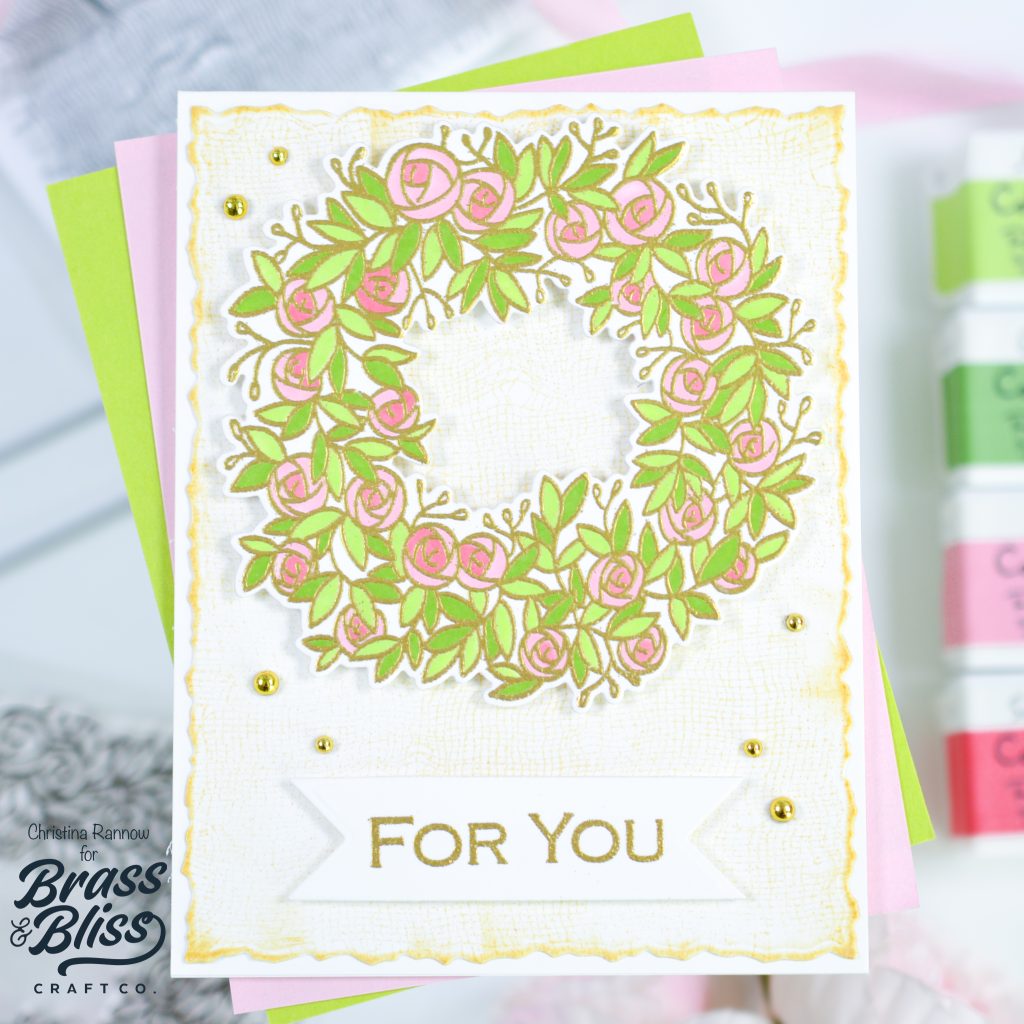
Looking for a soft and sweet card for Spring? This stunning pastel Spring Wreath will turn your next card project into an elegant masterpiece. Add some gold embossing, a cheesecloth stamped background and a deckled edge, and you have the yourself some serious paper-eye-candy!
We love the delicate and soft color palette used on today’s project. Christina created todays project with Spring on her mind, and has given us the steps to make a pastel spring wreath for a sweet greeting card.
How to make this card:
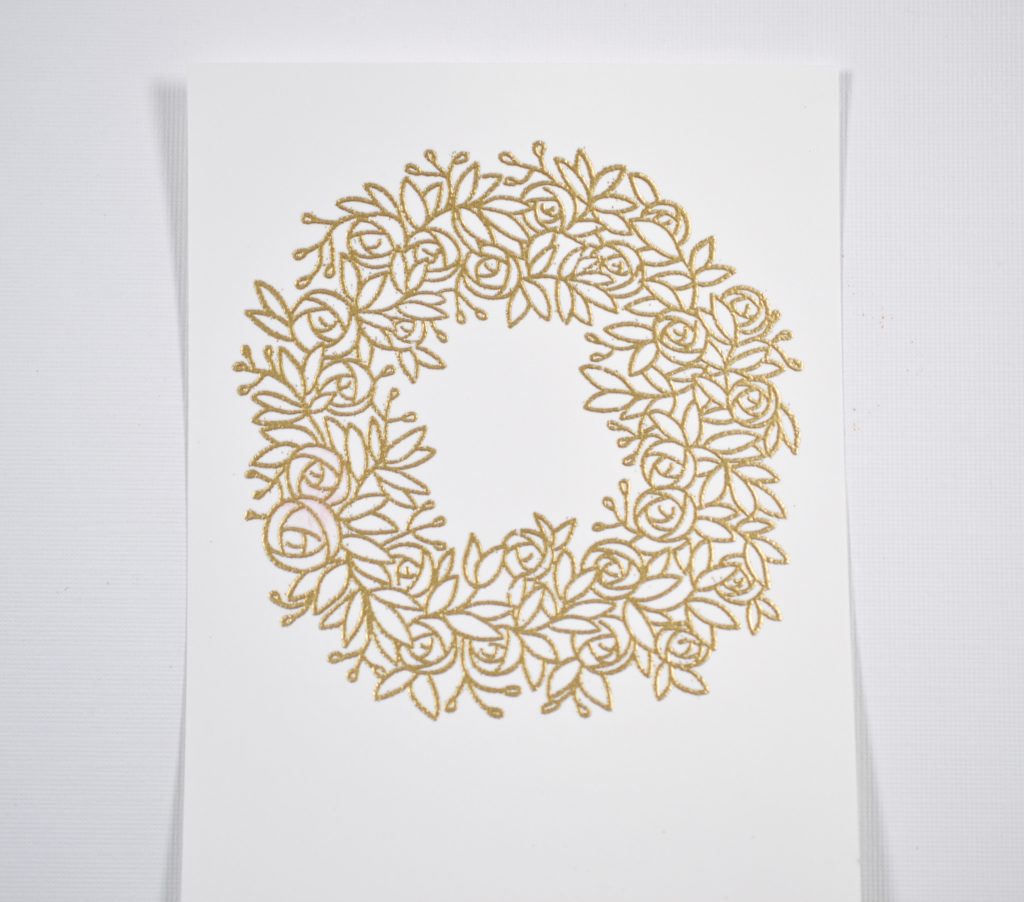
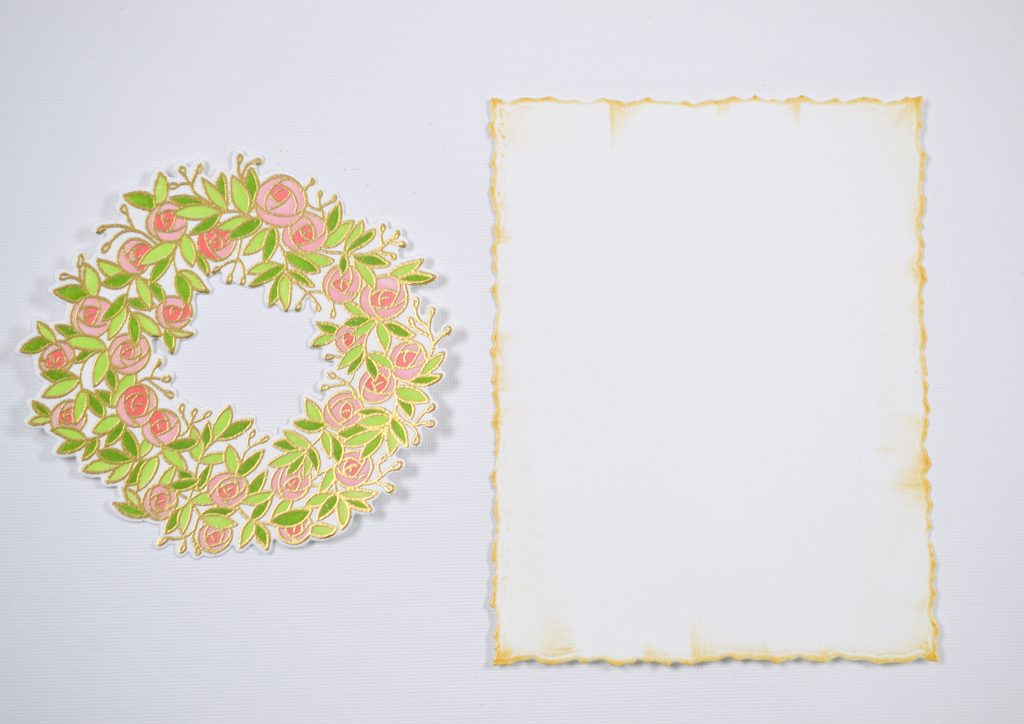
- Stamp the wreath image on white cardstock with clear embossing ink and heat emboss with gold embossing powder.
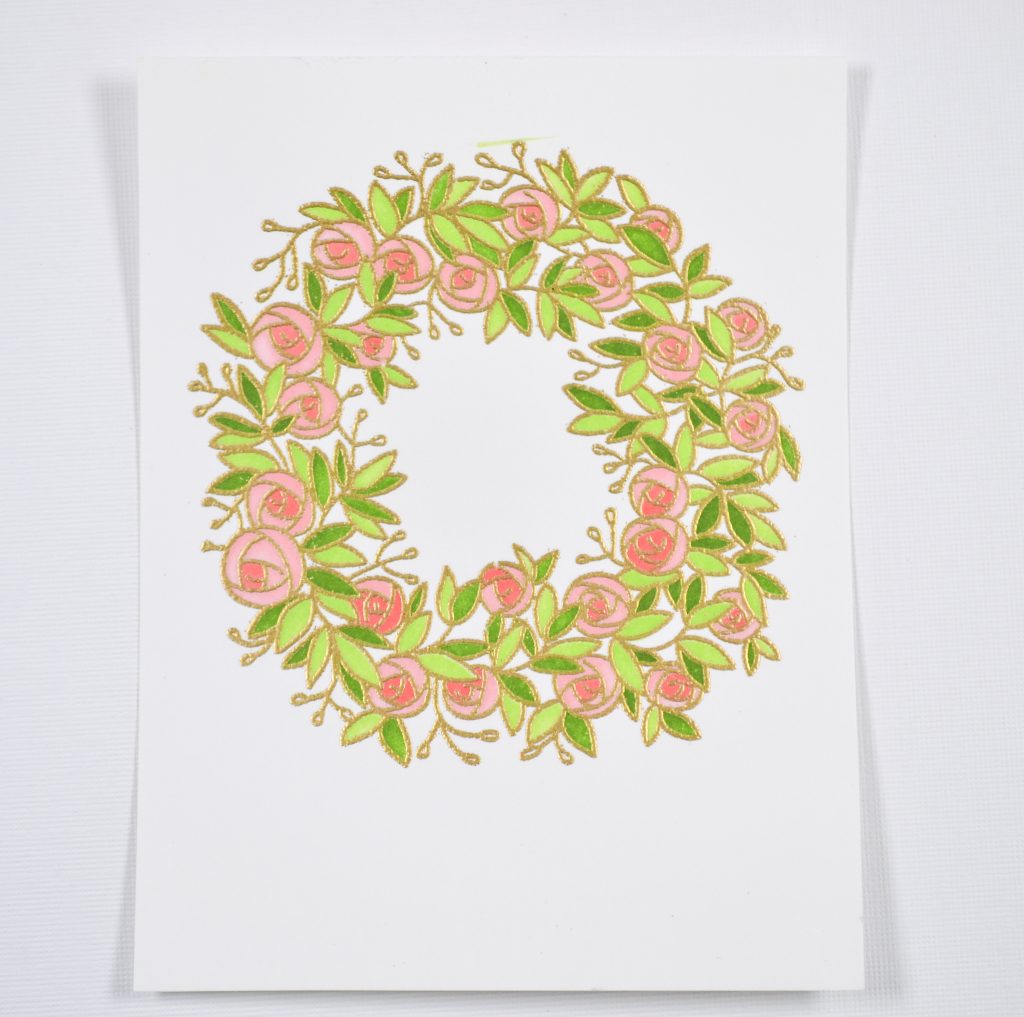
- Stencil the wreath image with the coordinating stencils using Color Fuse Ink in Moss, Clover, Posey, and Scarlet.
- Die cut the wreath with the coordinating die.
- Die cut the largest Nested Deckle Rectangle from white cardstock.
- Ink the edges with metallic gold pigment ink.
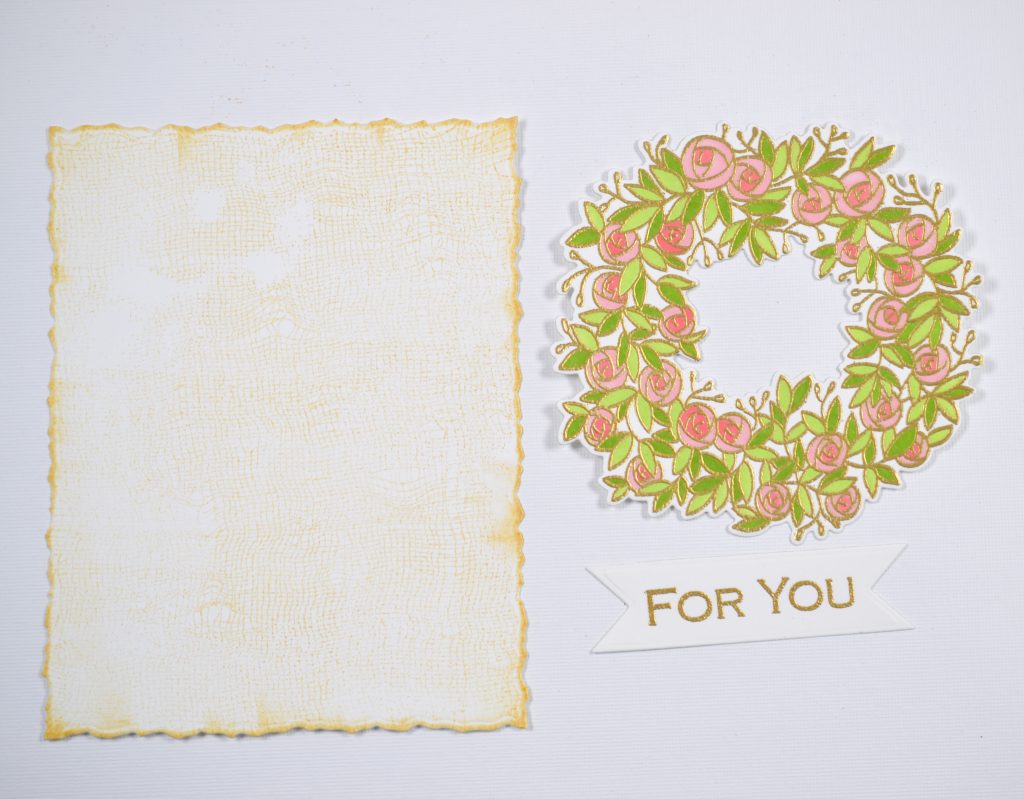
- Stamp the deckle rectangle with the Cheesecloth Background stamp using metallic gold pigment ink.
- Stamp the sentiment on white cardstock with clear embossing ink and heat emboss with gold embossing powder.
- Use the Offset Tags dies to die cut the sentiment, die cutting the tails on both ends.
- Attach the deckle rectangle to an A2 top-fold card base.
- Attach the wreath and the sentiment to the deckle rectangle with foam tape.
- Add gold embellishments.
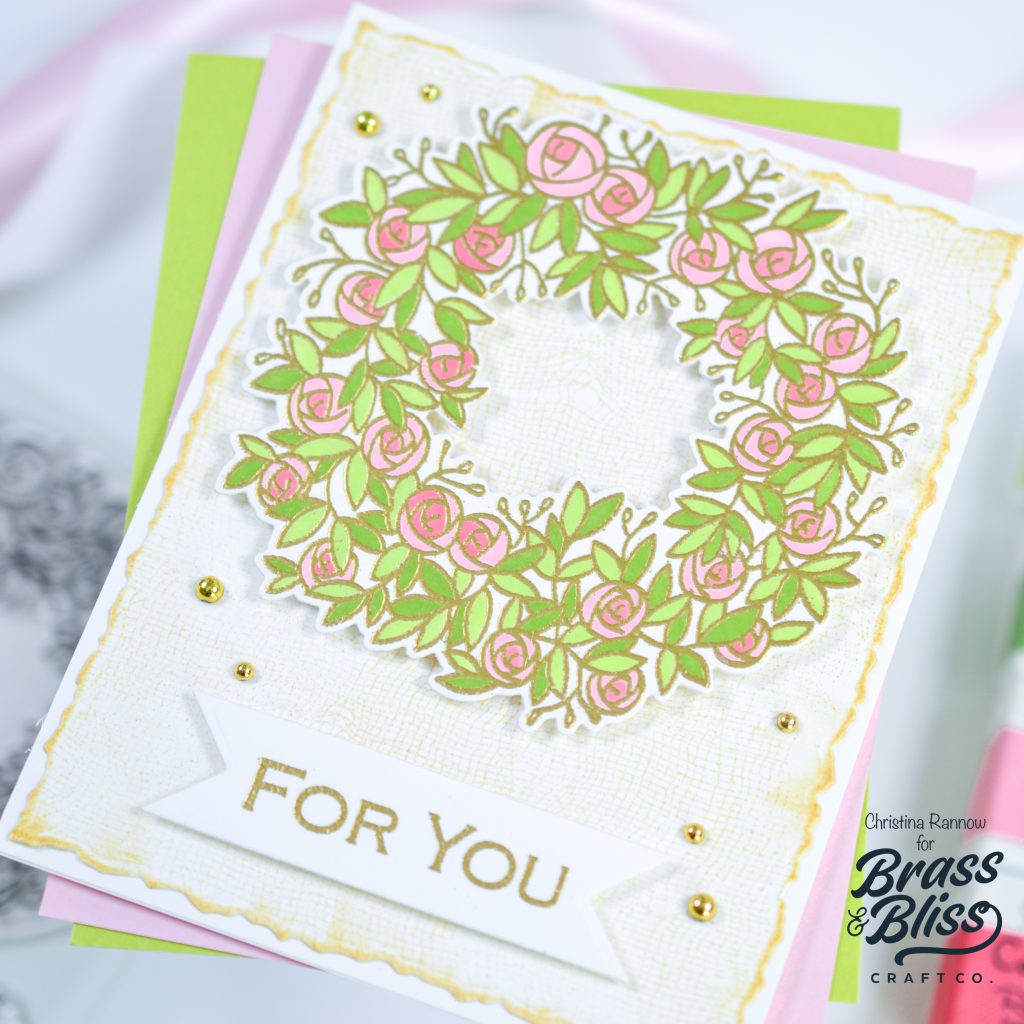
This card has really inspired us and that simple cheesecloth stamped/deckle cut background layer is giving us all the crafty ideas for future projects! The stenciled spring wreath is a simple element that looks way more complicated than it actually is, giving our projects that WOW factor we are always looking for. All-in-all, we are super impressed with this card and hope you also found it to be inspirational for your next card-making project. Be sure to pin this card for later!
[linkdeli uuid=”1ada97f4-2816-4f7c-9a7d-f0450878b7ee”]