
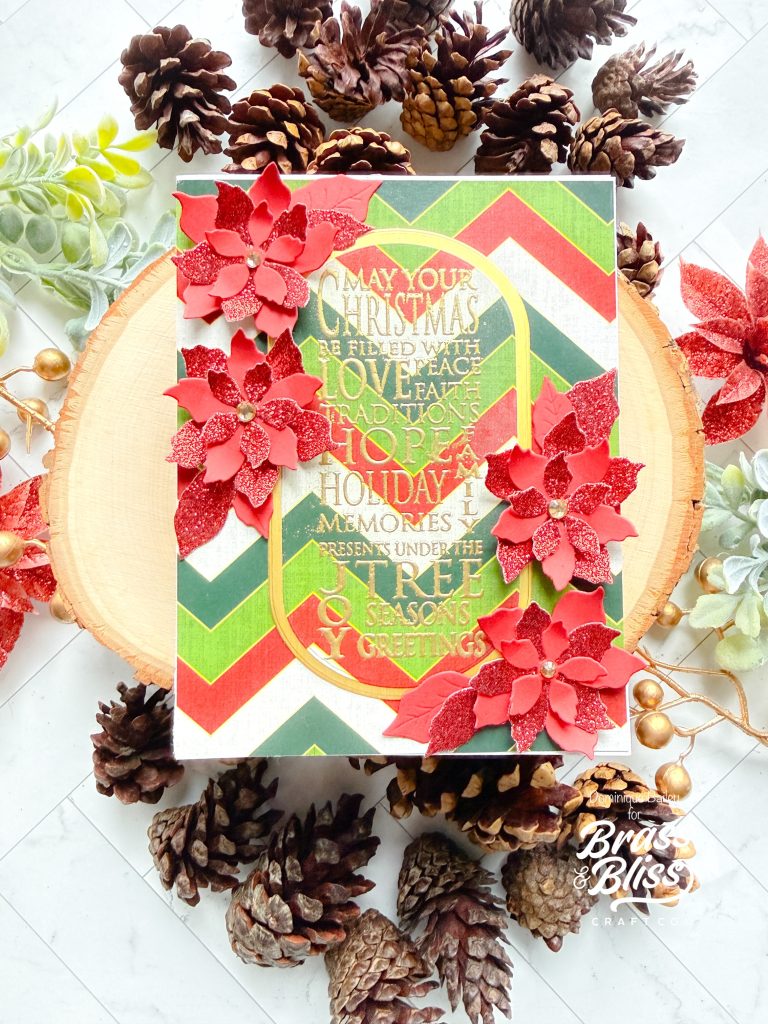
Check out this fun holiday card design that adds patterns and glitter for a magical card design.
Christmas Day is almost here! If you are in need of any last minuet holiday cards, you’re in luck because our designer, Dominique, is back with design showcasing how she used the Christmas Cheer stamp set and the Buildable Poinsettia Dies. Visit her last post from 12/04/2025 to see the previous design using these items. Dominique has done an incredible job with these cards and has inspired us with countless other designs over the years that truly WOW! This will be her last post officially on the design team but we will continue to follow her craft journey and be inspired by all of her amazing designs on her personal profile! For now, follow along and see how Dominique created this truly beautiful card.
- Choose your paper
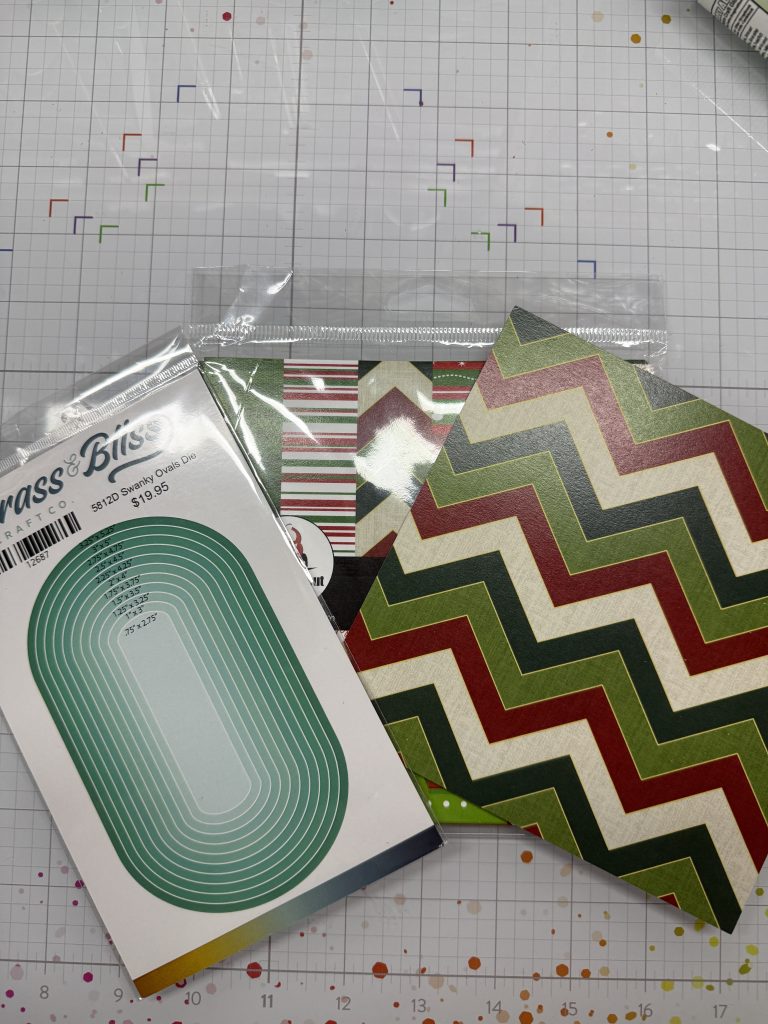
- Select a sheet of patterned paper for the card front. I used the green, red, and cream zig-zagged striped design from The Papercut Festive Stripes Paper Pack by The Papercut. Trim it to 4 1/4 x 5 1/2
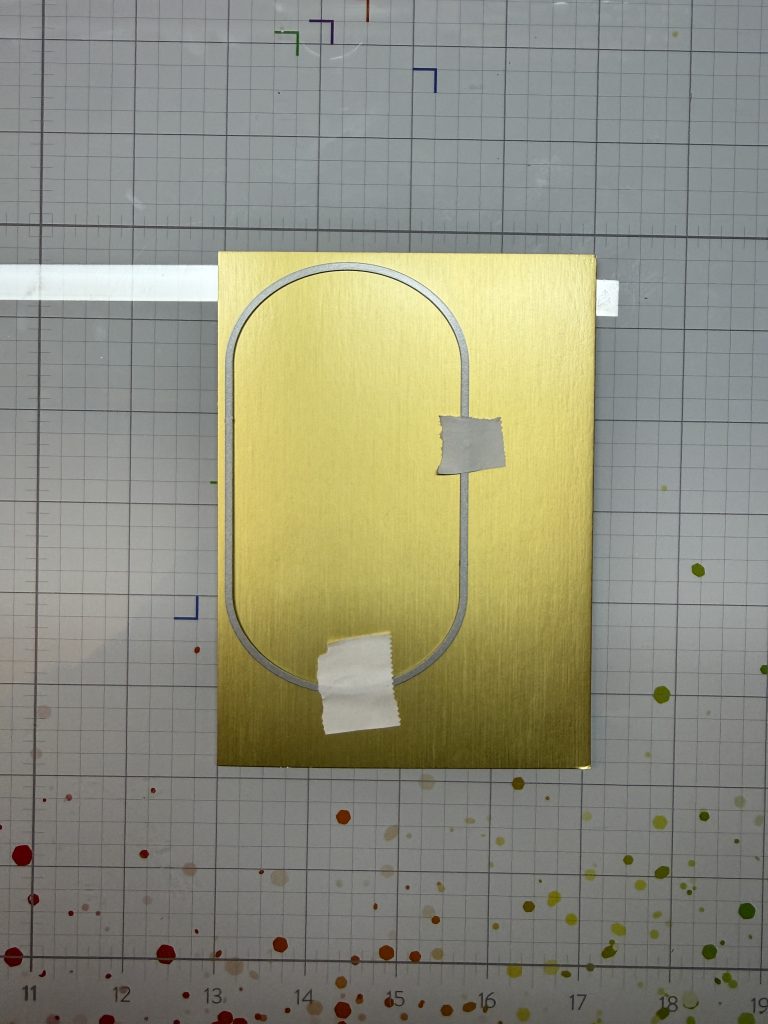
- Pick coordinating cardstock to frame the center oval. I chose antique gold cardstock.
- Die‑cut your elements
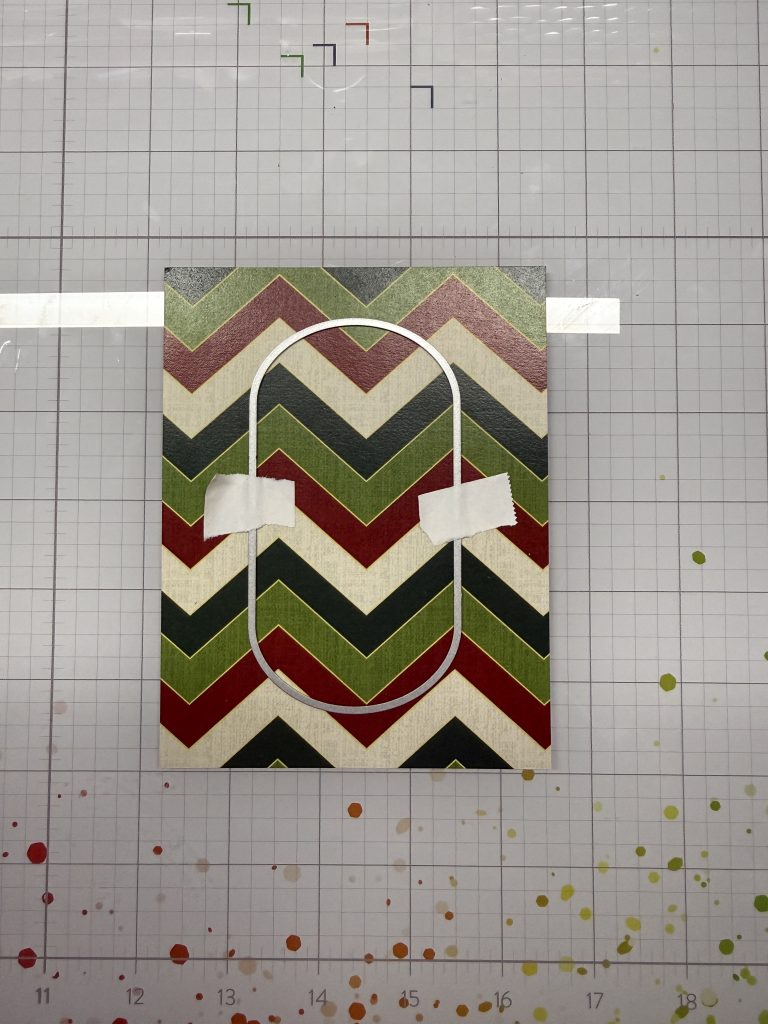
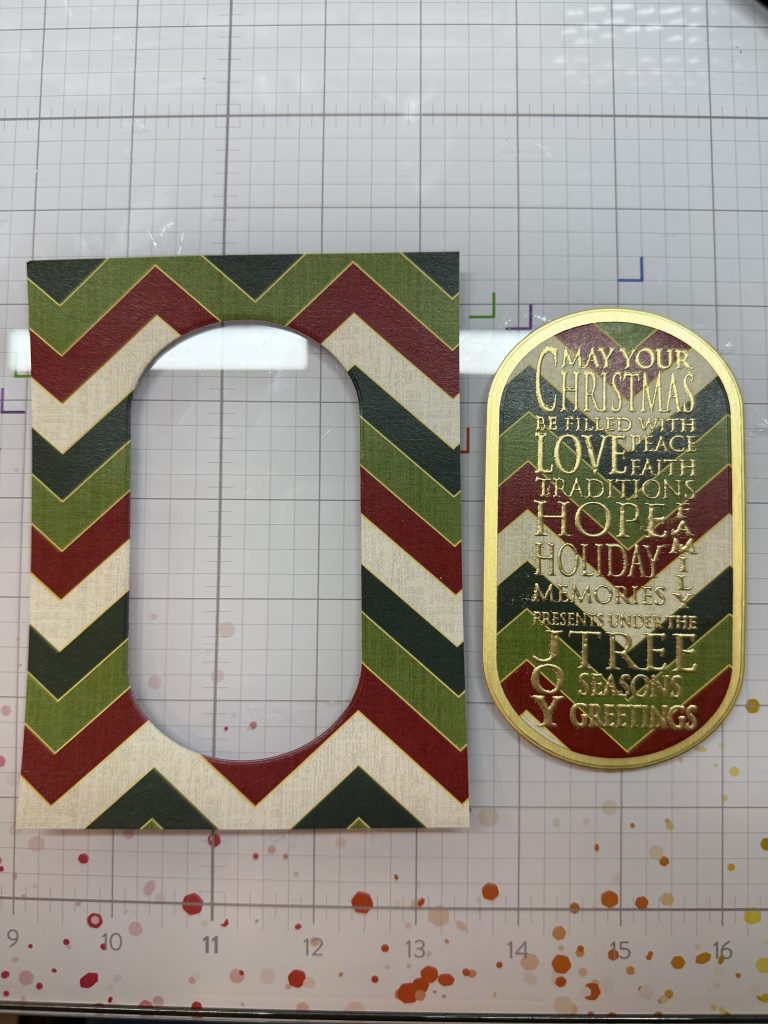
- Using the 5812D Swanky Ovals Dies, die cut the center of the patterned paper using the 2.25 x 4.25 die. Set aside.
- Using the 2.5 x 4.5 die, die cut an oval from the antique gold card stock. Set aside.
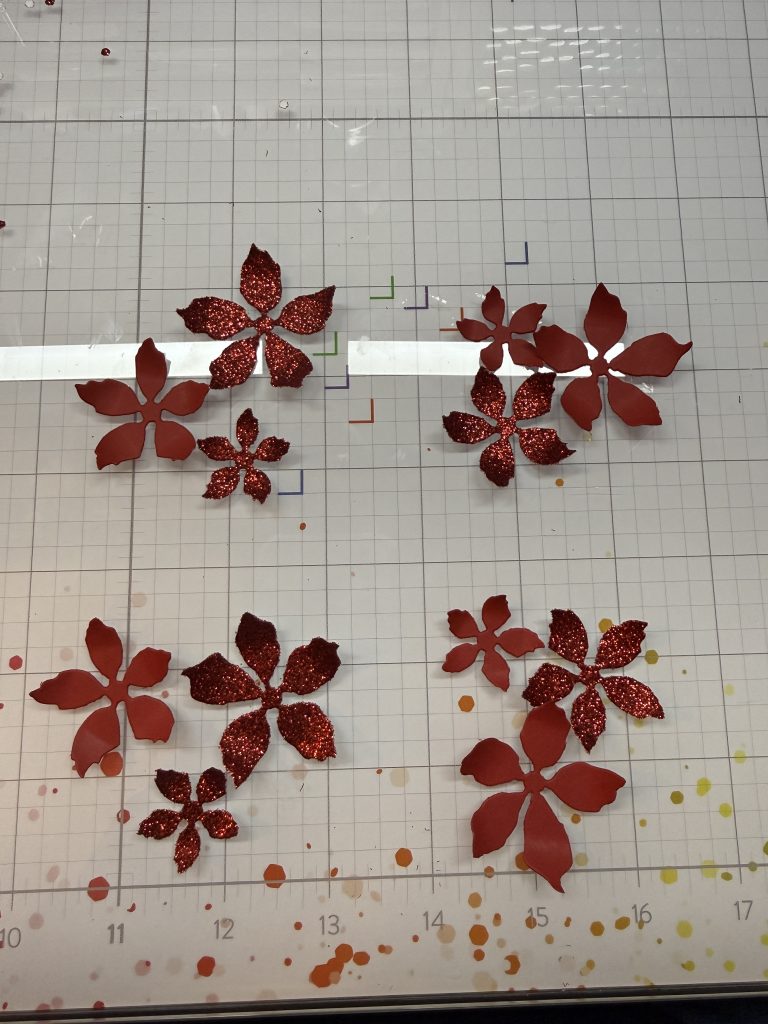
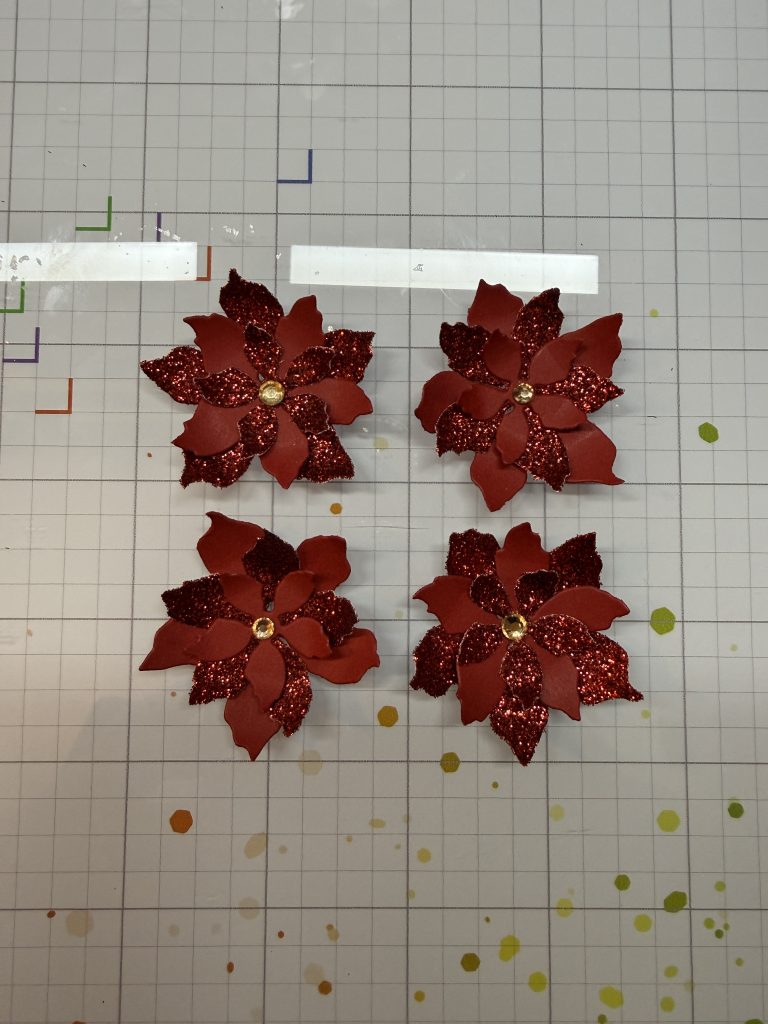
- Using the 5514-07D Buildable Poinsettia Die, die cut flowers from both flat red cardstock and glitter red cardstock.
- Assemble the flowers
- Layer the die‑cut flower pieces to build your poinsettias. Add a rhinestone embellishment in the center for extra detail.
- Using the red glitter cardstock, die‑cut the scalloped edge using the 5807-01D Classic Edge Cute Dies.
- Prepare your sentiment
- Select a greeting stamp. I used “May Your Christmas Be Filled With Love” from the 3424 Christmas Cheer Set.
- Stamp and emboss
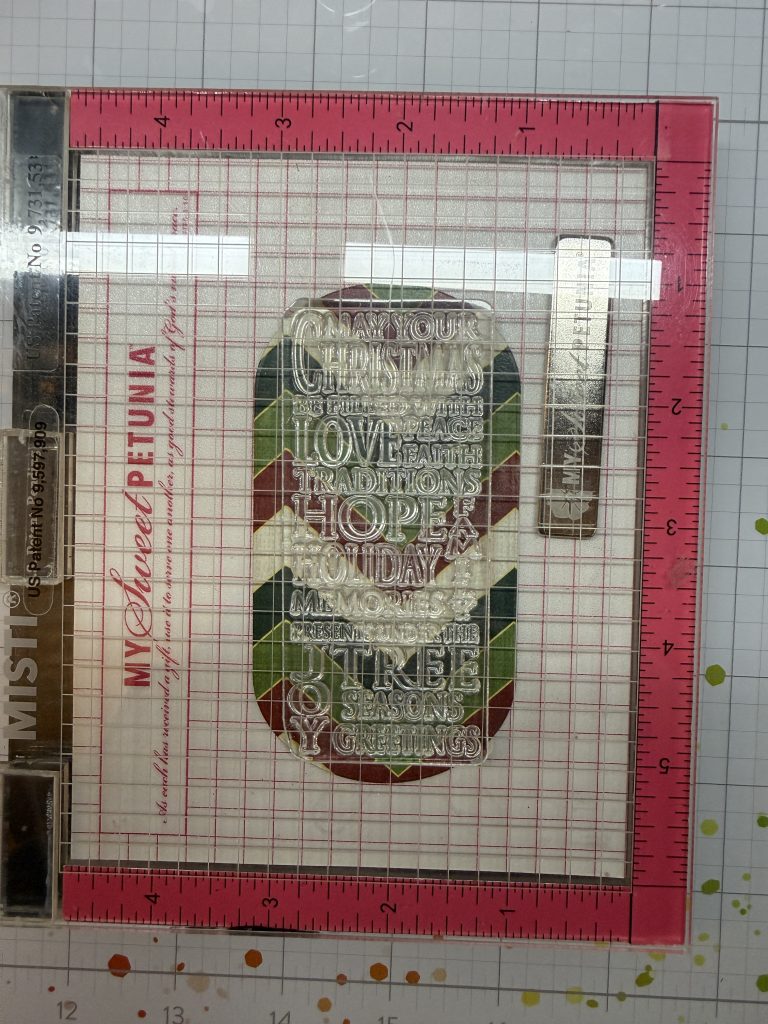
- Place the patterned oval in your stamp repositioner. I added a bit of tape to the back of the oval to keep it in place. You can use a sticky mat in your repositioner if you have one.
- Position the sentiment stamp in the center of the oval and close the lid to secure it.
- Treat the paper with antistatic powder.
- Ink the stamp with clear ink (such as VersaMark).
- Remove the panel, sprinkle antique gold embossing powder, and heat set with a heat tool.
- Final assembly
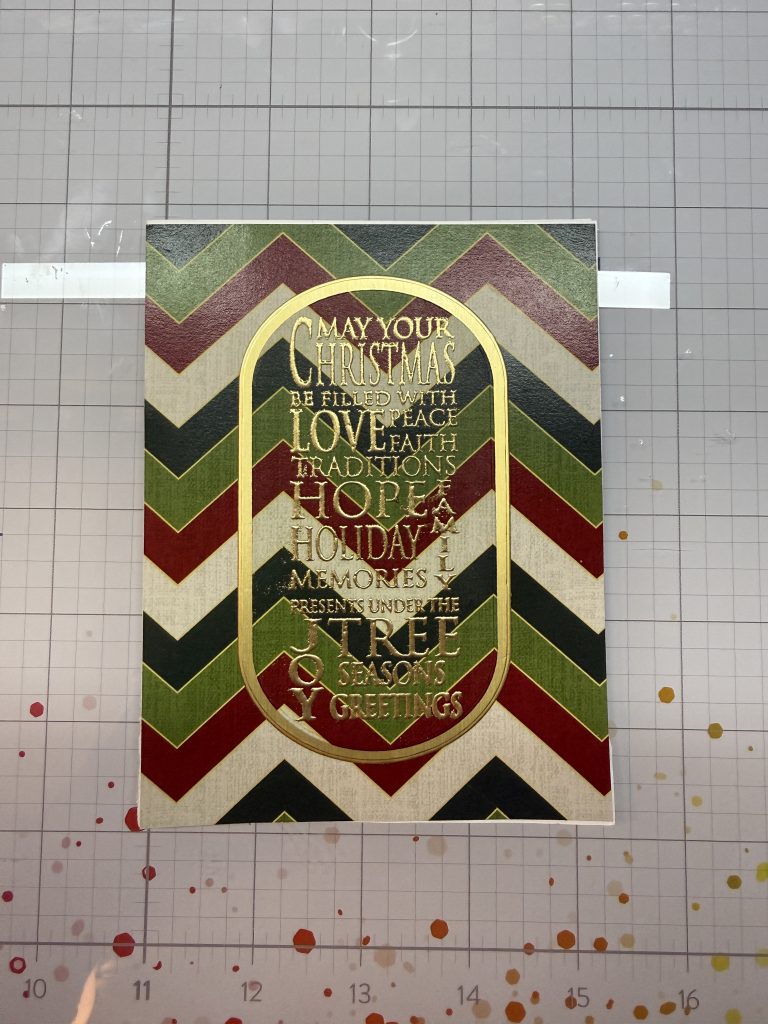
- Once the embossing has cooled, layer all your elements together.
- Position the flowers around the center oval and secure down with liquid adhesive.
- Adhere your completed panel to a 4 1/4 x 5 1/2 card base.
List of products used: