
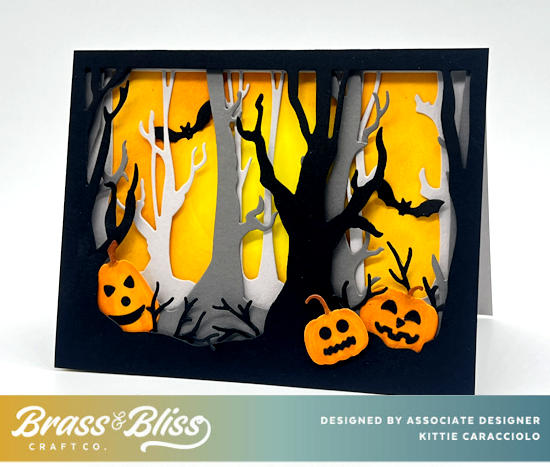
Do you love making Halloween cards that are not too spooky but are still lots of fun. Check out the Brass and Bliss Stacked Spooky Forest set.
Today’s seasonal halloween card is from our Associate Designer, Kittie, and we love the layered silhouettes against that bright ink-blended background. Follow along for tips to recreate this spooktacular card.
I took a few step by step photos to show how I set the dies on the 5.50″ x 4.25″ layers for cutting so they would line up together perfectly to show each layer well when they are attached.
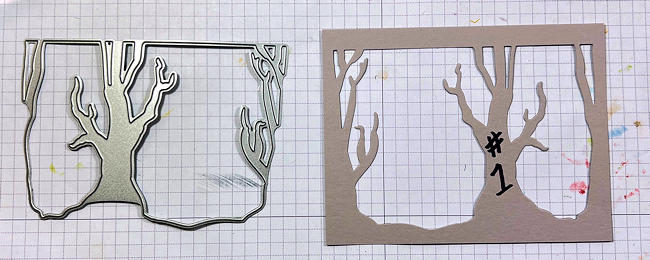
The first die should be centered and set low to allow for a smaller ground layer and a more substantial top frame. This setting will allow the second layer to be more visible when attached.
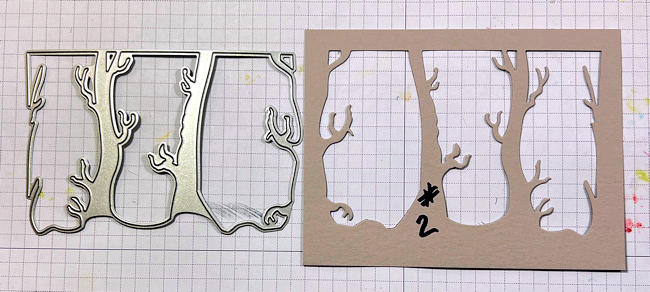
The second die should be centered and set a little higher so the ground area is more substantial and to show well behind the first.

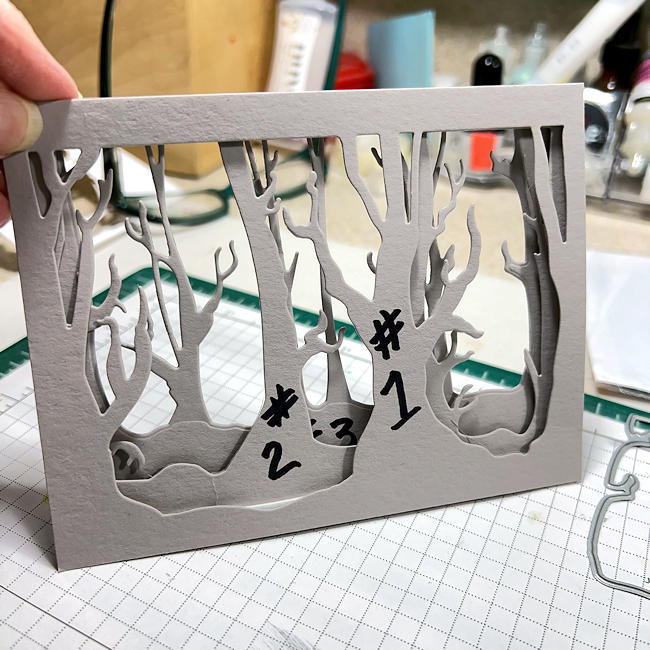
The third layer should be centered but set higher up on the cardstock to create a larger ground area so it can be seen well behind the other two layers.

Apply mounting tape to the front of the second and third layer, line up the layers and attach them together to create the dimensional scene.
To complete my card I created a colorful background on a white A2 sized card base using Color Fuse inks and large Blending Brushes. I applied double stick tape to the back of the layers and attached it to the card base. I colored the pumpkins from the Pumpkins and Ivy set using small Blending Brushes and attached the black Jack-O-Lanterns face sections using my Glue Press. Two little black bats from the Bats and Spider Webs set were the perfect finishing touch.
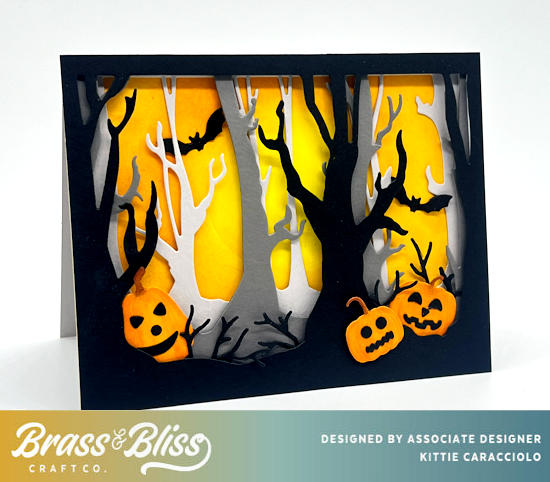
To make this card I used: Stacked Spooky Forest, Pumpkins and Ivy, Jack-O-Lanterns, Bats and Spider Webs