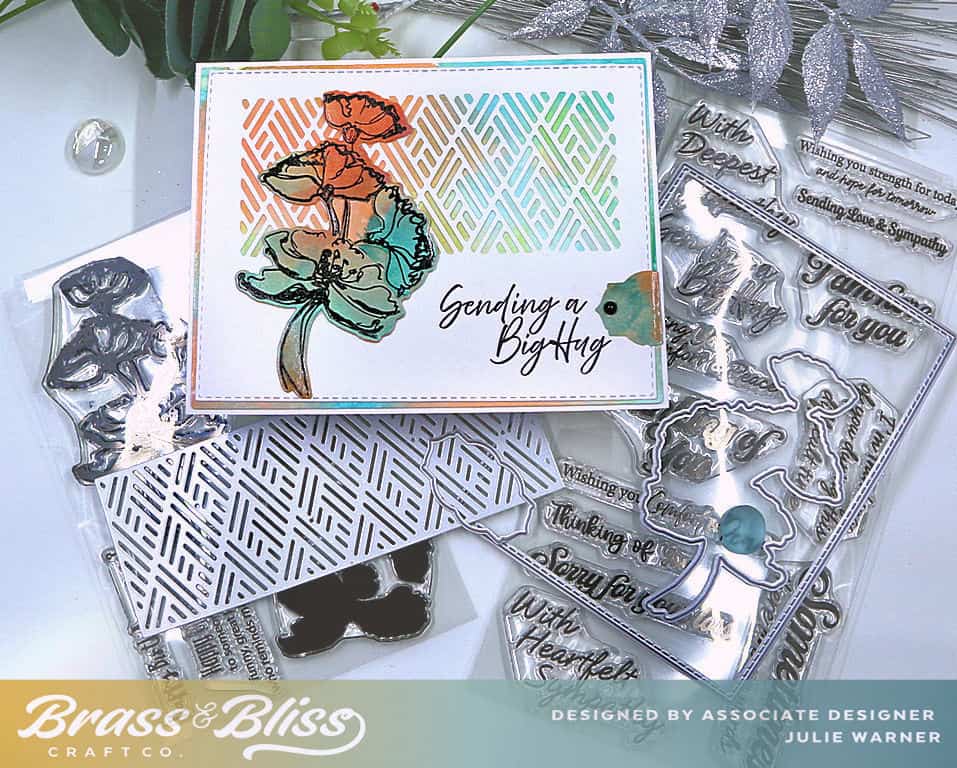
Ever have a die that you just wish was a different size. Sometimes there is nothing you can do about it, but every once in while you find a trick to help your vision come to life. Check out this trick for future projects!
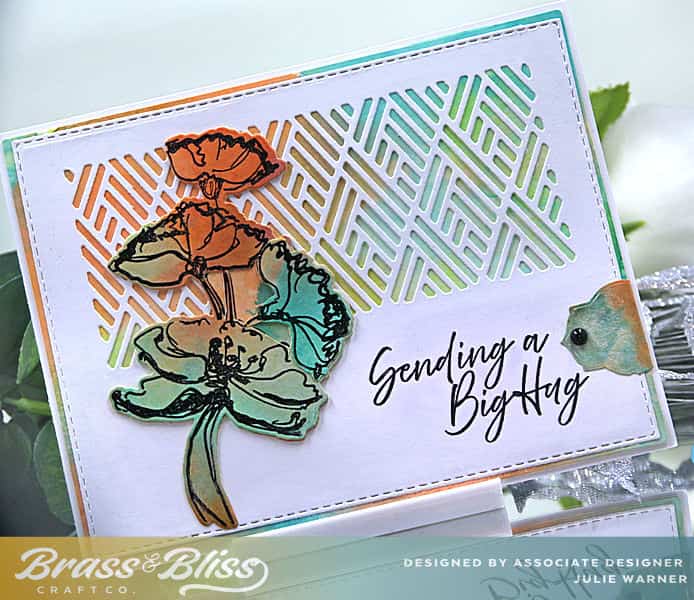
Today Julie Warner is sharing a tried and true trick she uses to extend the use of her dies and make them work for the vision she has. Julie shared, “I have a special technique to show today. Sometimes I like to shorten or lengthen a particular die cut to fit what I’m doing. I used this technique to adjust the length of the cut made with this Victorian Lattice inset die. It’s a handy trick you may find useful!” She used this trick to create a cover to lay over the top of a beautiful pigment Ink background, and paired with our “Fields of Bloom” florals. This card is so wonderful and we hope this is a tip you can use to get more from your dies in the future.
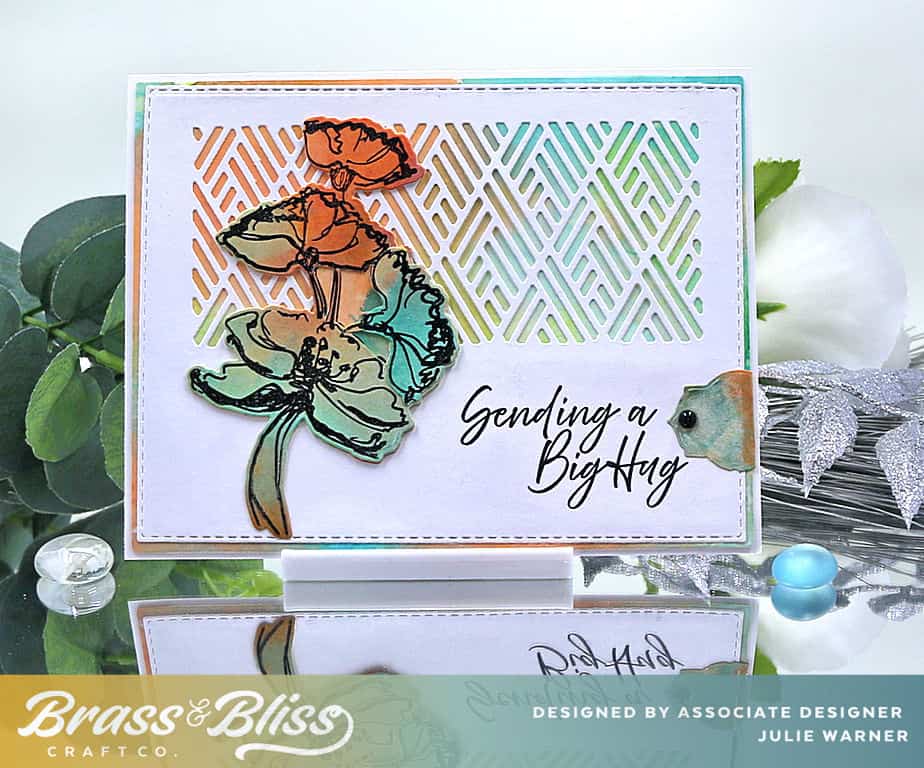
- I stamped the flowers on part of a background I made ages ago.
- It was made w/ dye reinkers on semi gloss card. The ink was spritzed on a teflon sheet then the card was applied face down.
- I tested different inks on this before I stamped the flowers. Memento did not work. I knew pigment inks would not work since it’s a coated surface. Ancient Page & Archival inks DO work equally well. Just be aware that either of these inks will probably stain your stamp, but it does not affect the way it stamps. Here is the before picture showing the backgrounds. I used the lighter one to the left of the lattice panel.
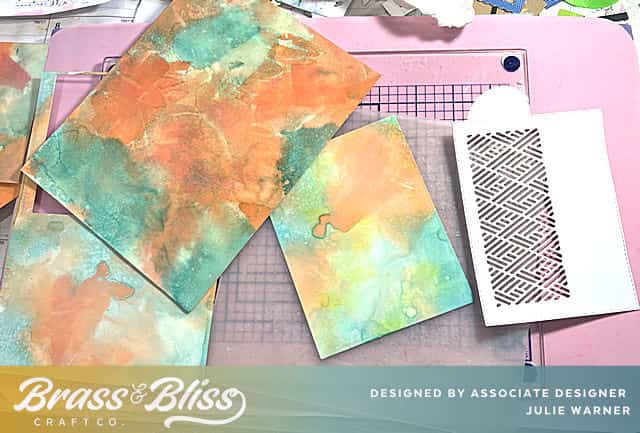
- For the partial lattice panel, I used an inset die that normally measures 5 3/8″ long. So I made it shorter. Here is how I did that.
- I cut the card stock w/ a rectangle stitch die. It measures approximately 4″ x 5.25″. The die would not fit this size, so I measured the repeat of the pattern which is 7/8″, which means I’ll have to shorten the cut by 7/8″, making the total cut length 4.5″ (it normally cuts 5 3/8″ long).
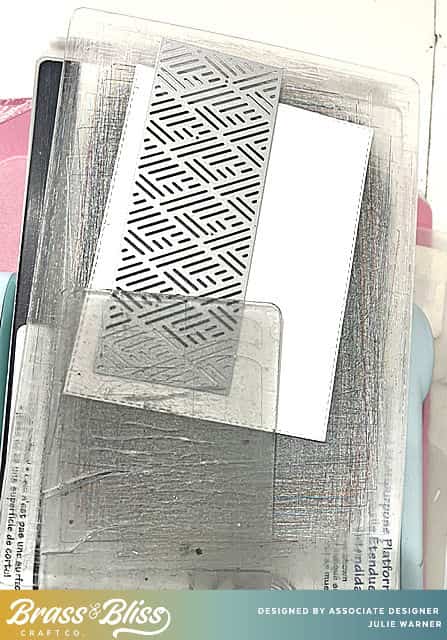
- I marked the center of my card then used a centering ruler to make a mark 2.25″ on either side of the center mark. I placed one end of the die on the mark of one end. Placed a small top plate over it & cut it about 2/3 of the way. Where the plate doesn’t extend over the die, it won’t cut.
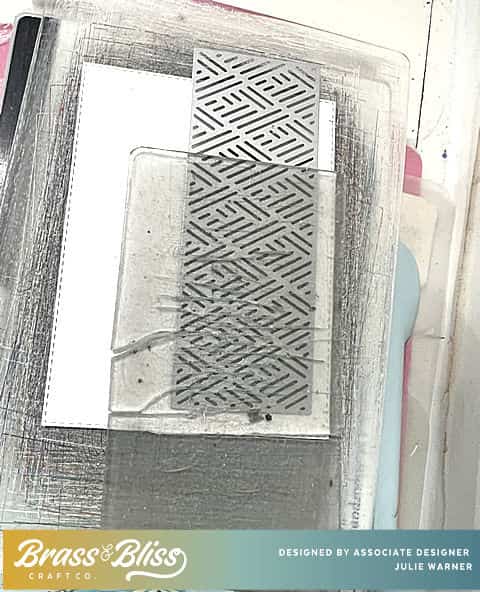
- This is what it looks like after the first cut.
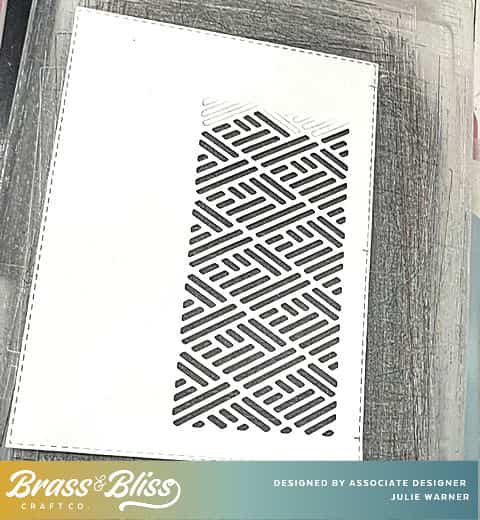
- Then I turned the cut around, placed the other end on the mark, & made sure it lined up. You can feel when the die “clicks” into the already cut part & see it is in the correct position. Again, I placed the top plate, just over the part I wanted to cut & ran it thru again.
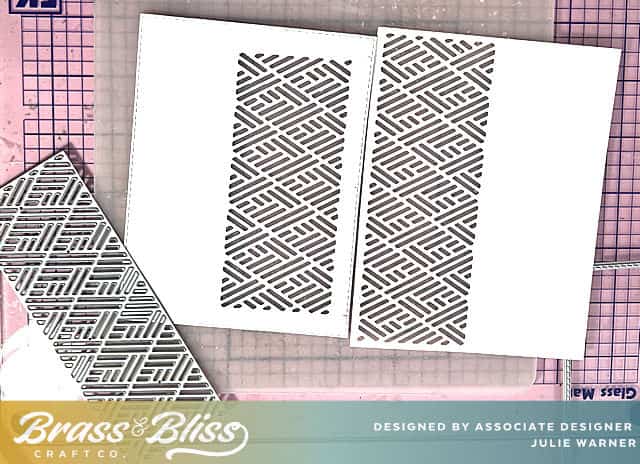
- This is how it looks when finished. Perfect! You can see the shortened cut on the left & a full cut on the right.
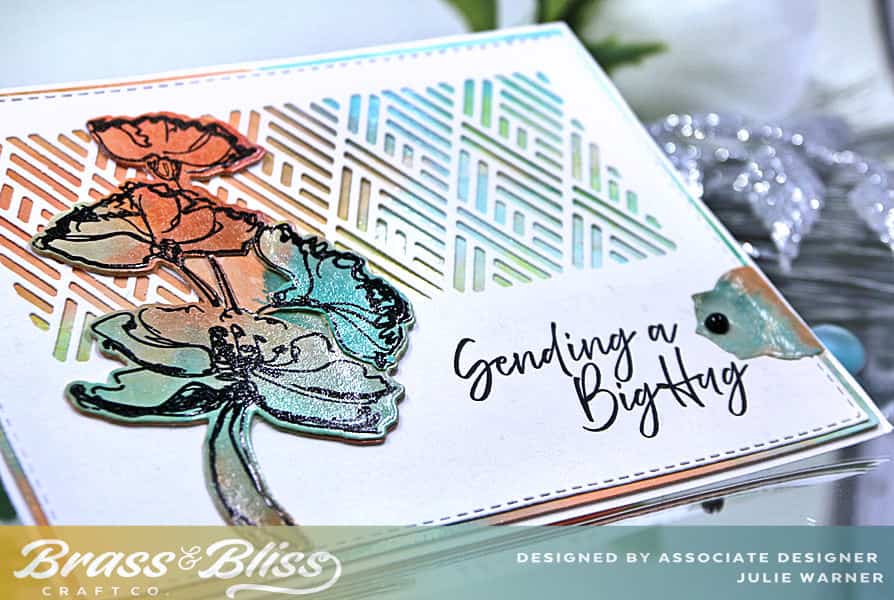
- I placed the background behind it & cut it slightly larger than the white lattice topper. The greeting was stamped on the lower right & the stamped & die cut flowers were popped up and added to the left. I cut a small tag out of more of the background & wrapped it around the right side & added a black pearl on top.