
Ever notice how tricky it can be to get your die cut lined up perfectly with your stamps? Check out today’s tip showing off our new Pumpkins!
Today’s project is from our designer, Carol, who has done a wonderful job creating this festive scene using some of our new sets! Carol says, “This is a Halloween card that almost got ditched, like three times! However, I rarely give up on a card once I’ve started, in spite of not liking my original idea, starting over twice, and, also, smudges! I also share a way to stamp the long narrow stamps so that it lines up with the die when cut.” We have all been there, and are eager to see ways to keep our projects moving in the right direction. Follow along as Carols gives us tips and tricks for lining up our Stamps & Dies- Halloween Edition!
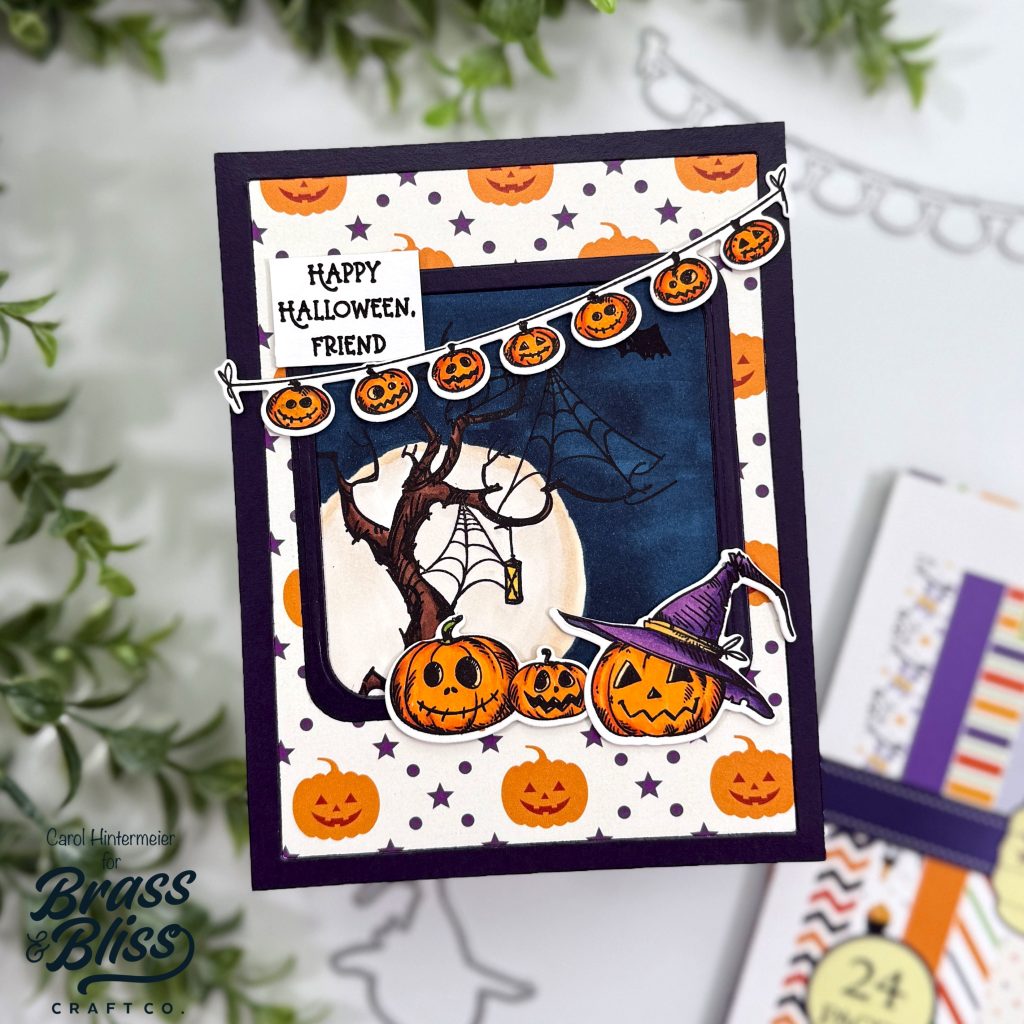
How to make this card:
- I started out with the 36055 Jack O Lanterns stamps and 36055D Jack O Lanterns dies.
- Have you ever stamped a long narrow stamp and then when you go to die cut it, discover that your stamp was a bit crooked to line up with the die? Check out these next steps that will help! Note: This works best with a stamp positioning tool such as the MISTI.
- Die cut the string of pumpkins from the 36055D Jack O Lanterns dies from white cardstock.
- Set the die cut aside and place the negative portion into your stamp positioning tool with some scrap printer paper beneath it, like this:
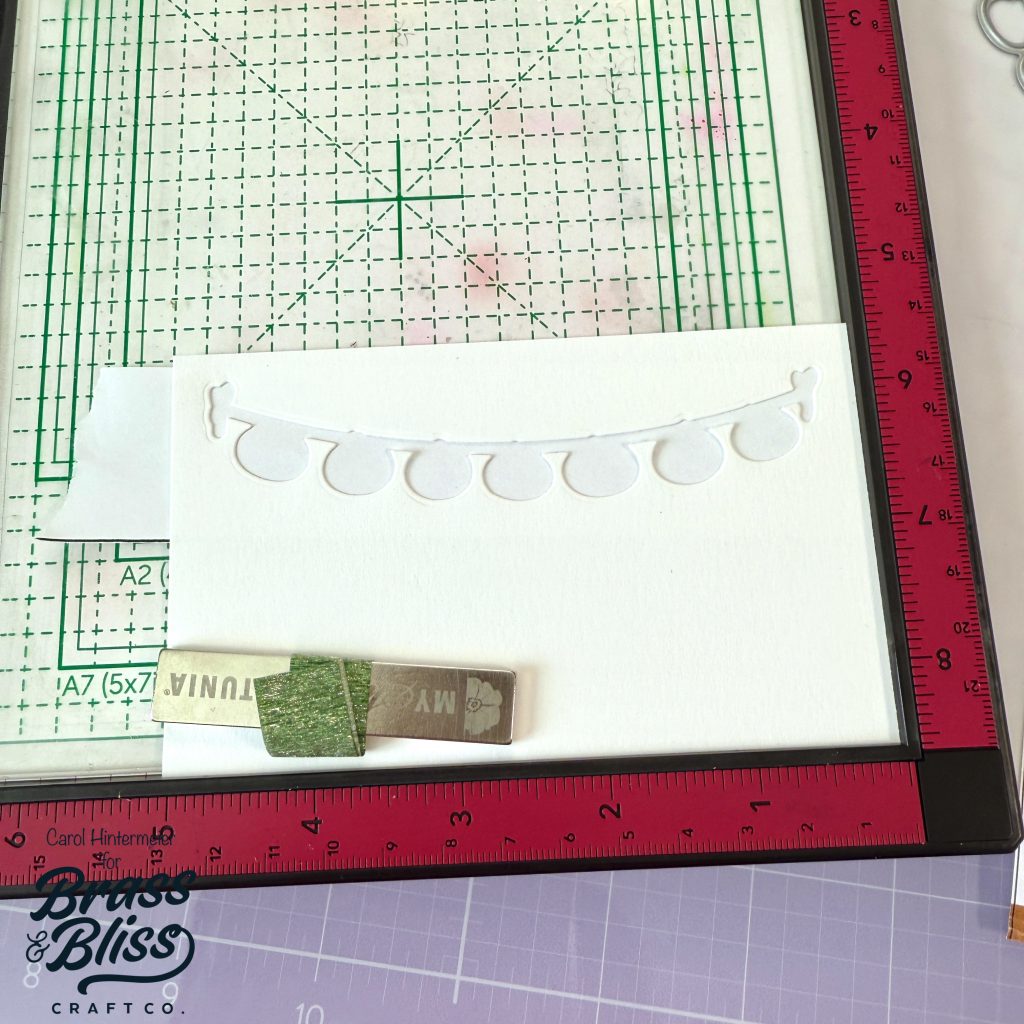
- Next take the string of pumpkins stamp in the Jack O Lanterns stamp set and position it within the die cut opening.
- Pick the stamp up with the MISTI door, ink it up with black ink, and stamp it onto the scrap paper.
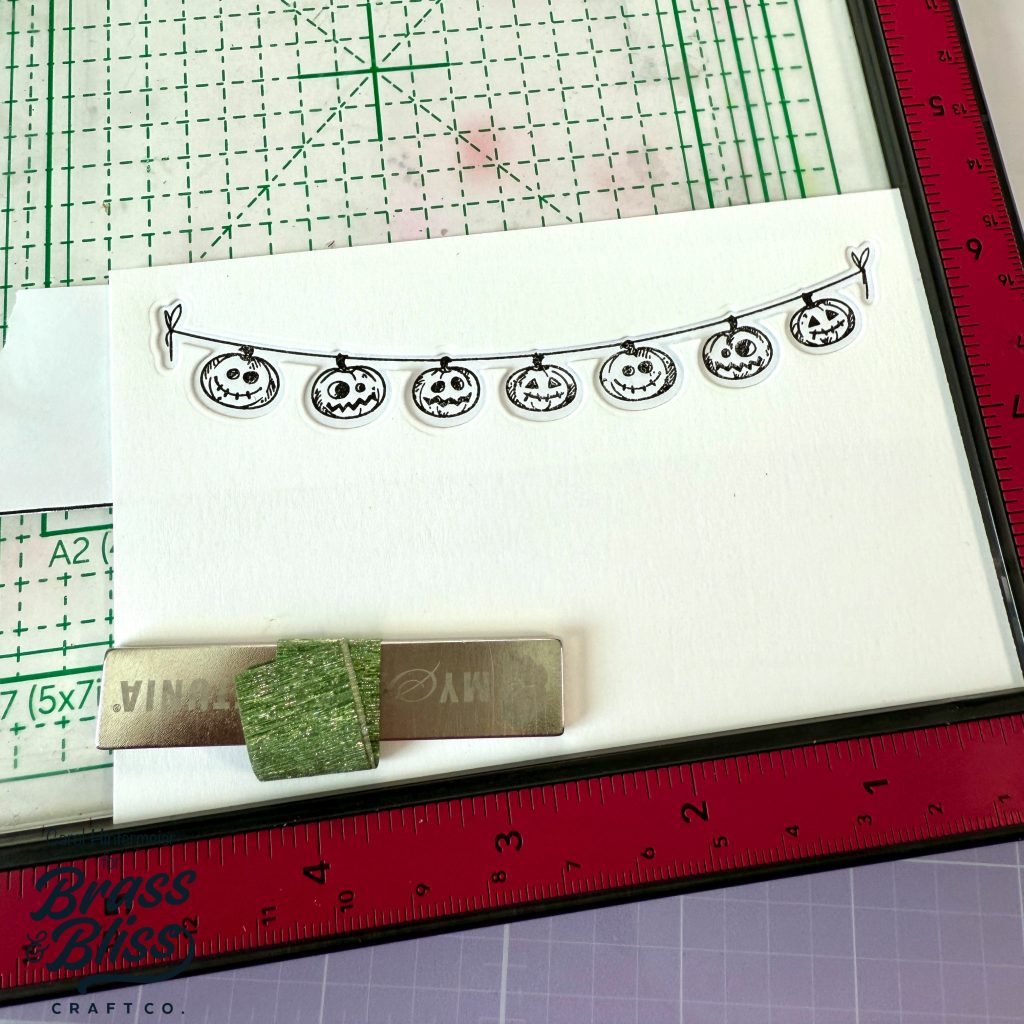
- I thought this looked good and removed the scrap paper. Note: Reposition and test stamp again, if needed.
- Then I placed the string of pumpkins die cut piece into the opening.
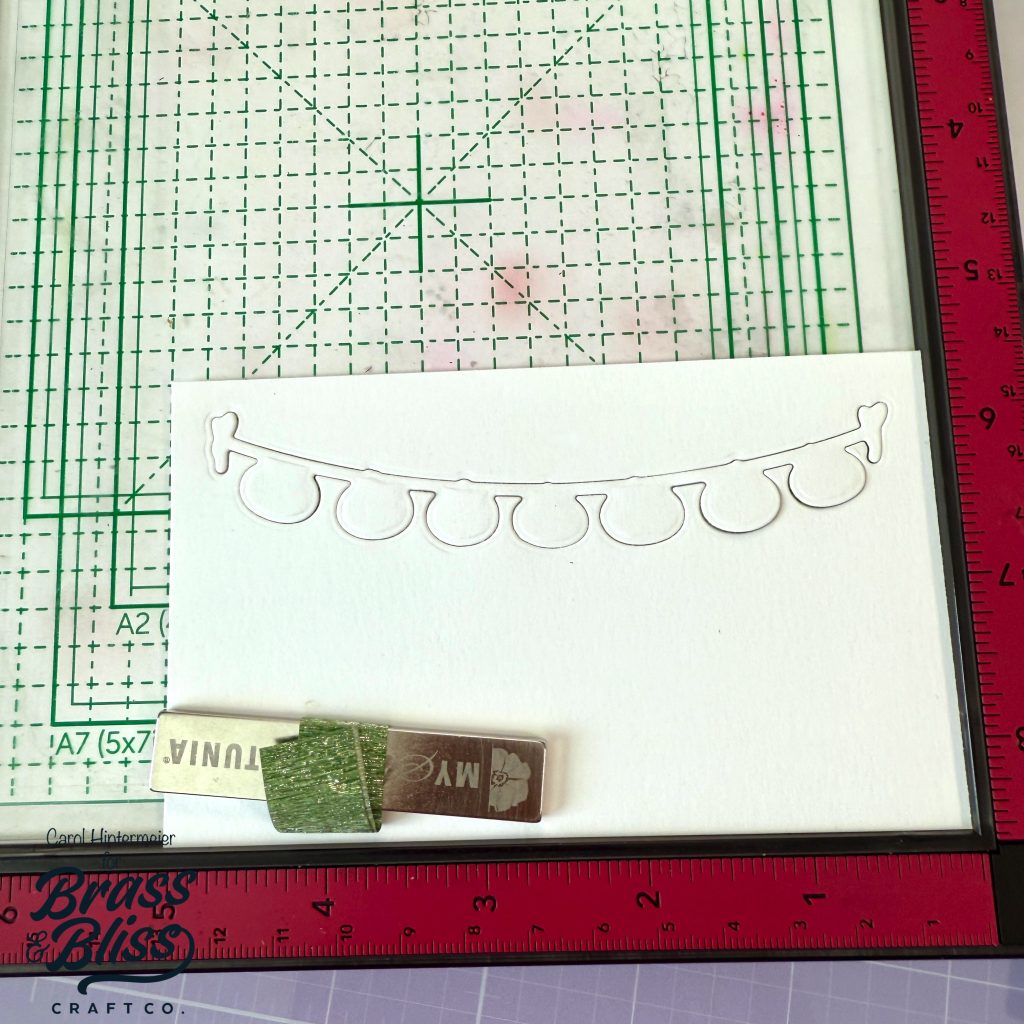
- Now ink up the string of pumpkins stamp again, with marker safe black ink, and stamp it onto the die cut.
- Remove the stamped die cut and set it aside.
- Stamp the pumpkin images onto white cardstock.
- Color the pumpkins and string of pumpkins with alcohol markers.
- Cut them out with the coordinating Jack O Lanterns dies.
- Next choose a patterned paper from the 2003 Spook-tacular Paper Pad.
- Use the second largest 5016D Nested RC Square Die to cut an opening into the patterned paper.
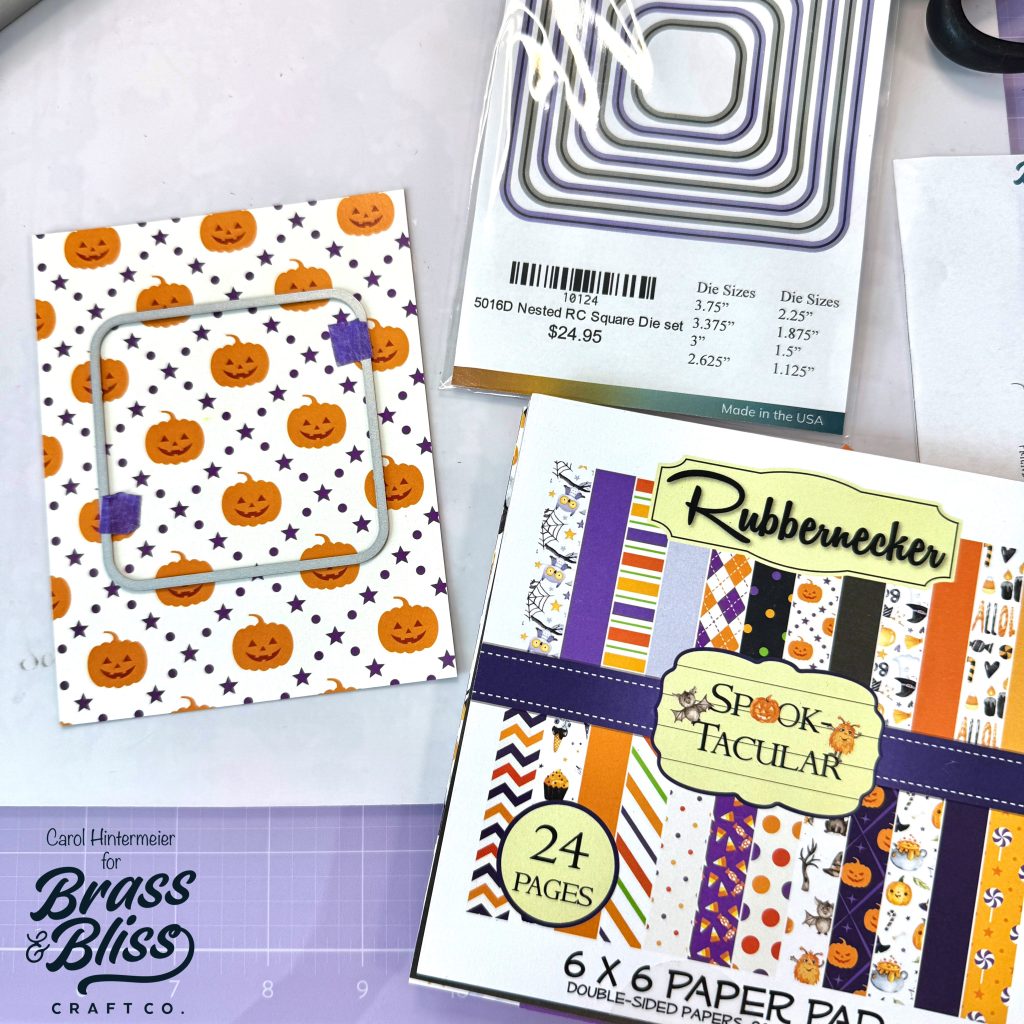
- On a 4-¼” x 5-½” piece of white cardstock, use a pencil the opening in the patterned paper.
- Stamp the tree from the 36055 Jack O Lantern stamp set with marker safe black ink.
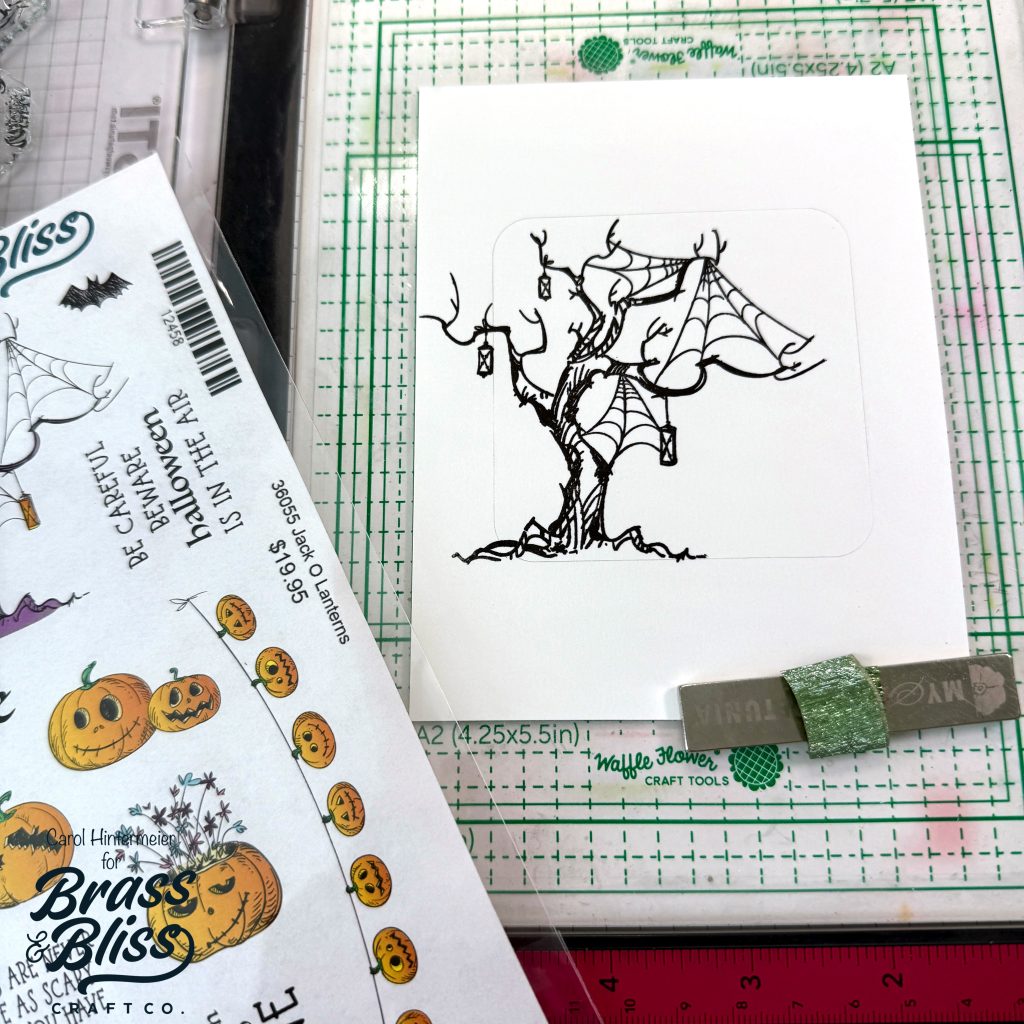
- Color the tree and the sky with alcohol markers. If desired, free-hand color a moon behind the tree as shown in the photos.
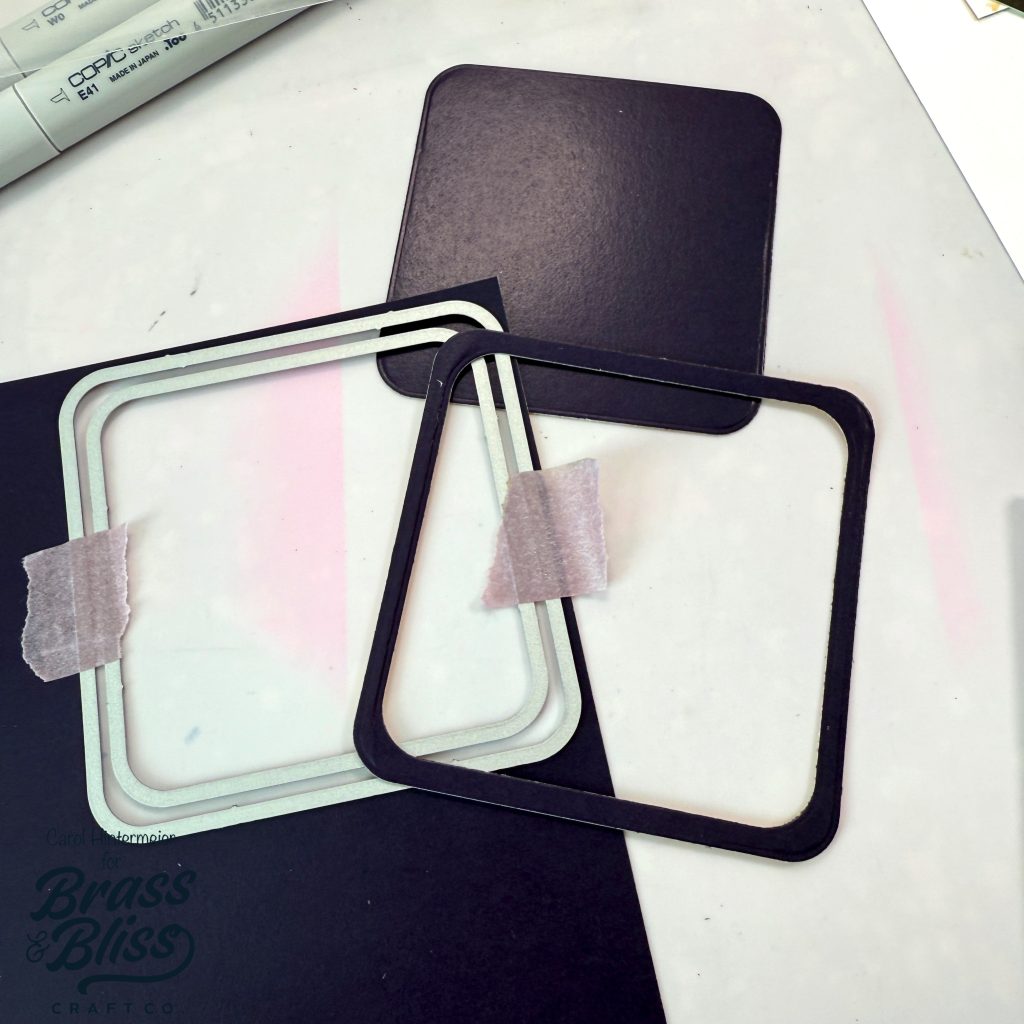
- Here’s where the mystery smudges that somehow appeared on the patterned paper caused me to trash the piece. After some thinking, I retrieved it and die cut two frames to cover the smudges!
- The first frame was made by taping two of the 5016D Nested RC Square Dies together and die cutting dark blue paper from the 2003 Spook-tacular Paper Pad.
- The outer frame was created the same way with two dies from the 5003D Classic Nested Rectangle Dies.
- Here’s a photo to see the background as I colored it:
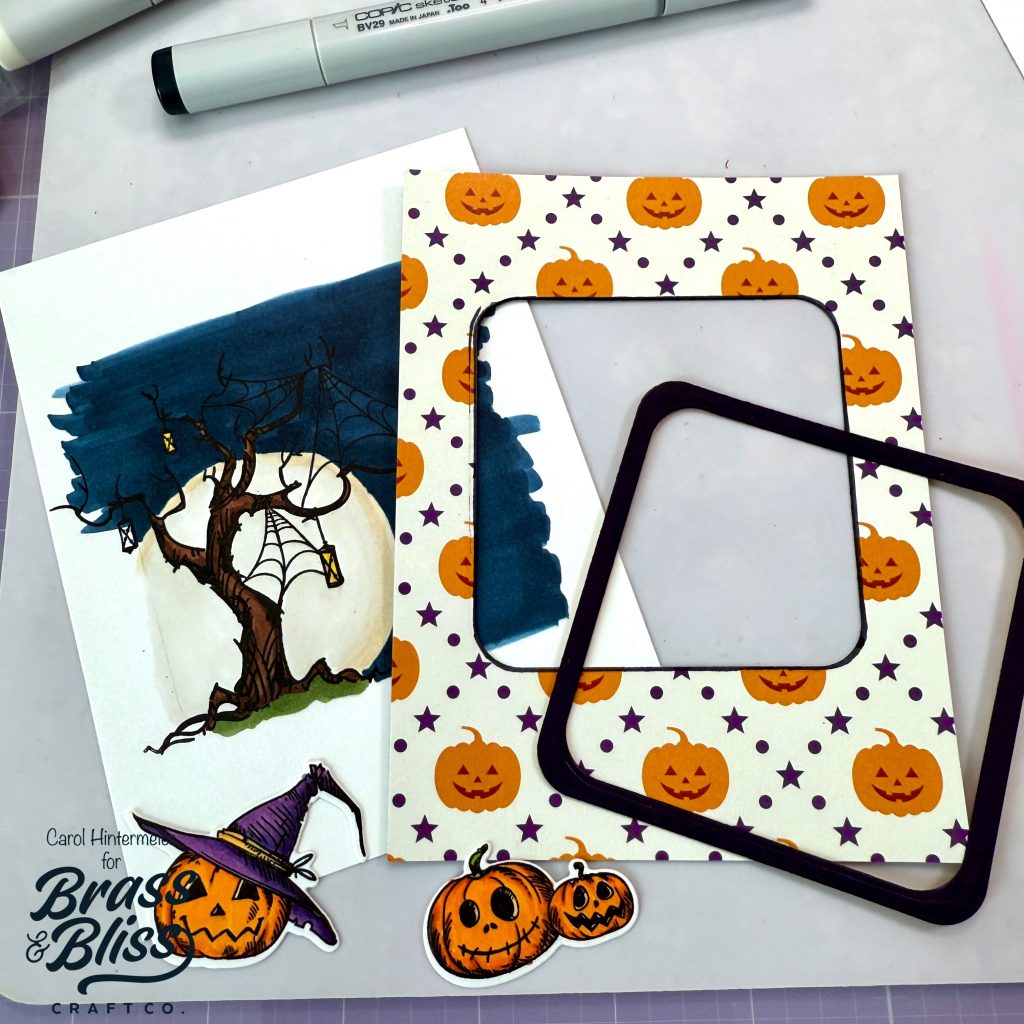
- Use glue to adhere the patterned paper over the colored tree image.
- Glue these layers to an A2 card base.
- Glue the inner and outer frame to the card.
- Add the colored pumpkin images to the card with foam tape.
- Stamp the sentiment from the 36005 Jack O Lanterns set with black ink and adhere with foam tape.
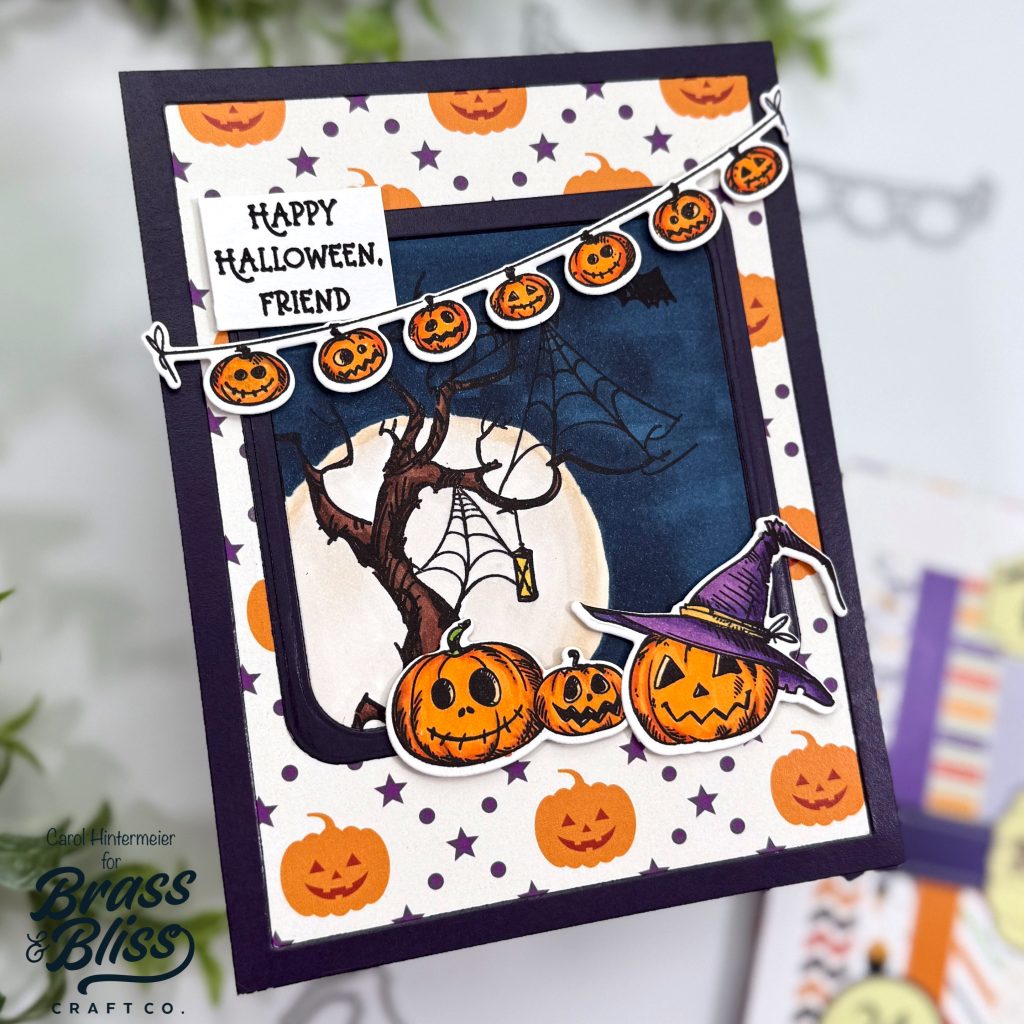
We LOVE how this turned out! Great job, Carol. The tricks for lining up our stamps & dies is something we will be trying with our upcoming card making projects! We hope you are inspired by this spooktacular creation. If you are interested in seeing additional Halloween projects, check out these cards.