
Looking for your next summer card creations? Check out this beach vignette that’s bringing the sunshine!
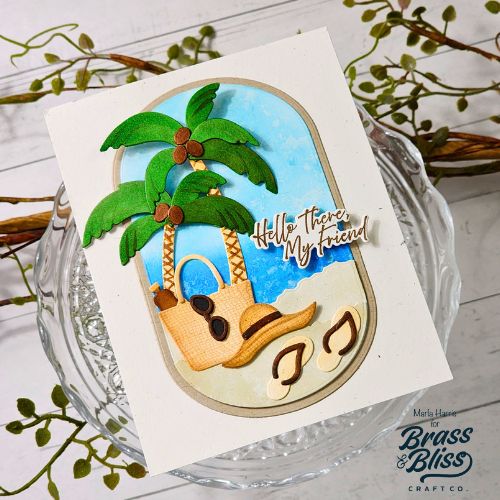
Who’s ready for the beach? Our awesome designer, Marla, has us dreaming of upcoming hot summer days with this beach themed card. Before we pack our own beach bags, let’s see how she created this tropical die cut design with palm trees and summer vibes card together.

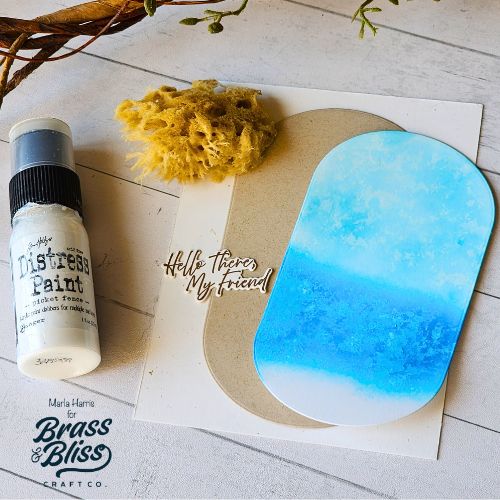
- Die cut an oval, using our 5812D Swanky Ovals die, from white cardstock.
- Ink the top half using our Sonata ink for the sky and the bottom using Serene ink to create the ocean
- Dampen a sea sponge and lightly add Picket Fence Distress Paint over the sky and ocean by tapping the sponge lightly over the ink. Slightly turn the sponge with each touch.
- Add foam tape behind the inked oval and set aside.
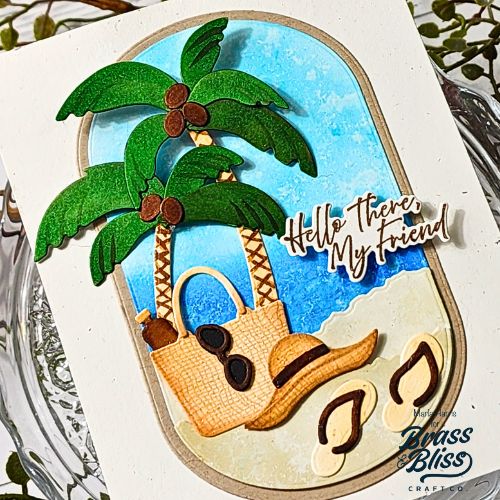
- Die cut two pieces of white cardstock for the sand using our 5173-02D Deckle Hills die. Making sure to cut one an inch higher than the other.
- Cut the bottom of each piece again, at the bottom, using our 5812D Swanky Ovals die.
- Color with an E81 Copic marker.
- Use the same sea sponge technique on the bottom layer of the hills
- Die cut a second, larger oval from kraft cardstock using our 5812D Swanky Ovals die.
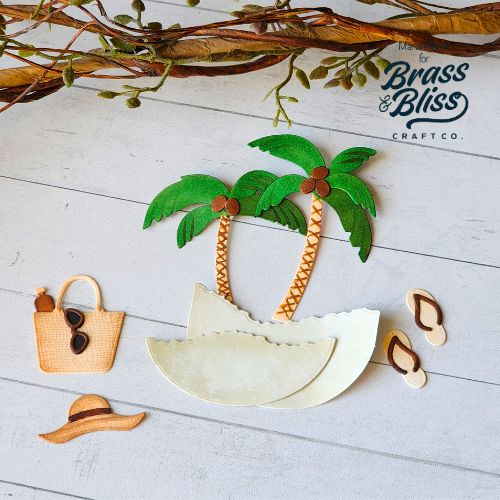
- Die cut the palm trees from white cardstock using our 5212-06D Palm Tree die.
- Copic color the palm trees and assemble.
- Die cut the bag, hat, flip flops and accessories from white cardstock using our 5314-03D Beach Bag die.
- Color the die cut pieces using Copic markers.
- Add texture to the base of the beach bag and hat by stamping with light brown ink and our 3487-07 Cheesecloth Background stamp.
- Assemble the flip flops, hat and add the accessories to the bag with adhesive.
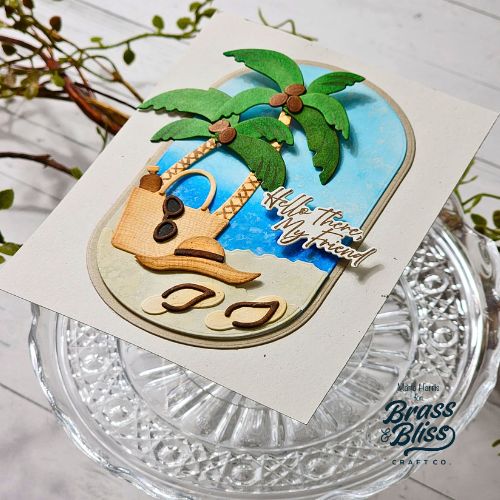
- Stamp the sentiment with brown ink onto white cardstock using our 37010 Hello There stamp.
- Die cut the sentiment with the 37010D Hello There coordinating die and add dimensional foam to the back.
- Assemble the card.
If you loved this card creation, check out this similar beach scene for more inspiration.