
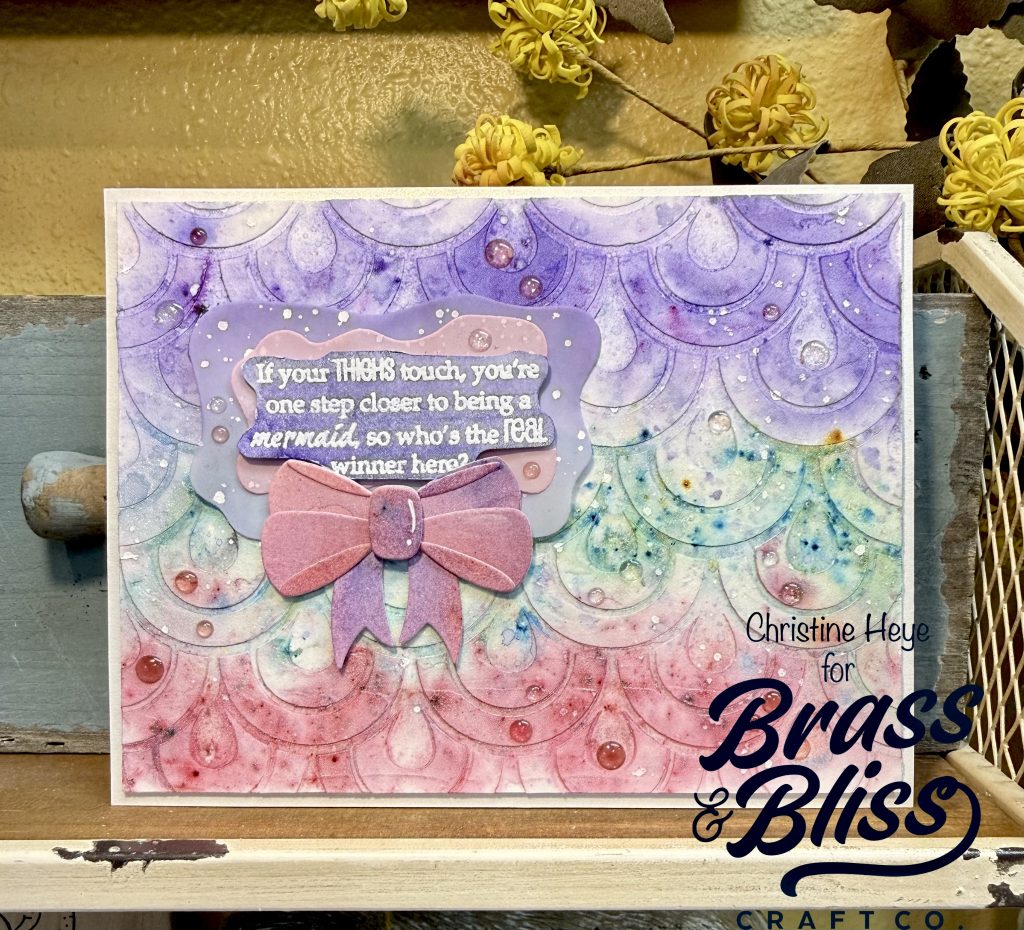
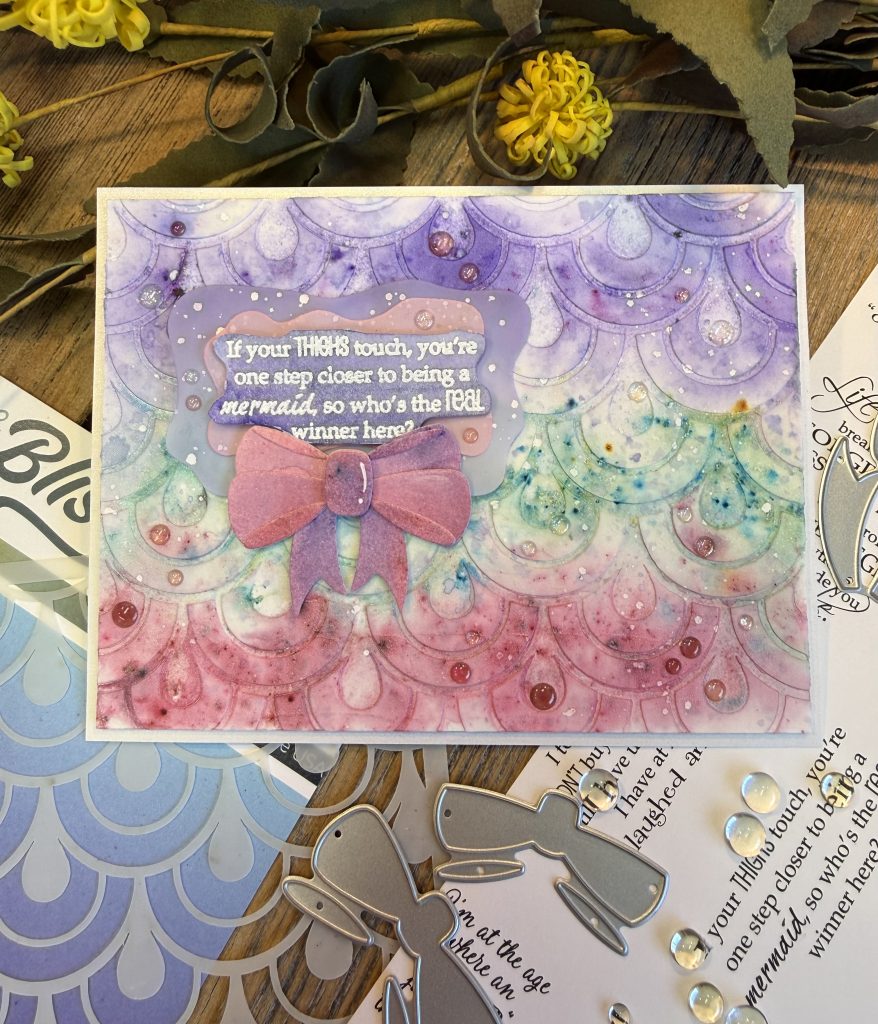
Add a little whimsy to your day with this fantastic mermaid card with a stenciled background that makes a splash!
Mermaids, YES, please! Today’s card is from Christine and we are obsessed! This New Deco Arches stencil from our June “Creative Medley” release is so versatile, when flipped upside down it gives mermaid tail vibes! This quick and colorful card will make a splash for sure! A funny sentiment, lots of shimmer, a dollop of paste, some gems and a pretty bow, will make any gal of any age light up and feel all shimmery and sparkly inside. Follow these fun and simple steps to create your mermaid tail card!
- Key: cs= card stock DO= distress oxide ink
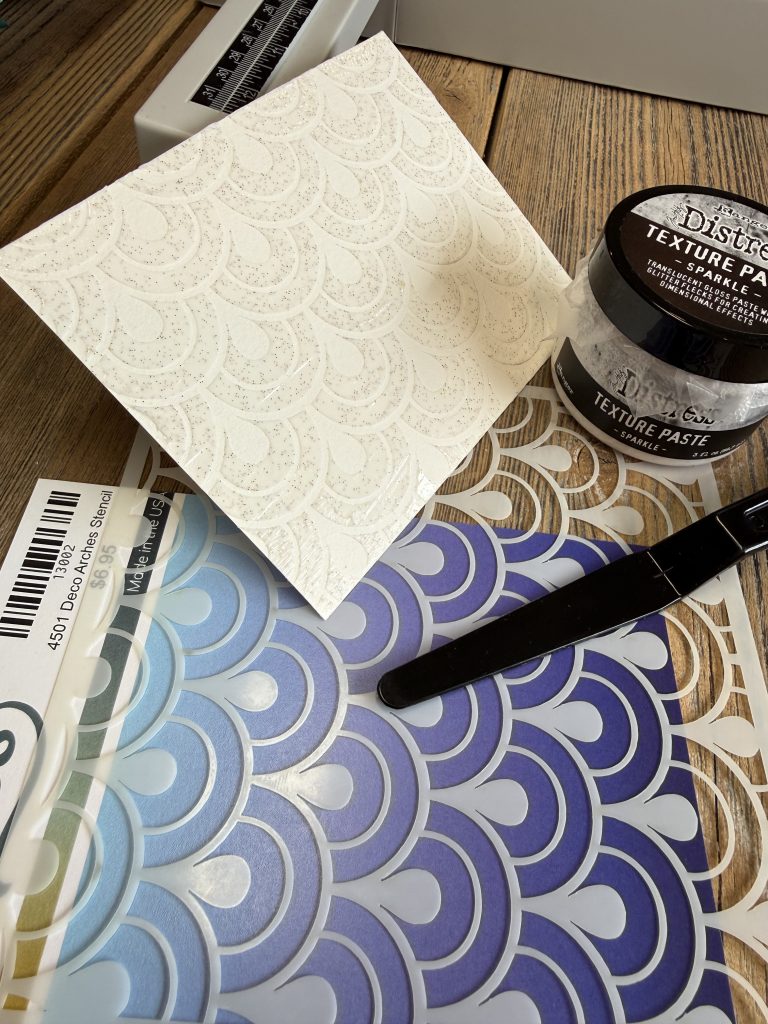
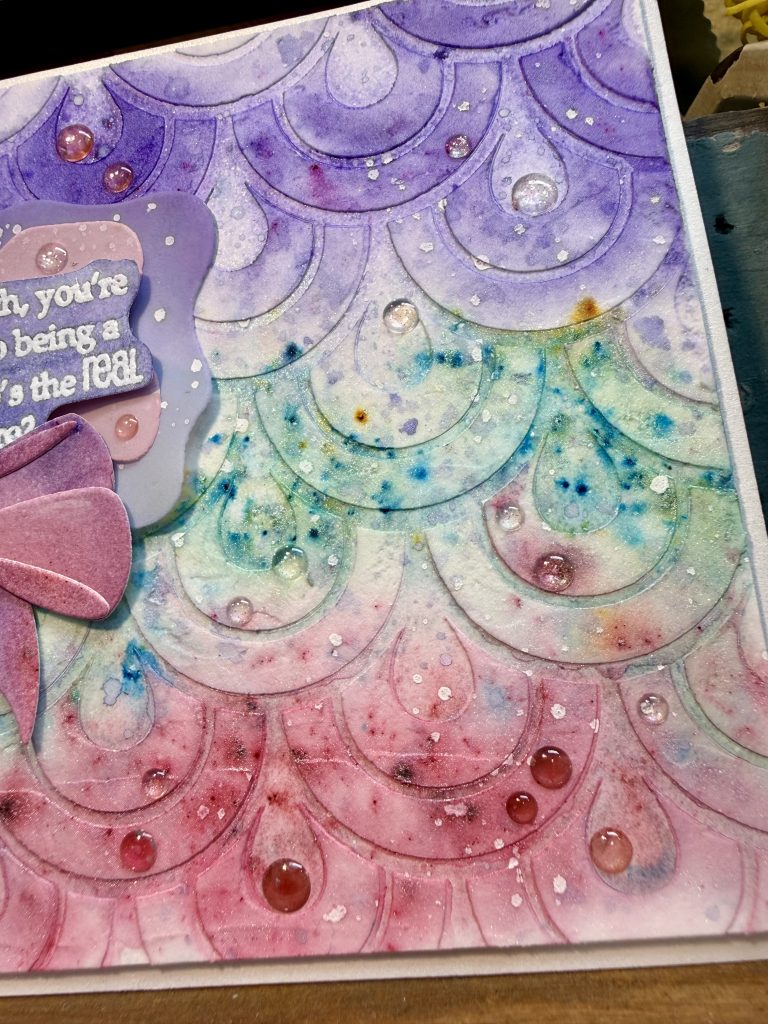
- Cut a piece of white mixed media or watercolor paper to 5-1/4×4. Secure down under Deco Arches stencil. Using paste of choice spread over top until well covered, but not too thick— Goldilocks, just enough, just right. (opaque white matte or a translucent shimmer type paste all work with differing results. This finished card uses an opaque white matte paste. Set aside to thoroughly dry. I let mine air dry. A great time to make several using different pastes to see the results and make several cards, at once.
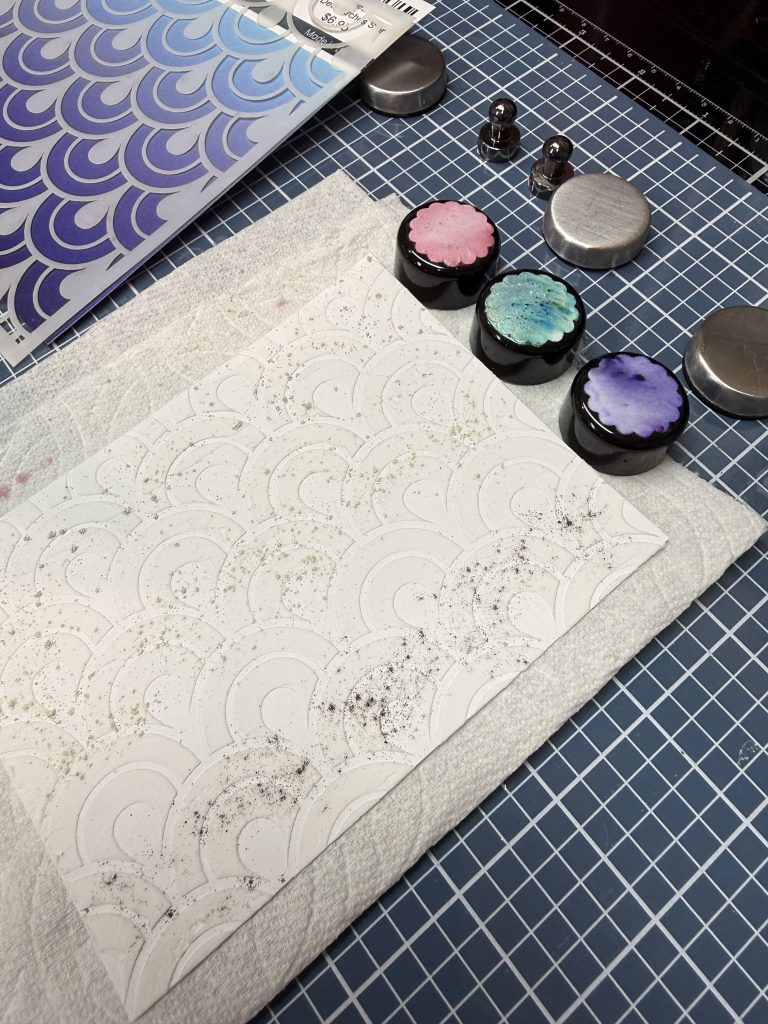
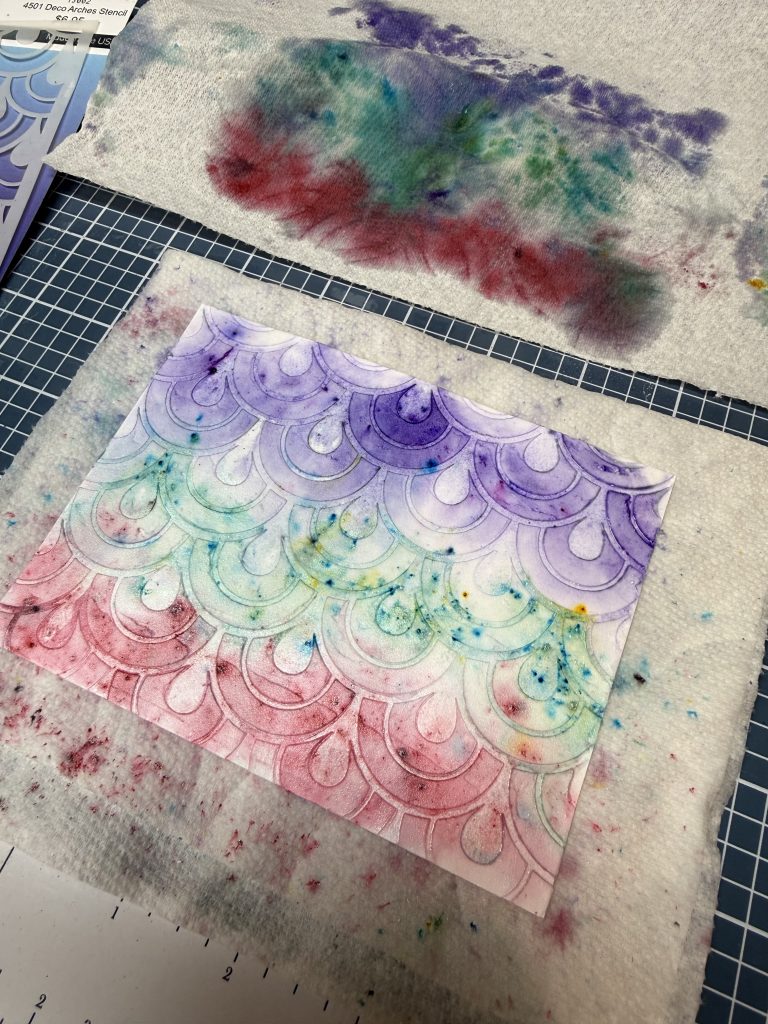
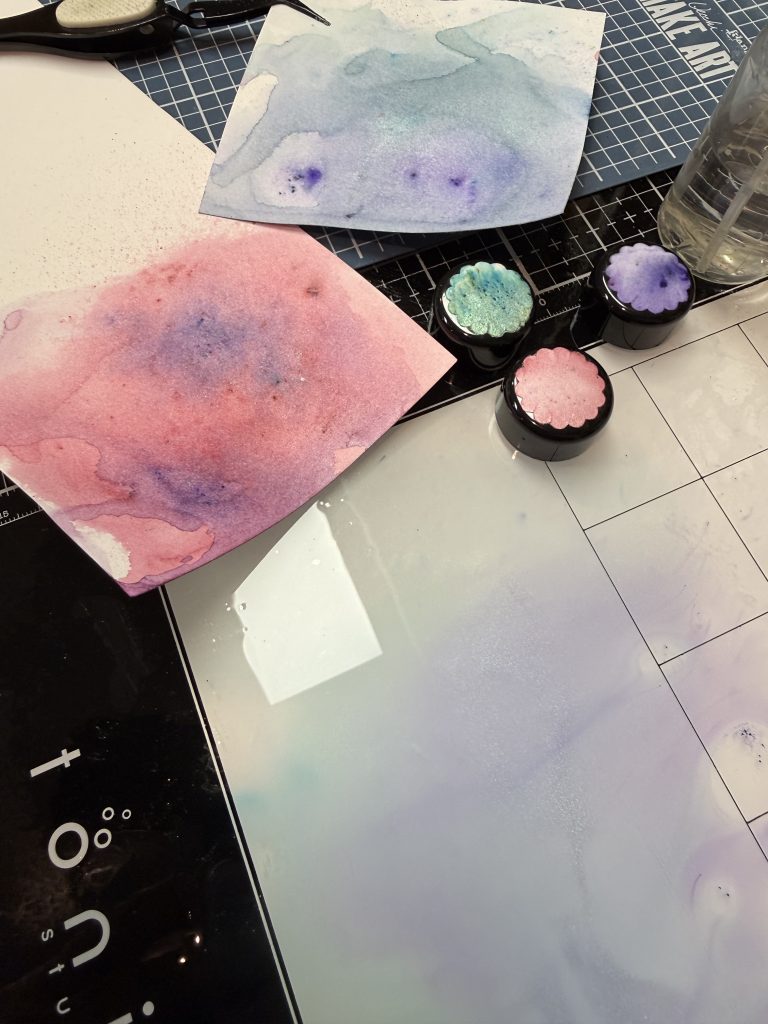
- Once thoroughly dry- select pigment powders you like. I used Lindy’s Magicals in a teal, purple and a rosy pink. Putting down a folded over paper towel, I tapped the bottle lightly to create 3 lines over top of the dried paste. (See photo). Gently mist first and then as it begins to move and blend add more water, but careful not too much. (Avoid it being so wet it goes under the paste.) I gently dried mine with the same paper towel and from a distance started the drying with a heat tool- set aside to finish drying. Once completely dry add thin foam strips to entire back side and mount to a white SHIMMER layer measuring 4-1/4×5-1/2 (A2).
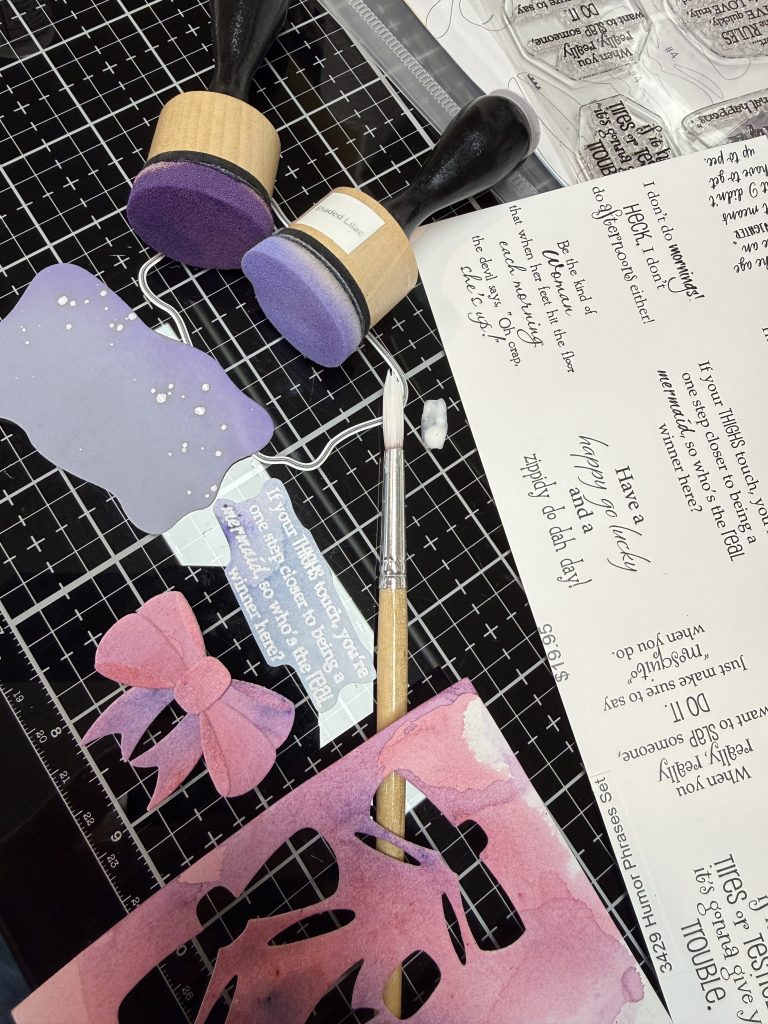
- Using Wavy Nested dies (2 smallest) die cut from vellum. The largest ink blend with Shaded Lilac DO moving upward. Then using Villianous Potion ink blend from top down, to meet Shaded Lilac. Blend until happy with result. Smaller piece use Saltwater Taffy. Splatter both pieces and the paste piece with first water, blot, then white acrylic paint. Let dry.
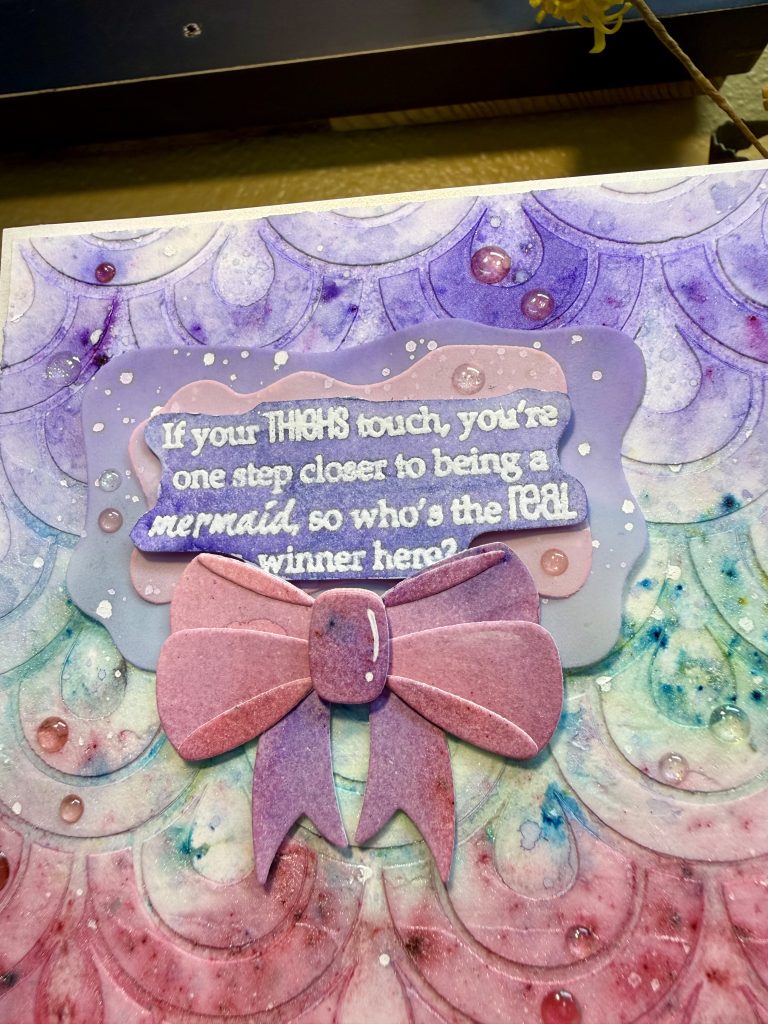
- Taking more of the same paper, ink smoosh two pieces into the same powders & water on a glass mat. Dry in between layers of application. You can also sprinkle some powder on and mist again. Allow to dry. This is the pink piece to die cut the bow of choice from the Elegant Bows die set and the purple for the embossed sentiment from Humor Phrases. Assemble the bow following the packaging guide. Once the purple piece is completely dry- Heat emboss the “Mermaid sentiment” onto it using versamark ink and white fine embossing powder. Fussy cut out with a somewhat wavy look, like the wavy nested dies layers, it will adhere to.
- Adding thin foam, mount the sentiment piece onto the pink, then the purple pieces. Add a thin foam adhesive to back of upper part of bow and attach just under sentiment. Adding thin foam adhesive to under the sentiment part of the vellum attach to the mermaid tail background, where desired. Add some fun gems in coordinating colors and white gel pen to center of bow, if you wish! Hope you had a SPLASH of a good time.
What a dreamy card! I love all of the different details!
Thank you! What a wonderful thing to hear! Hope you will make it! Smiles, Christine