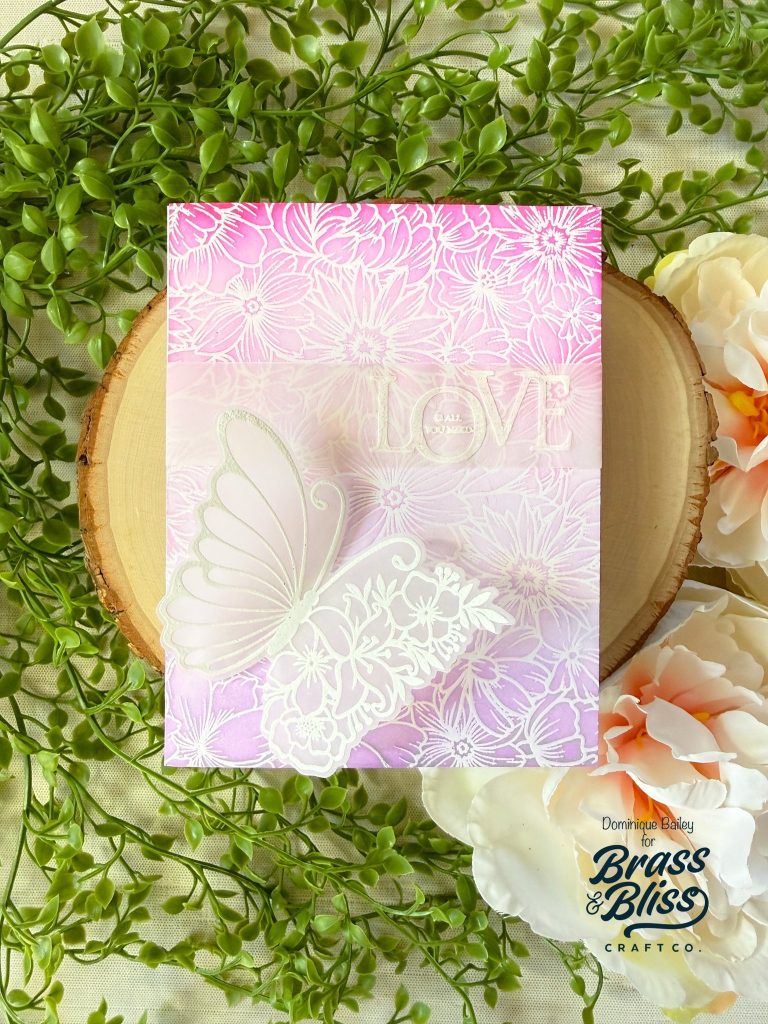
If you are looking for a new technique to add to your cardmaking tool belt, check out this beautiful card tutorial that’s truly stunning.
For today’s technique, our very talented designer, Dominique, will be demonstrating heat embossing combined with ink resist. This card is wonderful and combines simple elegance with intricate yet easy details that we know you are going to love.

- Prep Your Cardstock
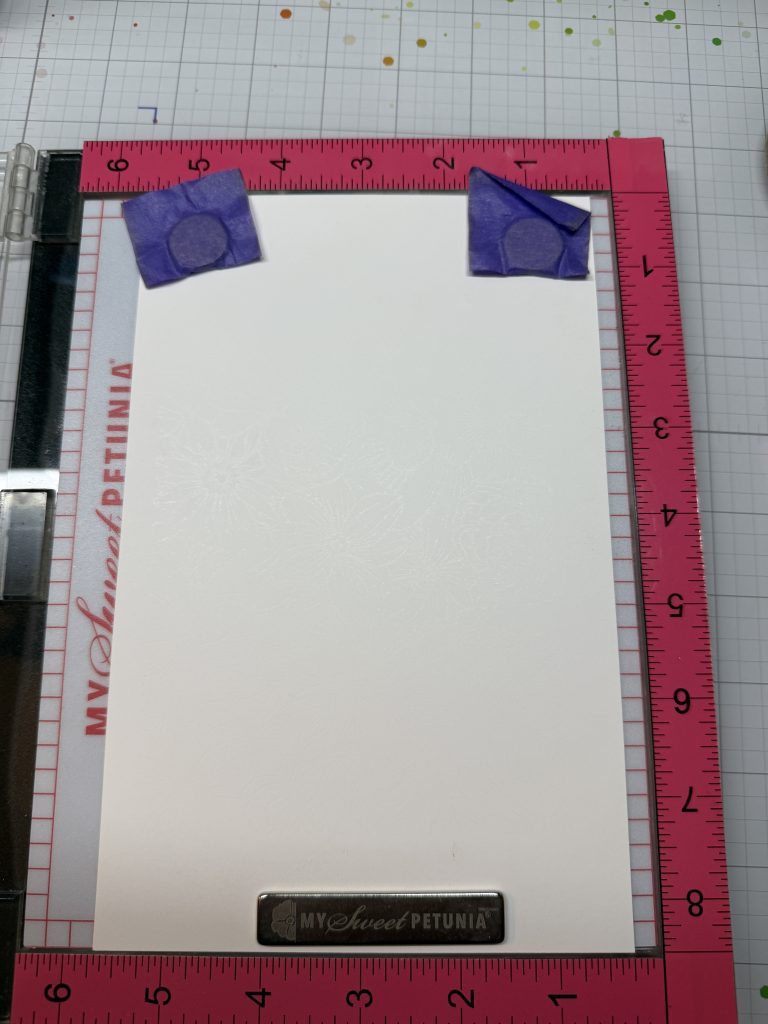
- Take an 8½” x 5½” sheet of white cardstock and place it into your stamp repositioning tool.
- Treat the cardstock with anti-static powder.
- Stamp & Emboss
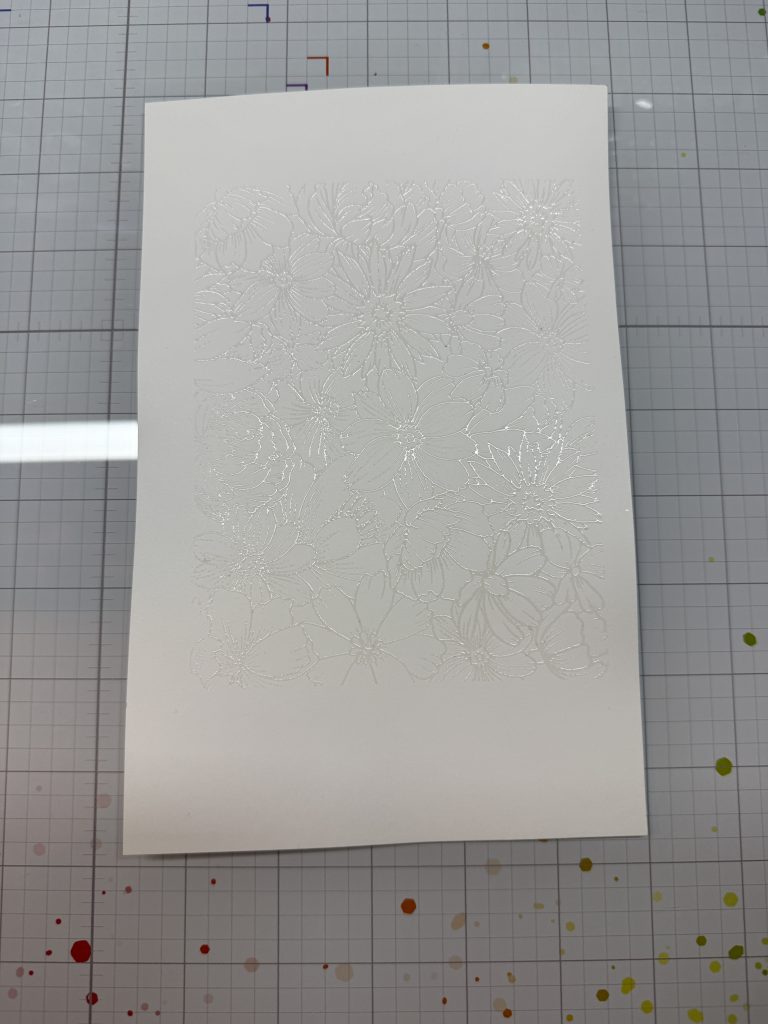
- Stamp the 37012 Floral Background onto your treated cardstock.
- Over a tray or a sheet of printer paper, sprinkle on clear embossing powder. I’m using clear because I want the stamped image to match the color of the paper.
- Pour off the excess powder, then heat emboss with your heat tool.
- Once cooled, trim the panel down to 4¼” x 5½”.
- Ink Blending
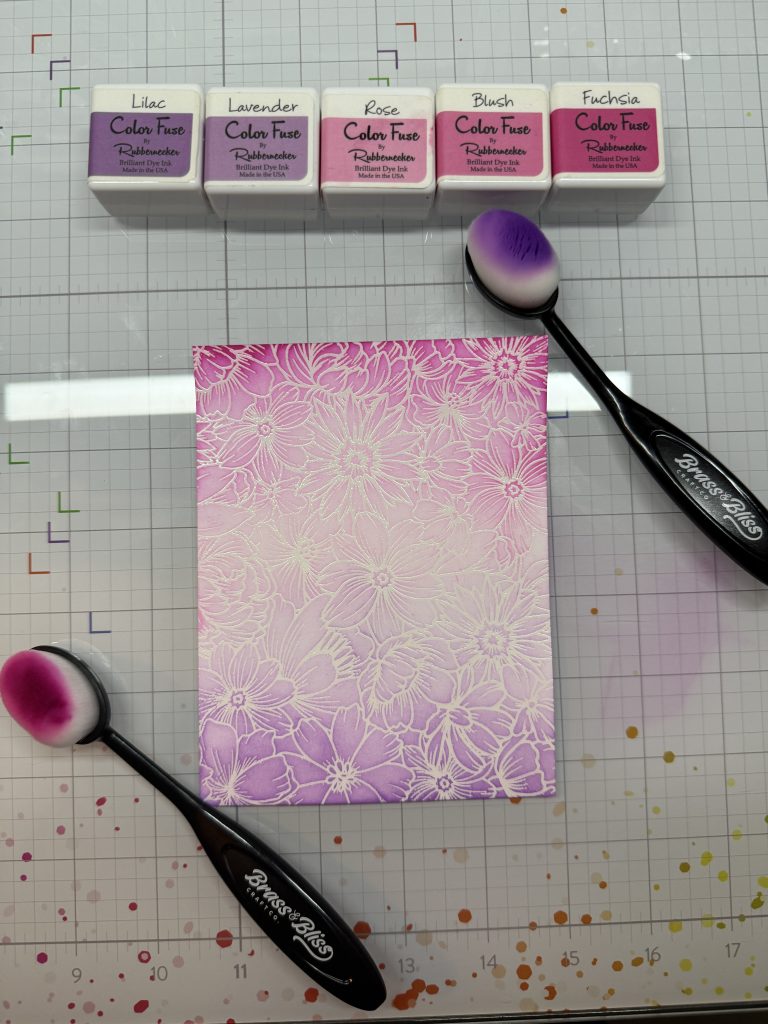
- Use various shades of pink and purple from Color Fuse Set #5 (Pinks) and Color Fuse Set #6 (Purples).
- Blend the inks in an ombré pattern across the embossed panel.
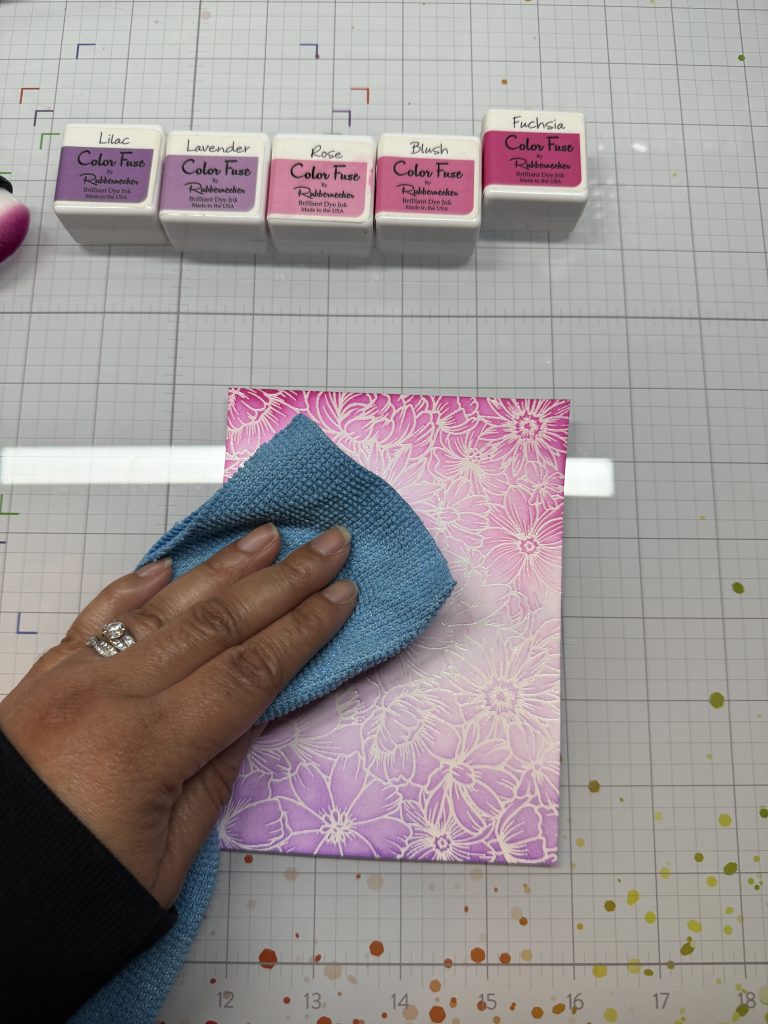
- When finished, gently wipe the panel with a microfiber towel to remove any ink residue from the embossed areas.
- Emboss the Butterfly
- Take a piece of vellum and treat it with anti-static powder.
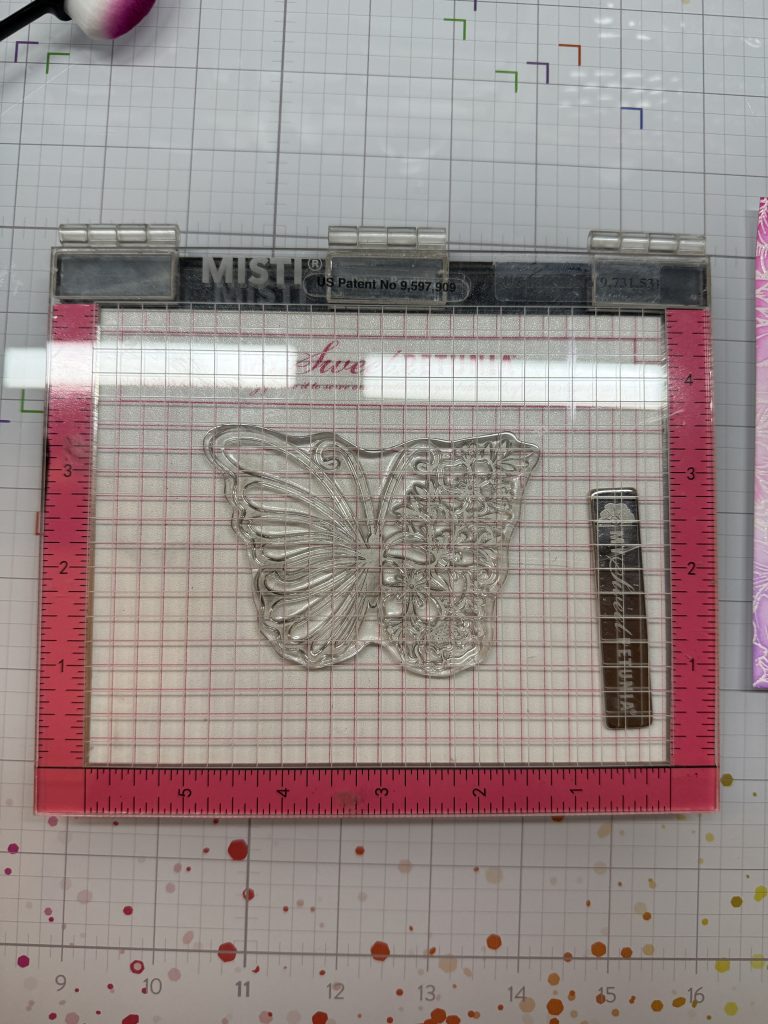
- Place it into your stamping tool and stamp the butterfly from 35007 Butterfly Flowers using clear embossing ink.
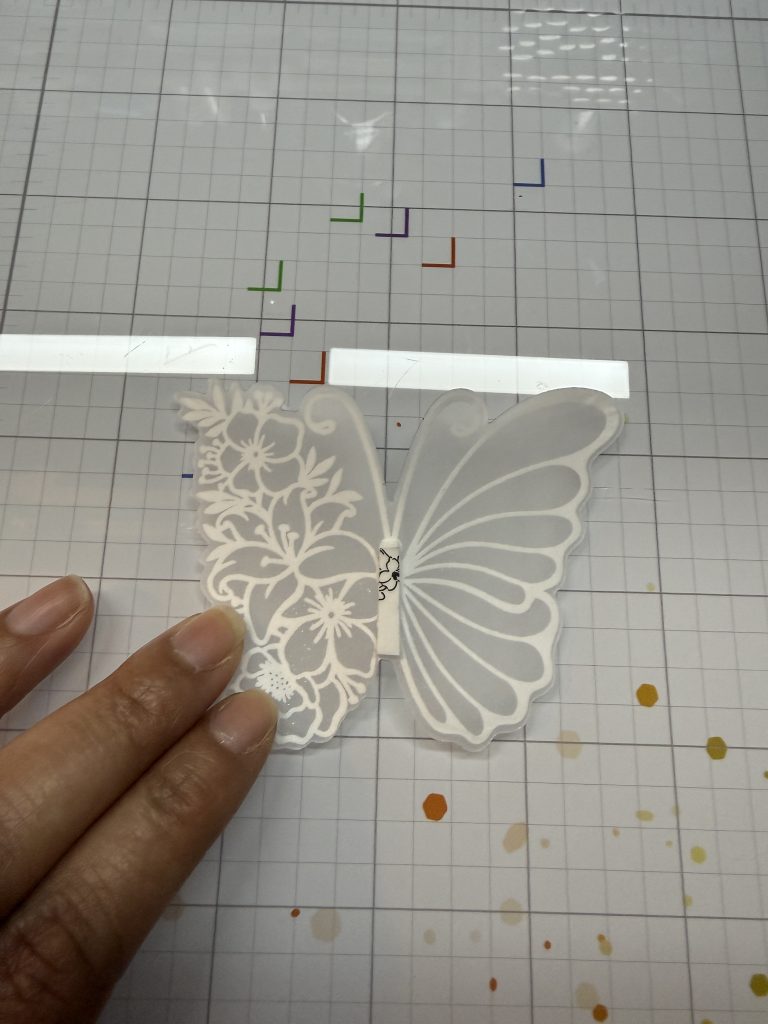
- Remove the vellum and sprinkle white embossing powder over the stamped image. Tap off the excess and heat emboss.
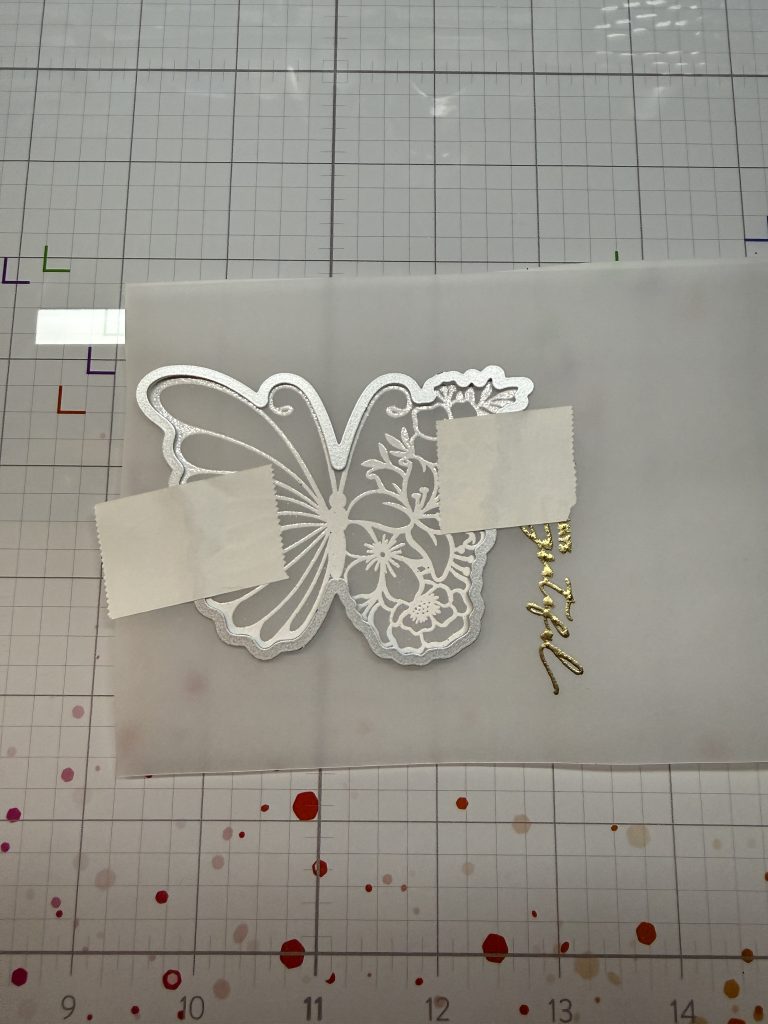
- Die cut the butterfly using the coordinating die from the 35007D Butterfly Flowers Die Set.
- Add foam tape to the back and set aside.
- Emboss the Sentiment
- Take another strip of vellum and treat it with anti-static powder.
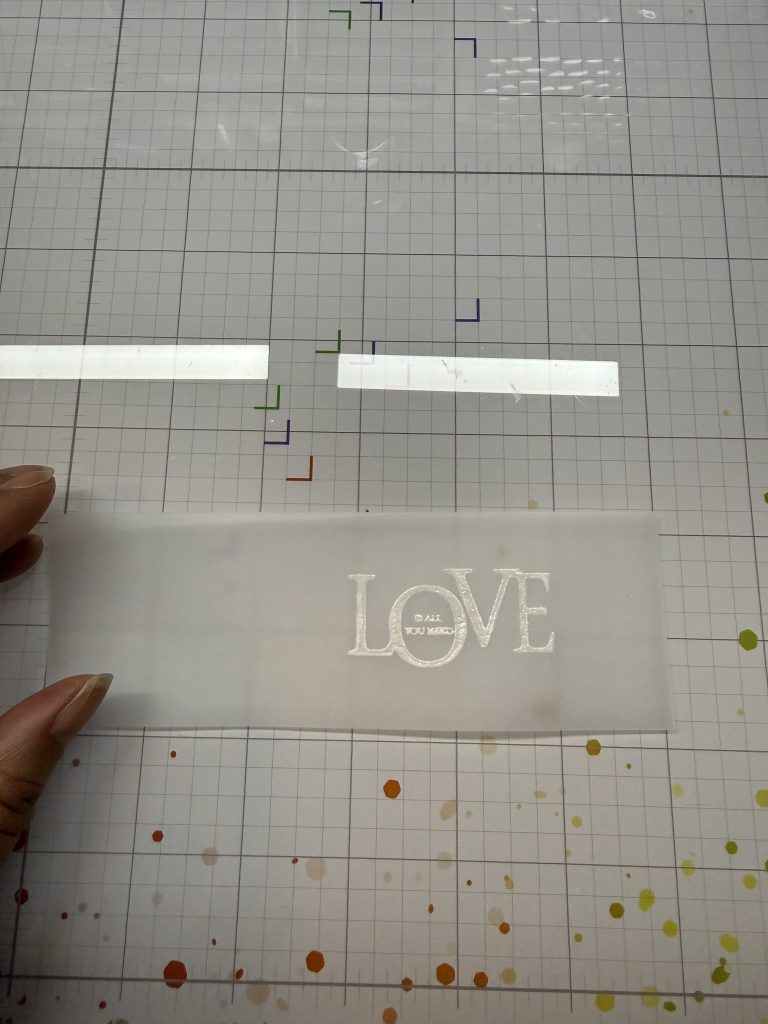
- Stamp the “love” sentiment from the 35007 Butterfly Flowers stamp set using clear embossing ink.
- Sprinkle with white embossing powder, tap off the excess, and heat emboss.
- Trim the strip if needed.
- Assemble Your Card
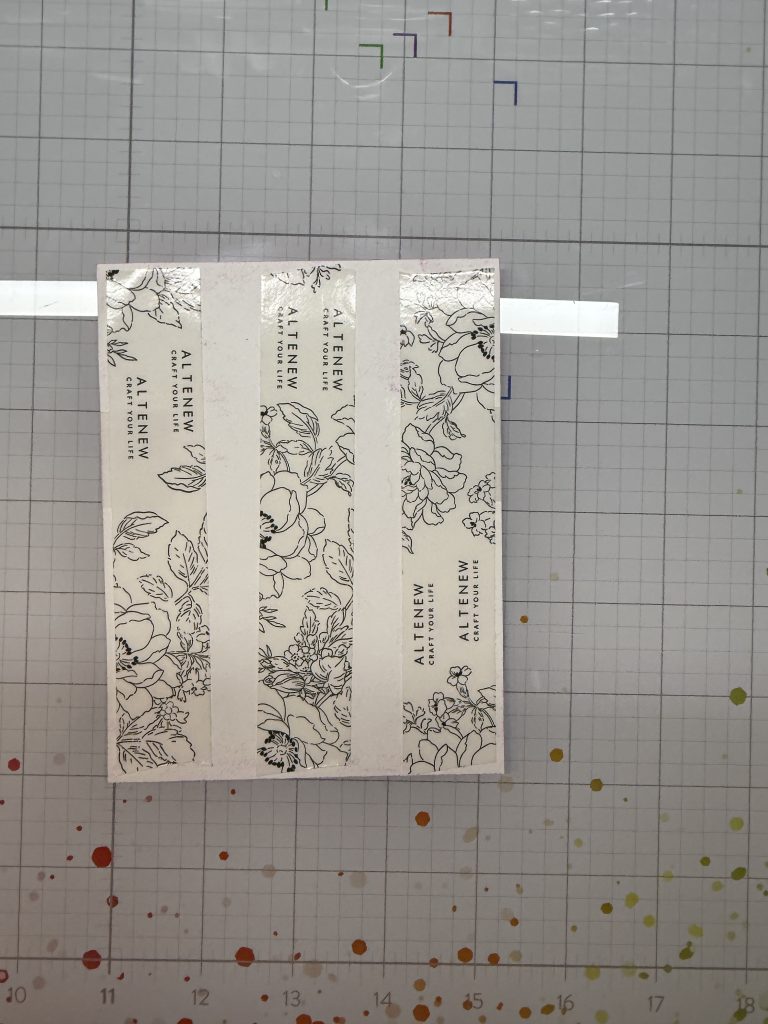
- Wrap the sentiment strip around the inked panel and secure it in place with tape.
- Add double-sided tape to the back of the panel and adhere it to an A2 card base. I used a sandy brown base for mine.
- Finally, place the butterfly in the lower left corner of the card, making sure the wings don’t hang off the edge.