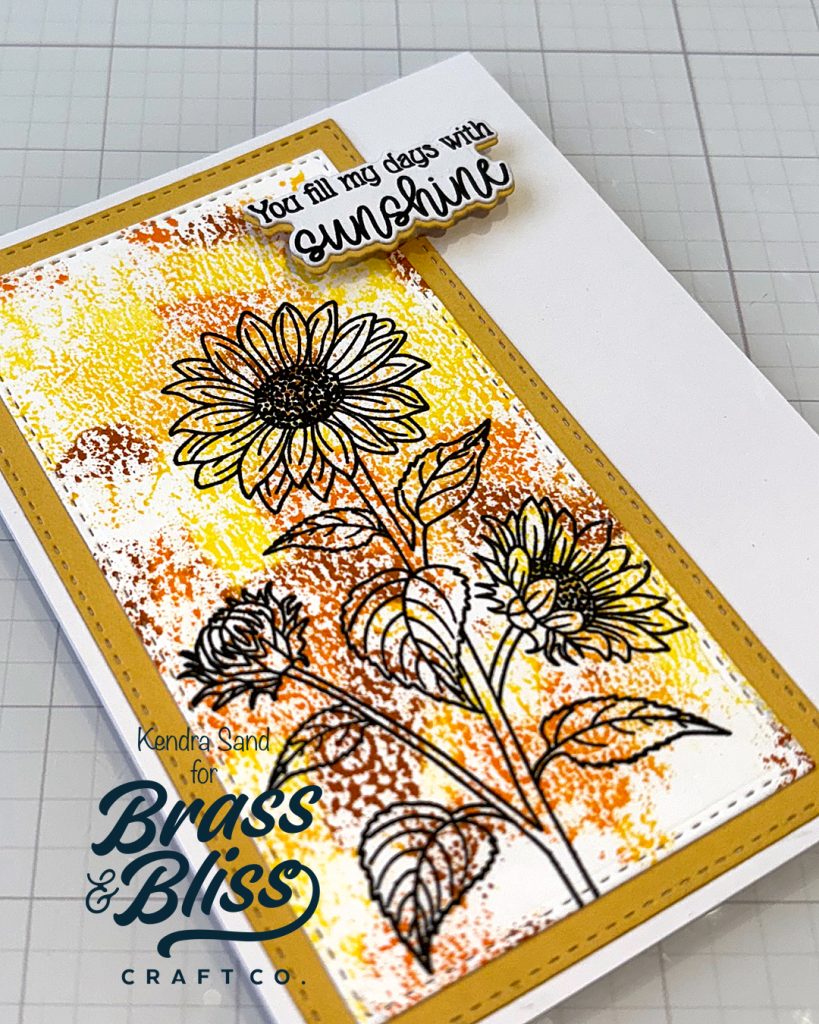
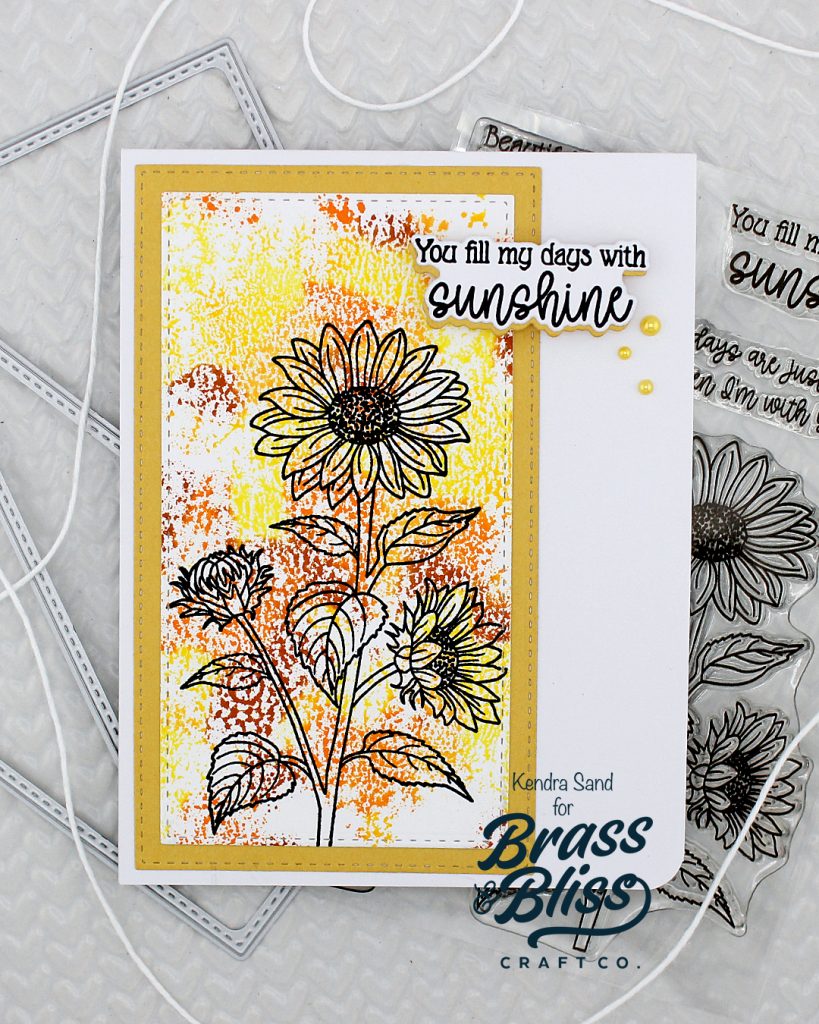
Use those inks in a creative way by creating unique background patters with ink drops.
Our Designer, Kendra, has a fun and simple technique to share today. Kendra did some fun experimenting with our Color Fuse Inks!! There are so many endless possibilities you can do with the reinkers and we love how this fall sunflower project turned out. Follow along for all the details on how to use your reindeers for fun color techniques.

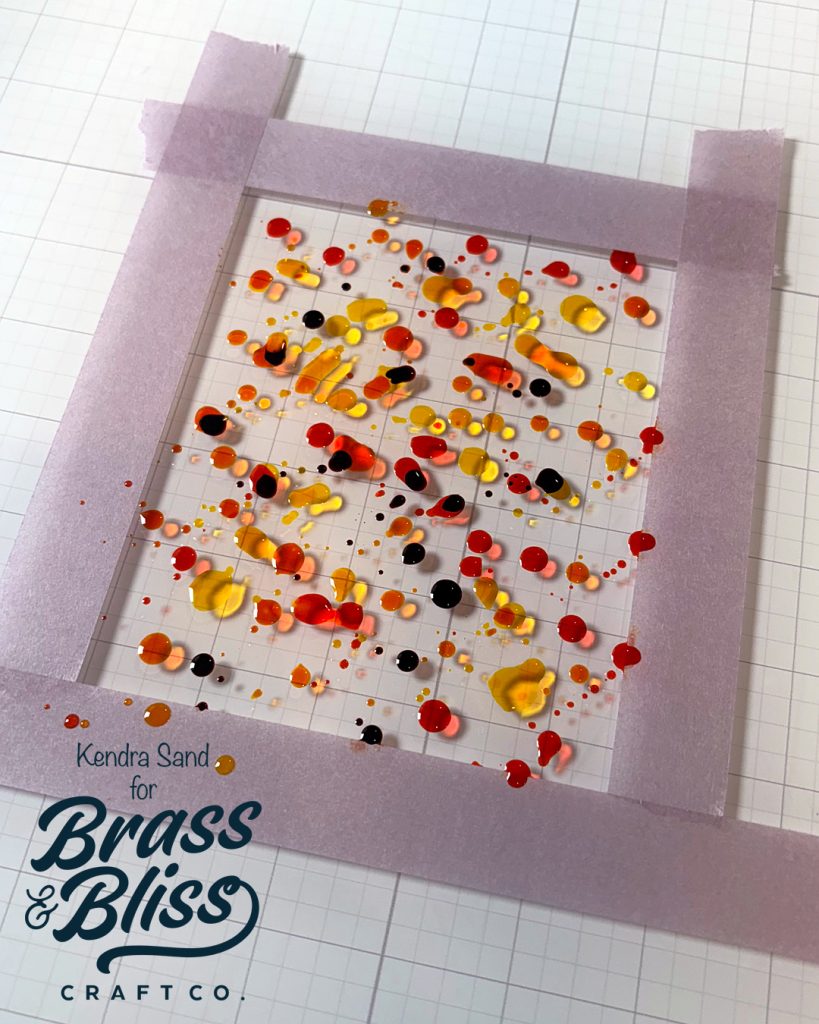
- Place painters tape on glass crafting mat roughly the size of an A2 card front.
- Dab/flick inks inside taped area. Kendra used ‘Color Fuse Set #1’ and ‘Color Fuse Set #2’.
- Cut two pieces of white cardstock 4.25” x 5.5”.
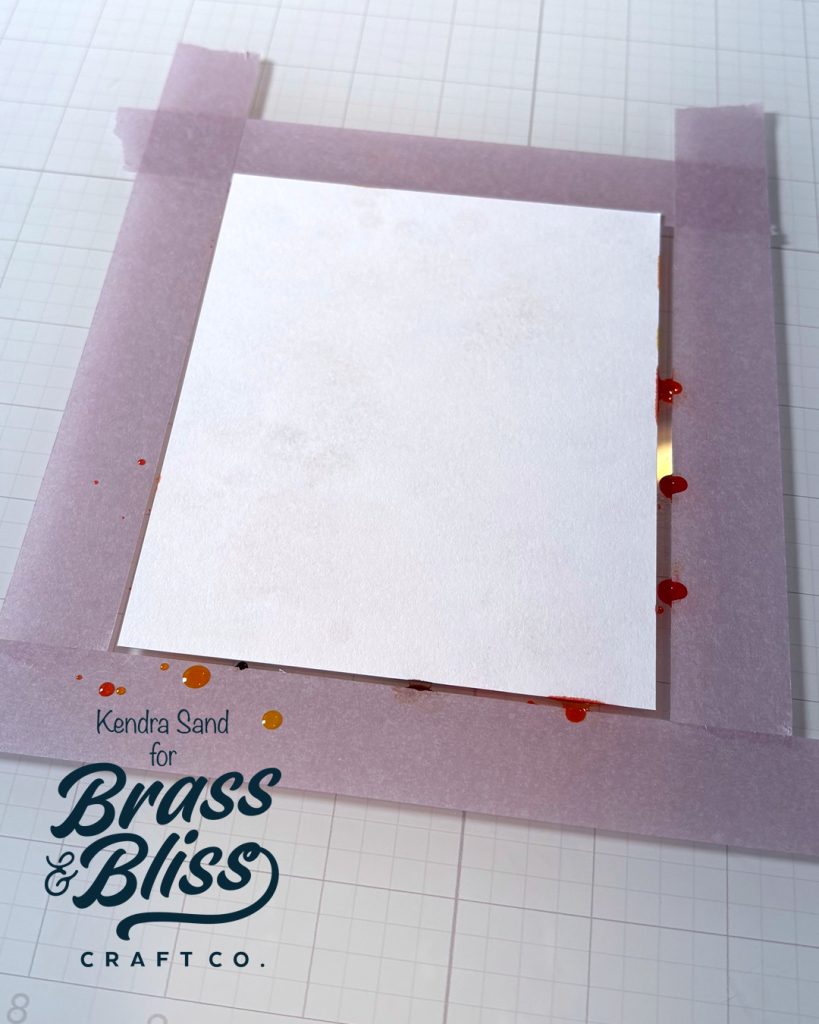
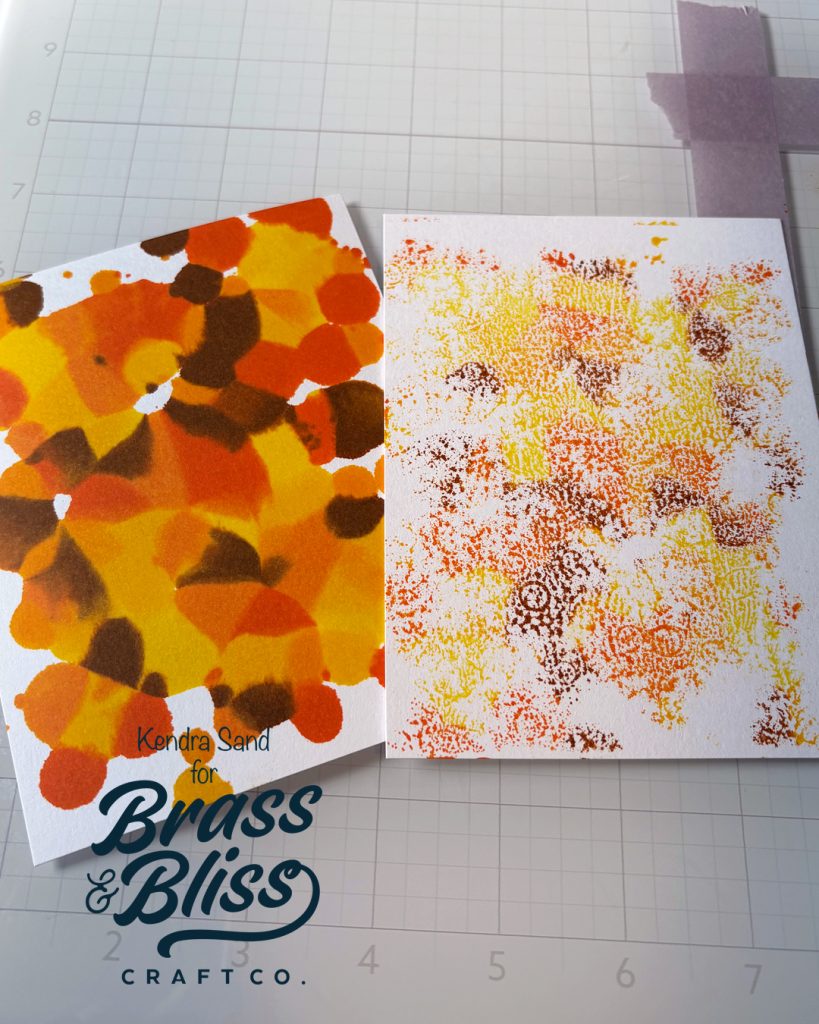
- Carefully place your first piece on top of inked area. Carefully lift. Being this is the first one the color is very vivid, you can use this layer if you like, but Kendra is after the next layer. Repeat step. Kendra loves the texture of this one! (Reminds her of the painters tape technique) Set aside to dry.
- Create an A2 sized card base from white cardstock.
- Die cut the 3″ x 5.25″ rectangle from ‘5728D Narrow A2 Nested Rectangle Die‘ from yellow cardstock.
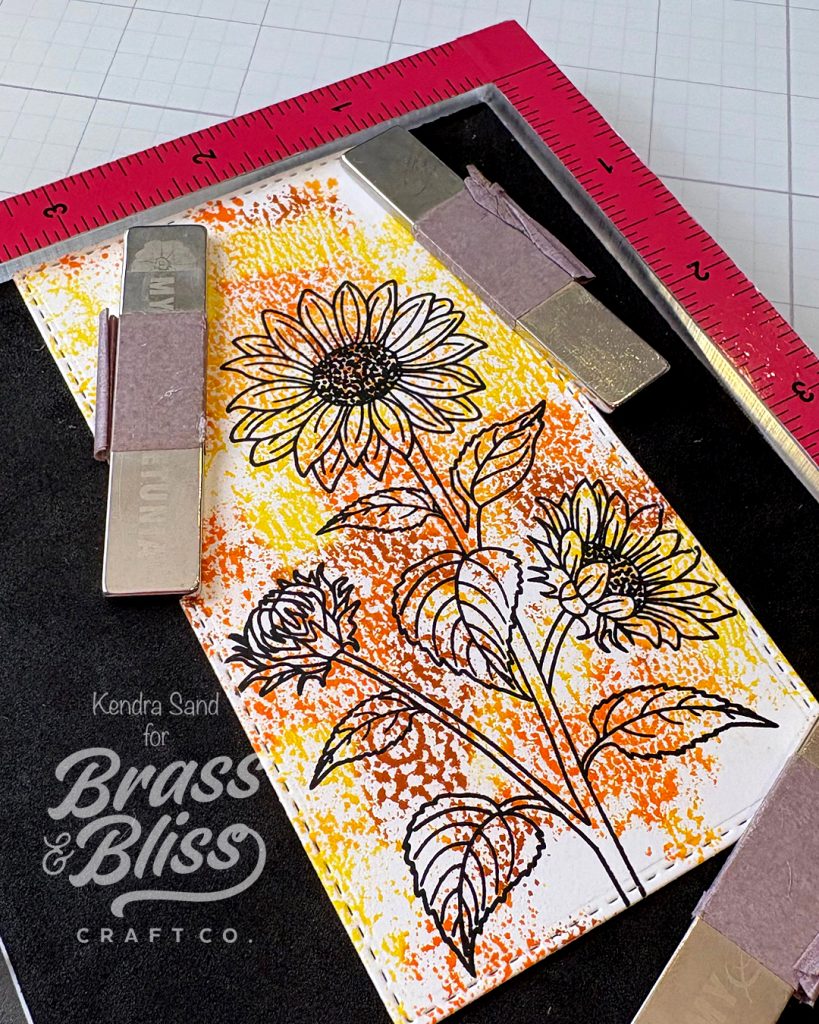
- Die cut the background you created with the 2.6″ x 4.85″ rectangle from ‘5728D Narrow A2 Nested Rectangle Die‘. Stamp the floral image from ‘37034 Sunflower Serenade‘ so the stem is just off the bottom of the layer in black ink. Adhere to previous layer. Adhere to left side of card base.
- Stamp the ‘You fill my days with sunshine’ sentiment from ‘37034 Sunflower Serenade‘ in black ink on white cardstock. Die cut with coordinating die from ‘37034D Sunflower Serenade Coordinating Die‘. Use die to also cut a shadow layer from yellow cardstock. Adhere sentiment to yellow layer slightly offset. Add to top right of card base with foam mounting tape.
- Use a corner rounder to round the bottom right corner of card base.
- Finish card by adding pearls to the bottom right of the sentiment.